


19
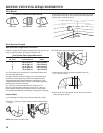
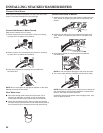
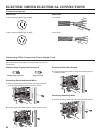
4. Models with separate washer power cords: Push the power
cord plug into the opening on the right side of the rear panel
and pull the power cord through the opening on the left side
of the rear panel and close holes with the attached cap. Do
not pull plug end of power cord through the right side hole.
NOTE: To avoid damage to internal washer parts or the
power cord, if the cord does not pull out of the washer rear
panel easily, do not force it. Remove the washer rear panel
and guide the power cord around the obstruction and out
the hole on the left side of the rear panel.
5.
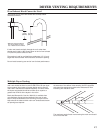
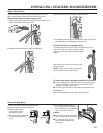
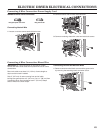
Close the bolt holes with the 4 transport bolt hole plugs.
IMPORTANT: If the washer/dryer is to be transported, call
your product distributor or installer. To avoid suspension and
structural damage, your washer/dryer must be properly set up
for relocation by a trained professional.
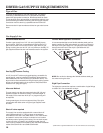
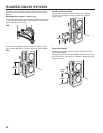
INSTALLING STACKED WASHER/DRYER
Remove Transport System
NOTE: Slide washer/dryer onto cardboard or hardboard before
moving to avoid damaging oor covering.
IMPORTANT: Position the washer/dryer so that the rear of
the washer is within approximately 3 ft. (900 mm) of its nal
location.
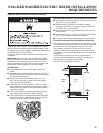
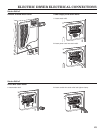
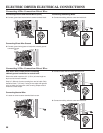
There are 4 shipping bolts in the rear panel of the washer that
support the suspension system during transportation. These
bolts also retain the power cord inside the washer until the
bolts are removed.
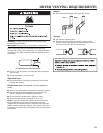
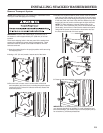
1.
Keep the washer/dryer in the upright position while removing
the shipping bolts.
2.
Using a 1/2" (13 mm) wrench, loosen each of the bolts.
3. Once the bolt is loose, move it to the center of the hole
and completely pull out the bolt, including the plastic spacer
covering the bolt. Once all 4 bolts are removed, discard the
bolts and spacers.