24
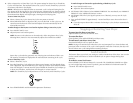
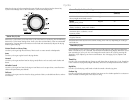
4. Select a Sensor Dry or Timed Dry Cycle. The preset settings for Sensor Dry or Timed Dry
Cycles will illuminate. The estimated (Sensor Dry cycle) or actual (Timed Dry) cycle time
(in minutes) will show in the display.
NOTE: A default time is displayed when an automatic cycle is selected. During the first
few minutes of the drying process, the cycle time may automatically vary from the default
time based on the size and fabric type of the load. Toward the end of the drying process,
the estimated time display will adjust again, showing the final drying time.
To use a Sensor Dry Cycle
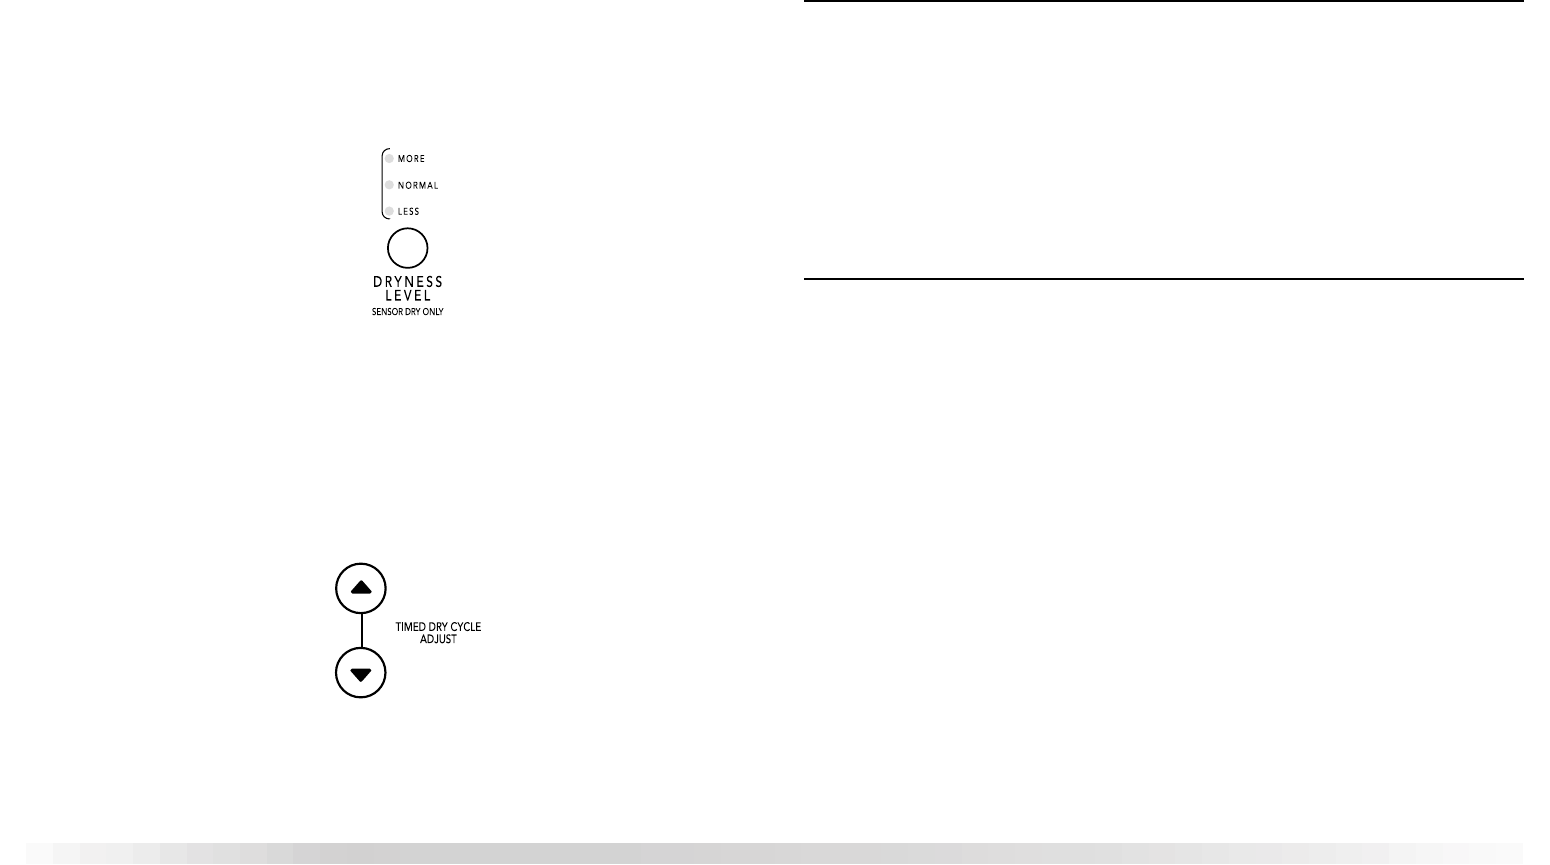
■ Select a Sensor Dry Cycle. Sensor Dry Cycles are preset to Normal.
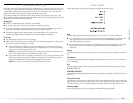
■ Select DRYNESS LEVEL to adjust how dry you want the load. As the cycle runs, the
control senses the dryness of the load and adjusts the time automatically for the
selected dryness level.
To make changes to the Dryness Level and/or Options during a Sensor Dry Cycle:
■ Press PAUSE/CANCEL once.
■ Adjust Dryness Level and/or options.
NOTE: Dryness Level selections can be made only while using Sensor Dry Cycles.
Selecting More, Normal or Less automatically adjusts the sensed time needed.
Sensor Dry cycles take the guesswork out of drying time and enhances fabric care.
The amount of time that is displayed is the estimated time remaining in the cycle.
To use a Timed Dry Cycle
■ Select a Timed Dry Cycle.
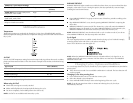
■ Press the Timed Dry Cycle Adjust up or down arrow buttons until the desired drying
time is displayed. Tap the Timed Dry Cycle Adjust up or down arrow buttons and the
time will change by 1-minute intervals. Press and hold the Timed Dry Cycle Adjust up
or down arrow buttons, and the time will change by 5-minute intervals.
NOTE: The Timed Dry Cycle Adjust feature can be used only with Timed Dry Cycles.
■ Press TEMPERATURE until the desired temperature illuminates.
To make changes to Time and/or options during a Timed Dry Cycle:
■ Press PAUSE/CANCEL once.
■ Adjust the Time and/or Options.
5. (OPTIONAL STEP) If desired, select WRINKLE PREVENT. For more details, see “WRINKLE
PREVENT” in the “Additional Features” section.
6. (OPTIONAL STEP) The Cycle Signal is preset to on. If desired, you may turn the Cycle
Signal off.
7. Press and hold START for approximately 1 second until dryer starts. Be sure the door is
closed.
■ If you do not press Start within 5 minutes of selecting a cycle, the dryer automatically
shuts off.
Stopping or Restarting Your Dryer
To pause/stop the dryer at any time
Open the door or press PAUSE/CANCEL once.
To restart the dryer
Close the door. Press and hold START until dryer starts.
To end/cancel your dryer at any time
Press PAUSE/CANCEL twice or open the door.
NOTE: Drying will continue from where the cycle was interrupted if you close the door and
press Start within 5 minutes. If the cycle is interrupted for more than 5 minutes, the dryer will
shut off. Select new cycle settings before restarting the dryer.
Lock Controls
This feature allows you to lock your settings to avoid unintended use of the dryer. You can also
use the control lock feature to avoid unintended cycle or option changes during dryer
operation.
To enable the control lock feature:
Press and hold CYCLE SIGNAL button for 3 seconds. The CONTROLS LOCKED icon lights
up, and a single beep tone is heard. To unlock, press and hold CYCLE SIGNAL button for
3 seconds. The indicator light turns off.


