


16
1
2
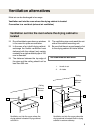
3
4
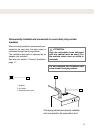
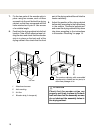
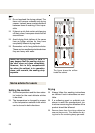
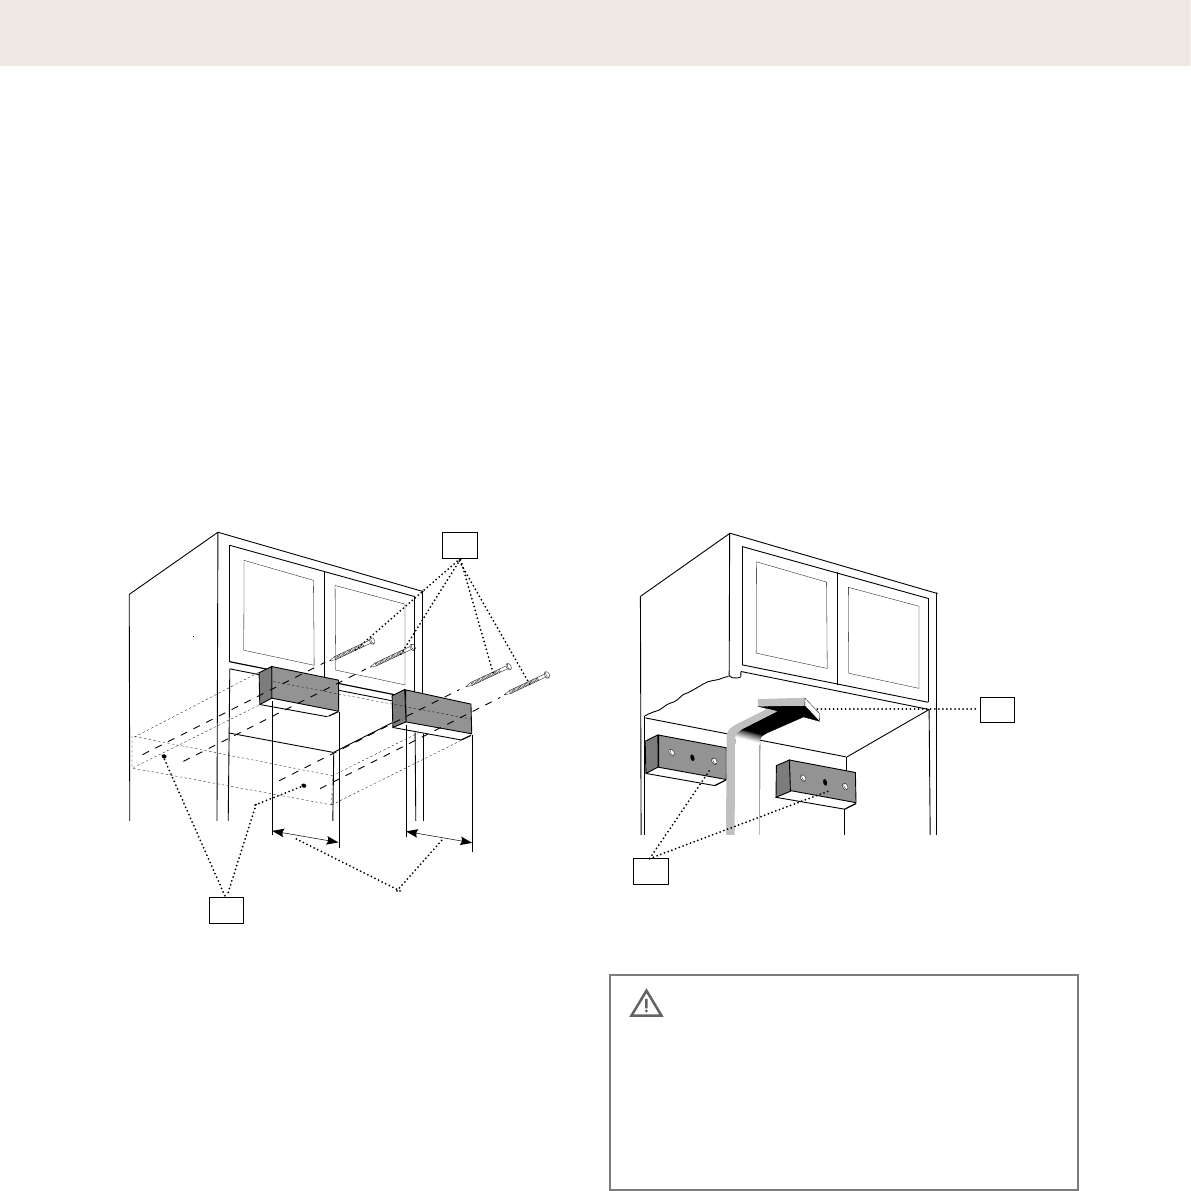
7. Fix the two parts of the wooden strip in
place using two screws, each of them
screwed into the wall behind the drying
cabinet, so that they correspond with the
holes marked as in point 4. Use screws
of a suitable length.
8. Push back the drying cabinet into its final
location. Take off the adhesive tape hol-
ding the door and check that the wooden
strip is in place on the back wall of the
drying cabinet. Also check that the front
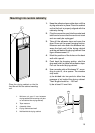
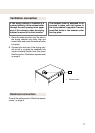
1. Attachment screws
2. Hole marking
3. Air flow
4. Wooden strip (in two parts)
part of the drying cabinet fits well into the
custon cabinetry..
9. Adjust the position of the drying cabinet
horizontally according to the instructions
in the section ”Horizontal adjustment”
and screw the drying cabinet firmly down
into place according to the instructions
in the section ”Mounting” on page 14.
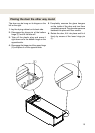
~150 mm
The custom cabinetry with assembled
wooden strip, divided into two parts, to
allow free passage of air
ATTENTION
Check that the wooden strips are
properly and firmly in place in the back
wall and also that the assembly screws
do not obstruct the assembly holes in
the drying cabinet.