


6
Connect the drain hose
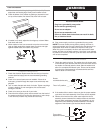
NOTE: Slide washer onto cardboard or hardboard before
moving across floor.
1. Move washer close to final position.
2. Put “hook” end of drain hose into laundry tub or standpipe.
3. Estimate the length of drain hose needed when washer is in
final position. Hose must be cut exactly to length so “hook”
end is held tightly over edge of standpipe.
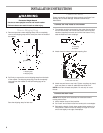
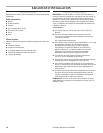
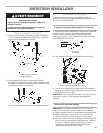
Remove Shipping Strap
1. Remove tape that covers shipping strap. Pull to completely
remove the shipping strap with 2 cotter pins from the inside of
the washer.
2. Pull firmly to remove the end of shipping strap from the back
of the washer. The shipping strap plug must be completely
removed from the washer for the self-leveling legs to be
released.
Save the shipping strap for later use.
INSTALLATION INSTRUCTIONS
WARNING
Excessive Weight Hazard
Use two or more people to move and install washer.
Failure to do so can result in back or other injury.
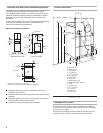
A
B
A. Shipping tape
B. Shipping strap
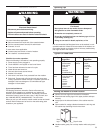
A
B
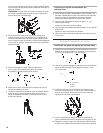
A. Coupling
B. Washer
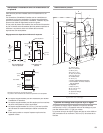
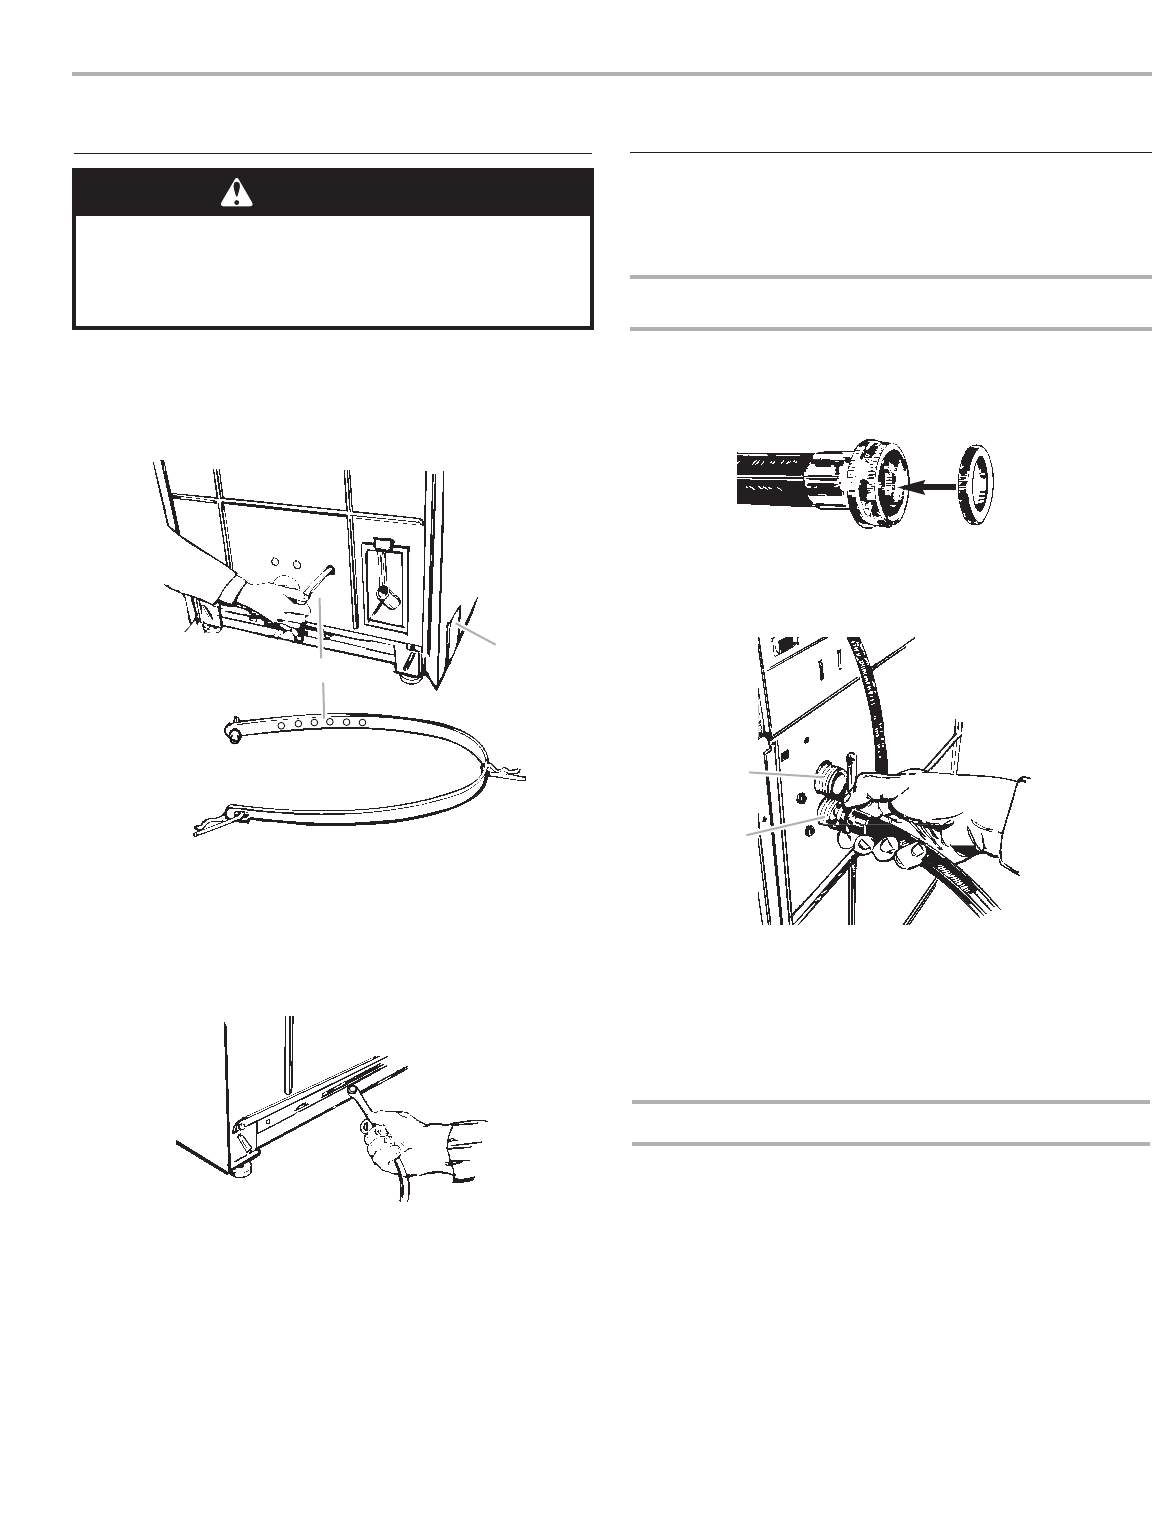
Connect the Hoses
Proper connection of the drain hose protects your floors from
damage due to water leakage. Read and follow these
instructions.
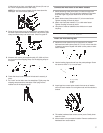
Connect the inlet hoses to the washer
1. The washer must be connected to the water faucets using
the new inlet hoses. Do not use old hoses. Insert new flat
washers (supplied) into each end of the inlet hoses. Firmly
seat the washers in the couplings.
2. Attach hose to bottom inlet valve opening first.
3. Attach second hose to top inlet. Tighten couplings by hand;
then use pliers to make an additional two-thirds turn.
NOTE: Inlet valve threads are plastic. Do not strip or cross-
thread.
A
B
A. Cold water inlet valve
B. Hot water inlet valve