


!::iiiiOLliii)(!!!:_¸_iiil_,i!!i_¸i[])_'iiiiiiiiSiii__!AiOS=_!I!!)
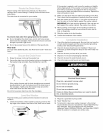
Proper routing of the drain hose protects your floors from
damage due to water leakage. Carefully read and follow these
instructions.
The drain hose is connected to your washer.
To prevent drain water from going back into the washer:
• Do not straighten the drain hose, and do not force excess
drain hose into standpipe. Hose should be secure, but loose
enough to provide a gap for air.
• Do not lay excess hose on the bottom of the laundry tub.
Floor drain
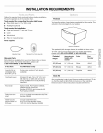
You may need additional parts. See Floor Drain under "Tools and
Parts."
1.
2.
Drape the power cord over the washer top.
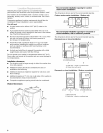
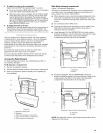
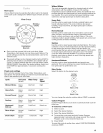
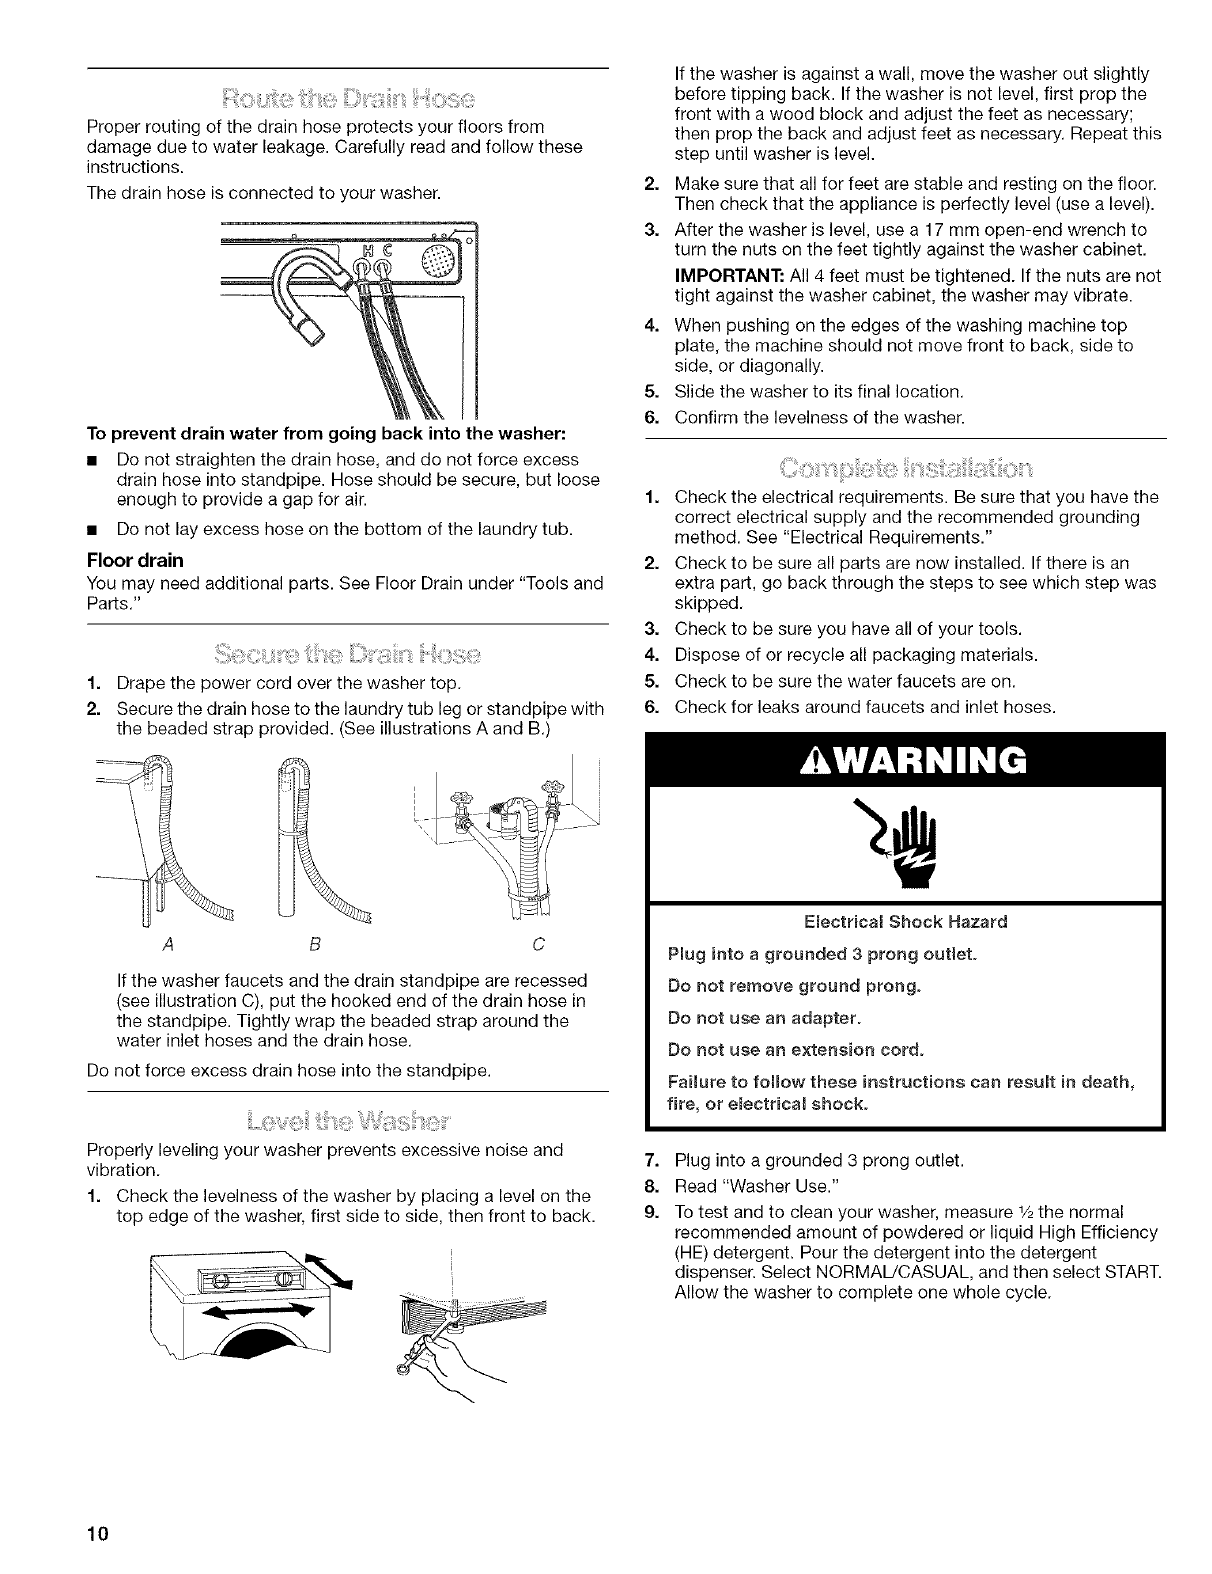
Secure the drain hose to the laundry tub leg or standpipe with
the beaded strap provided. (See illustrations A and B.)
2=
3.
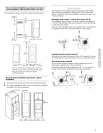
If the washer is against a wall, move the washer out slightly
before tipping back. If the washer is not level, first prop the
front with a wood block and adjust the feet as necessary;
then prop the back and adjust feet as necessary. Repeat this
step until washer is level.
Make sure that all for feet are stable and resting on the floor.
Then check that the appliance is perfectly level (use a level).
After the washer is level, use a 17 mm open-end wrench to
turn the nuts on the feet tightly against the washer cabinet.
IMPORTANT: All 4 feet must be tightened. If the nuts are not
tight against the washer cabinet, the washer may vibrate.
4. When pushing on the edges of the washing machine top
plate, the machine should not move front to back, side to
side, or diagonally.
5. Slide the washer to its final location.
6. Confirm the levelness of the washer.
1. Check the electrical requirements. Be sure that you have the
correct electrical supply and the recommended grounding
method. See "Electrical Requirements."
2. Check to be sure all parts are now installed. If there is an
extra part, go back through the steps to see which step was
skipped.
3. Check to be sure you have all of your tools.
4. Dispose of or recycle all packaging materials.
5. Check to be sure the water faucets are on.
6. Check for leaks around faucets and inlet hoses.
C
Ifthe washer faucets and the drain standpipe are recessed
(see illustration C), put the hooked end of the drain hose in
the standpipe. Tightly wrap the beaded strap around the
water inlet hoses and the drain hose.
Do not force excess drain hose into the standpipe.
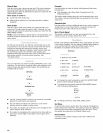
Properly leveling your washer prevents excessive noise and
vibration.
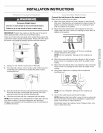
1. Check the levelness of the washer by placing a level on the
top edge of the washer, first side to side, then front to back.
\
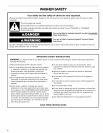
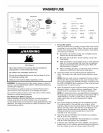
Electrical Shock Hazard
Plug into a grounded 3 prong outlet.
Do not remove ground prong.
Do not use an adapter.
Do not use an e×tension cord.
Failure to follow these instructions can result in death,
fire, or electrical shock.
7.
8.
g.
Plug into a grounded 3 prong outlet.
Read "Washer Use."
To test and to clean your washer, measure 1/2the normal
recommended amount of powdered or liquid High Efficiency
(HE) detergent. Pour the detergent into the detergent
dispenser. Select NORMAL/CASUAL, and then select START.
Allow the washer to complete one whole cycle.
10