1,
2.
3.
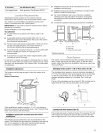
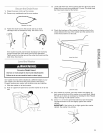
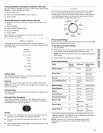
Drape the power cord over the console.
Remove any cardboard used to move washer.
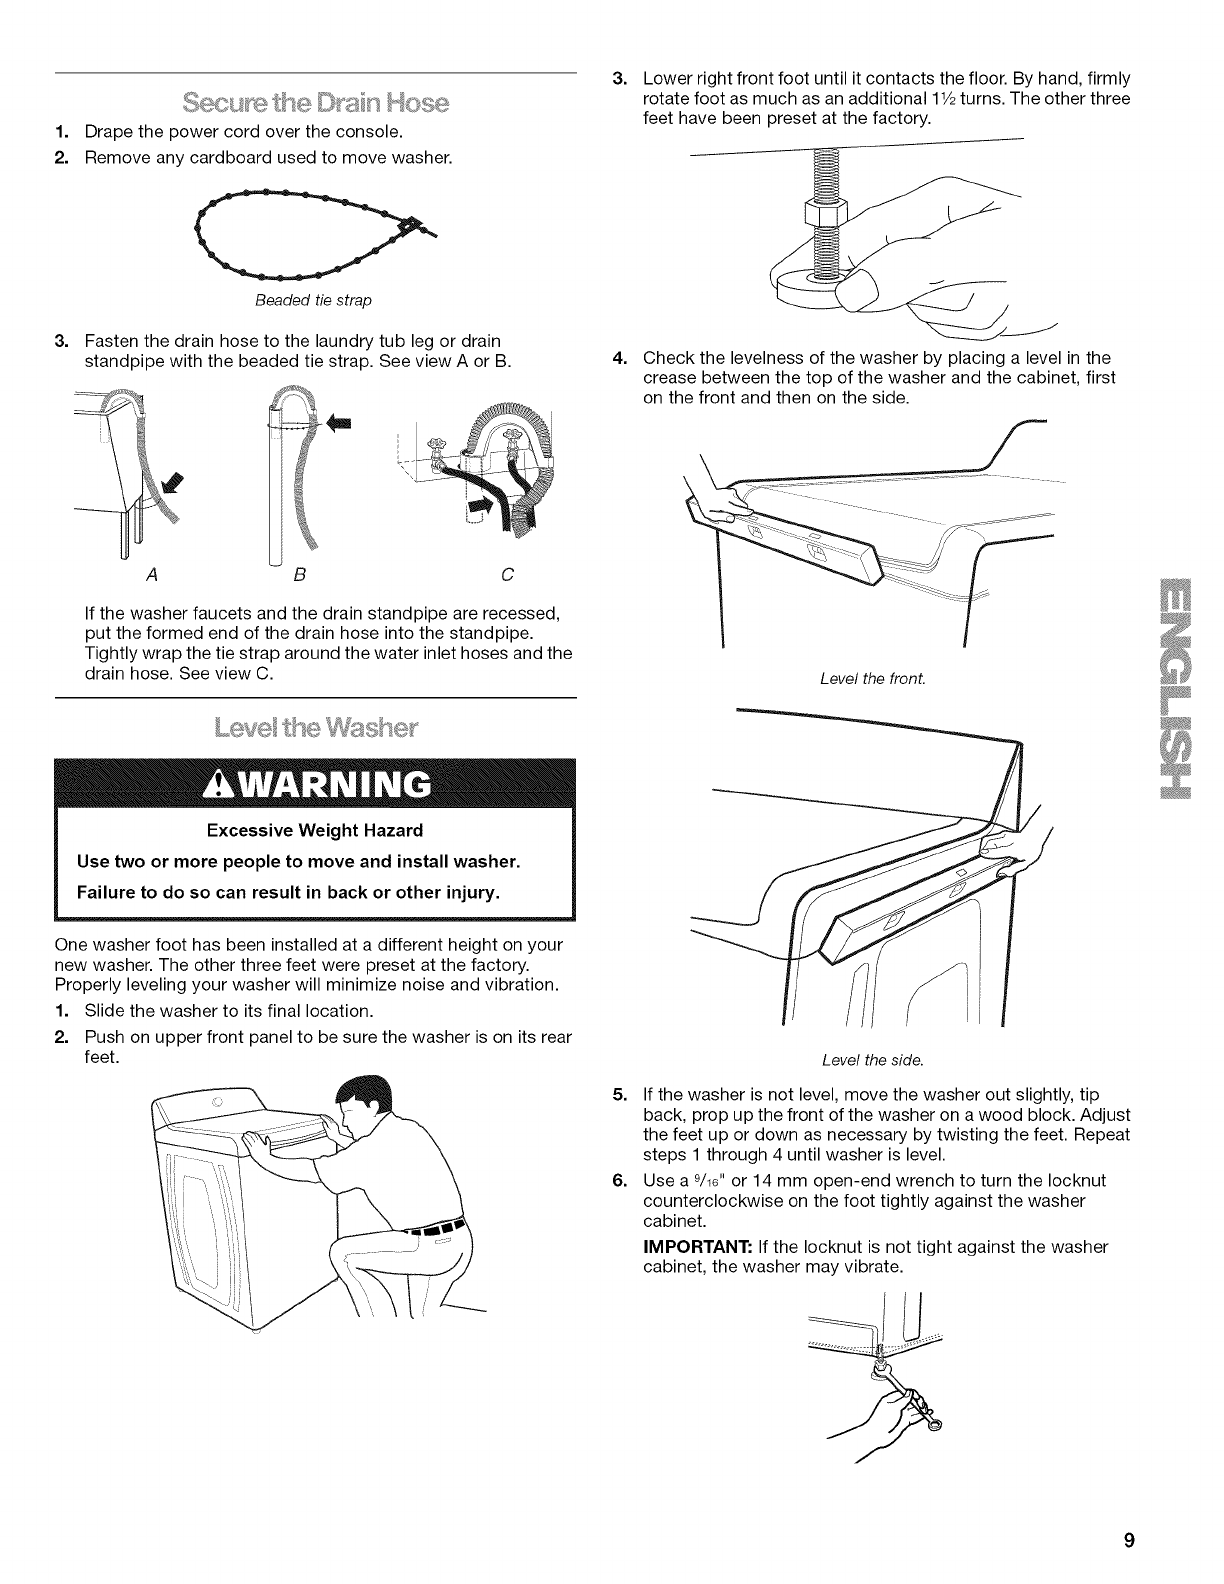
Beaded tie strap
Fasten the drain hose to the laundry tub leg or drain
standpipe with the beaded tie strap. See view A or B.
A B C
If the washer faucets and the drain standpipe are recessed,
put the formed end of the drain hose into the standpipe.
Tightly wrap the tie strap around the water inlet hoses and the
drain hose. See view C.
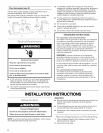
Excessive Weight Hazard
Use two or more people to move and install washer,
Failure to do so can result in back or other injury,
One washer foot has been installed at a different height on your
new washer. The other three feet were preset at the factory.
Properly leveling your washer will minimize noise and vibration.
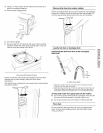
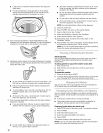
1. Slide the washer to its final location.
2. Push on upper front panel to be sure the washer is on its rear
feet.
3. Lower right front foot until it contacts the floor. By hand, firmly
rotate foot as much as an additional 11/=turns. The other three
feet have been preset at the factory.
4. Check the levelness of the washer by placing a level in the
crease between the top of the washer and the cabinet, first
on the front and then on the side.
Level the fronL
Level the side.
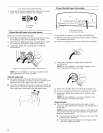
5. If the washer is not level, move the washer out slightly, tip
back, prop up the front of the washer on a wood block. Adjust
the feet up or down as necessary by twisting the feet. Repeat
steps 1 through 4 until washer is level.
6. Use a 9/16"or 14 mm open-end wrench to turn the Iocknut
counterclockwise on the foot tightly against the washer
cabinet.
IMPORTANT: If the Iocknut is not tight against the washer
cabinet, the washer may vibrate.
9


