Music Presets
E-27
3.
Press the
(START/STOP) button to start
Auto Accompaniment with the chord
progression of the Music Preset. Play the
melody on the keyboard.
• The preset chord progression repeats until you stop it
by pressing the
(START/STOP) button again.
• Pressing the
(ACCOMP ON/OFF) button so the
ACCOMP ON/OFF lamp is lit (not flashing) or unlit
will turn off the chord progression of the Music
Preset and play the normal Auto Accompaniment
pattern.
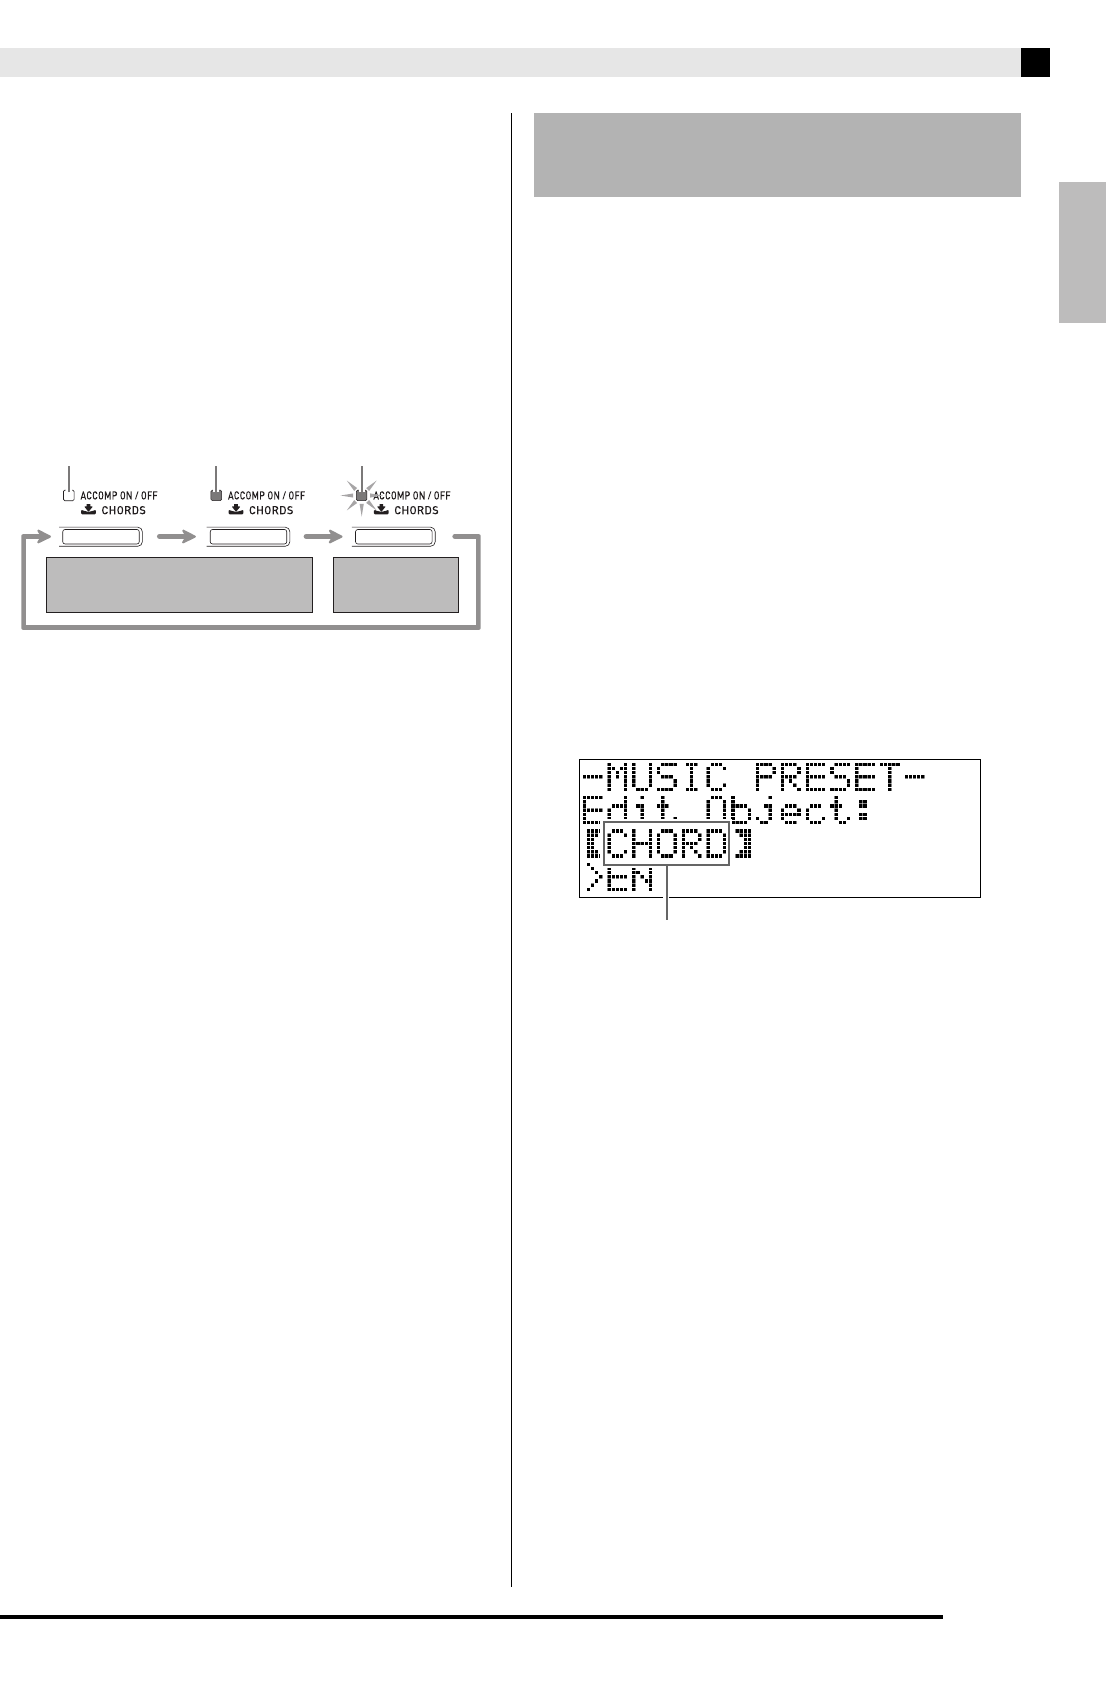
• Each press of the
(ACCOMP ON/OFF) button
cycles in the sequence shown below.
• You can use the following steps to change the rhythm
after selecting a Music Preset.
• To change the tone, use the
through
(tone
group) buttons to select the tone group and then use
the
(w, q) buttons to select a tone number.
4.
To exit a Music Preset, press
and
(MUSIC PRESET) at the same time.
A Music Preset editor is provided to allow you to
create your own original Music Presets (user presets).
Up to 50 user presets can be stored in Music Preset
Group D.
1.
Select the Music Preset you want to edit in
order to create your user preset.
2.
Change the tone number, rhythm number,
and other settings of the Music Preset as you
want.
• The settings you configure here will be saved as a
user Music Preset. See step 2 under “Selecting a
Music Preset” (page E-26) for the settings you can
configure and save for a user Music Preset.
3.
Press the
(BALLAD/PIANO RHYTHMS)
and
(USER RHYTHMS) buttons at the
same time.
This displays a screen for selecting the type of editing
operation you want to perform.
(1) Hold down the
(RHYTHM) button until the
displayed Music Preset number and name change
to the rhythm number and name.
(2) Use the
(w, q) buttons to select the rhythm
you want.
(3) Hold down the
(RHYTHM) button again until
the rhythm number and name change back to the
Music Preset number and name.
LitUnlit Flashing
Normal Auto Accompaniment
Music Preset
chord progression
Creating an Original User
Preset
