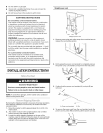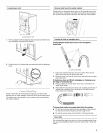
Looped power cord
Looped power cord
Firmly grasp the yellow shipping strap and pull until both ends
are completely removed from washer.
J
2. Check that two (2) cotter pins were removed with the shipping
strap.
Proper connection of the drain hose protects your floors from
damage due to water leakage. Read and follow these instructions.
The drain hose is connected to your washer and is stored inside
the washer cabinet.
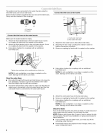
Remove drain hose from washer cabinet
Gently pull the corrugated drain hose out of the washer from the
top of the hose. Continue to pull the hose until the end emerges.
Do not force excess drain hose back into the rear of the washer.
\
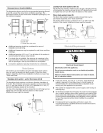
Laundry tub drain or standpipe drain
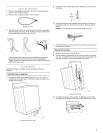
Connecting the drain hose form to the corrugated
drain hose
A. Drain hose reliefs
1. Feed end of drain hose into one end of form. Place end of
drain hose form into the drain hose relief.
2. Bend the hose over the top of the form and feed into the other
end of the form.
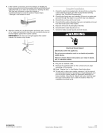
If drain hose does not fit into standpipe or if placing over
the edge of a laundry tub:
• Place coupling on end of drain hose. Use a screwdriver to
install hose clamp.
• Then slide the second hose clamp onto coupling. Insert end of
adapter into coupling. Use a screwdriver to install second
hose clamp over coupling.
To keep drain water from going back into the washer:
• Do not force excess drain hose into standpipe. Hose should
be secure but loose enough to provide a gap for air.
• Do not lay excess hose on the bottom of the laundry tub.
Floor drain
Do not install the drain hose form on to the corrugated drain hose.
You may need additional parts. See Floor drain under "Tools and
Parts."


