


loading your
Washer
For best washing results and
energy savings, sort the laundry
carefully.
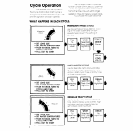
1. Sort the laundry into loads.
l
Group the laundry into loads that
can be washed and dried together.
See the Laundry Guide for informa-
tion and samples of typical loads.
l
Try to mix large and small items for
best movement in the washer.
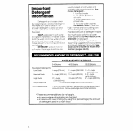
2. Measure Detergent; Add to
Washer Basket.
l
See detergent informatior) on page
6 and in Section IV of the Laundry
Guide.
l
Add dry bleach or water condi-
tioner (not fabric softener) if used.
Follow the package directions
carefully.
3. Dilute liquid Bleach Before Add-
ing to the Washer Basket.
l
See the “Laundry Aids” section of
the Laundry Guide for more
information.
4. load the Washer.
l
Spread the load evenly. (Don’t put
all the towels on one side and a few
wash cloths on the other.) An unbal-
anced load can cause the washer to
shake during spinning.
l
Load without packing so items can
move freely for best cleaning and
least wrinkling.
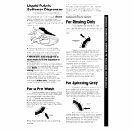
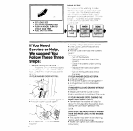
5. Add Diluted Fabric Softener to
the Dispenser.
. DO NOT ADD FABRIC SOFTENER TO
THE WASH. Fabric
softeners can com-
bine with soap or detergent to make
greasy stains on fabrics.
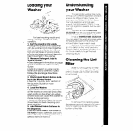
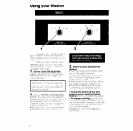
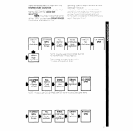
Understanding
your Washer
This automatic washer has cycle
settings with different agitation and spin
speeds for different fabric types. For
example, the REGULAR HEAVY Cycle
has high agitation and high spin
speeds The PERMANENT PRESS Cycle,
has high agitation speeds, but low spin
speeds
The washer has a
LOAD SIZE
SELECTOR
that lets you adjust the water
level to match the size of the load.
It has a
TEMPERATURE SELECTOR.
You can select the wash and rinse water
temperatures best for the amount of
so11 and fabric type in each load.
Sections In this Use & Cure Guide
go into detail on the “what and why”
of each setting. Read this and ihe Laun-
dry Guide carefully to get ihe best
cleaning results
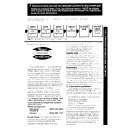
Cleaning the lint
Filter
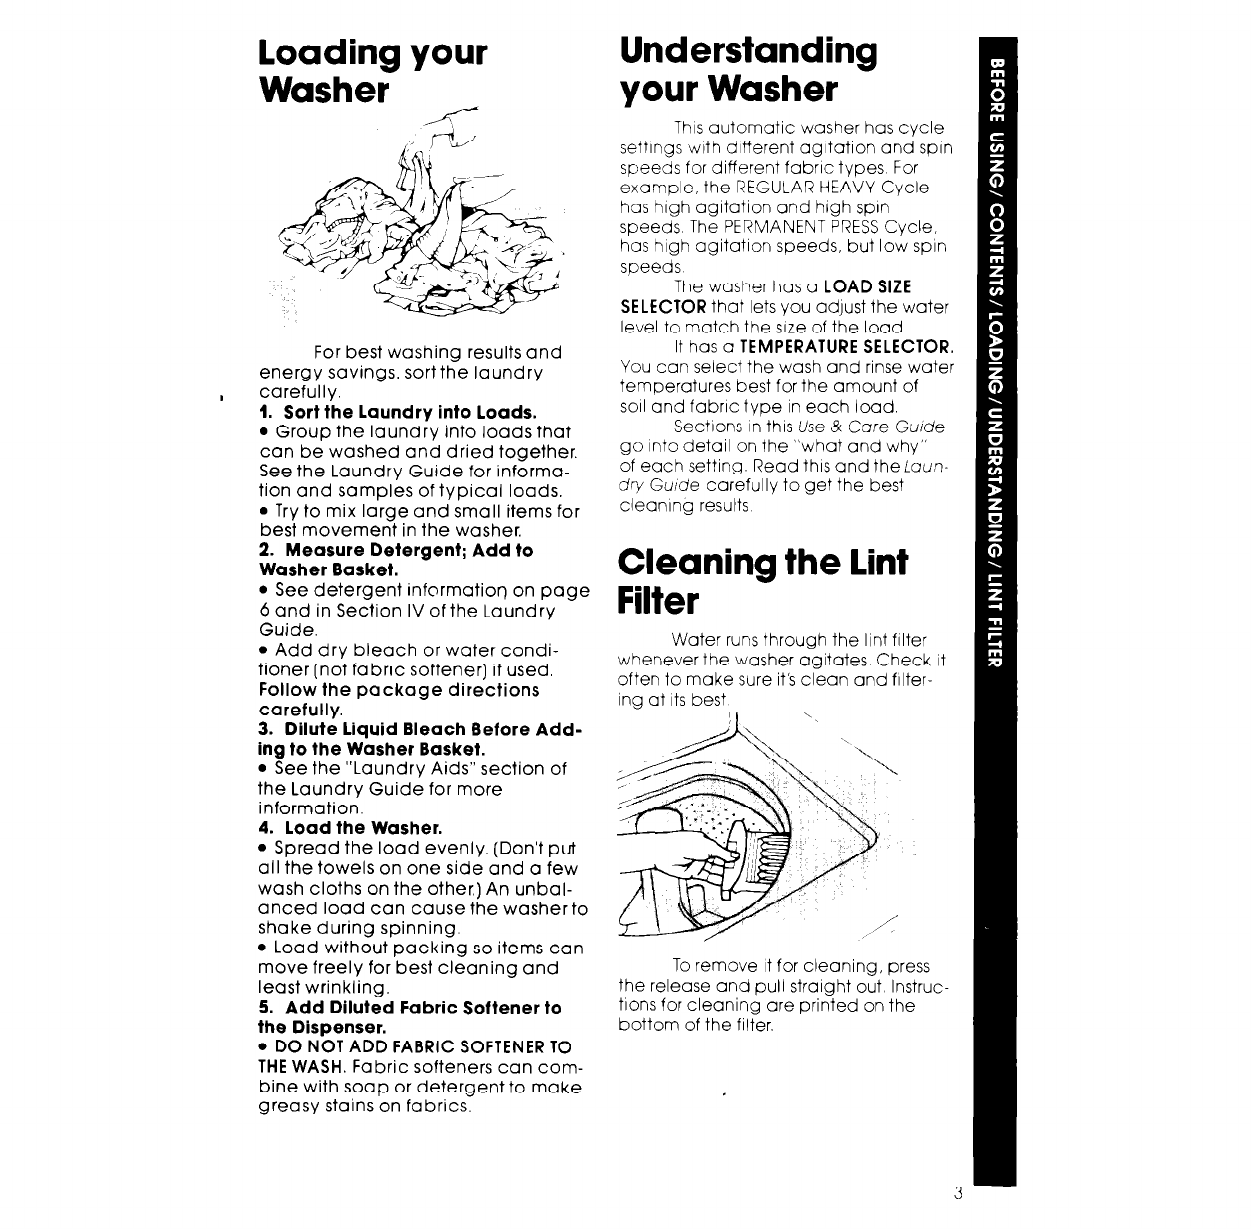
Water runs through the lint filter
whenever the washer agitates Check it
often to make sure it’s clean and filter-
ing at its best
To remove it for cleaning, press
the release and pull straight out Instruc-
tions for cleaning are printed on the
bottom of the filter.