


9
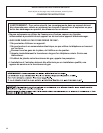
3. Using pliers, tighten the couplings with an additional two-
thirds turn.
NOTE: Do not overtighten or use tape or sealants on the valve.
Damage to the valves can result.
Clear the water lines
Run water through both faucets and inlet hoses, into a
laundry tub, drainpipe, or bucket to get rid of particles in the
water lines that might clog the inlet valve screens.
Check the temperature of the water to make sure that the hot
water hose is connected to the hot water faucet and that the
cold water hose is connected to the cold water faucet.
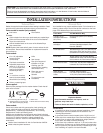
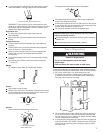
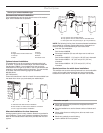
Connect the inlet hoses to the washer
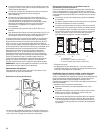
1. Attach the hot water hose to the bottom inlet valve. Attaching
the hot water hose first makes it easier to tighten connection
with pliers.
2. Screw on coupling by hand until it is seated on the washer.
3. Using pliers, tighten the couplings with an additional two-
thirds turn.
NOTE: Do not overtighten or us
e tape or sealants on the valve.
Damage to the valves can result.
In the U.S.A.
In Canada
4. Attach the cold water hose to the top inlet valve.
5. Screw on coupling by hand until it is seated on the washer.
6. Using pliers, tighten the couplings with an additional two-
thirds turn.
NOTE: Do not overtighten or use tape or sealants on the valve.
Damage to the valves can result.
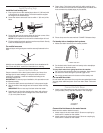
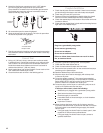
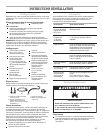
If you are working in a closet or recessed area
Move the washer/dryer into its final location and remove
cardboard from under washer/dryer
. Remove the access panel by
removing 3 Phillips-head screws and one bumper, located at the
top of the access panel. Set panel, screws, and bumper aside.
Complete hookup of water hoses. Replace access panel upon
completion of washer/dryer installation.
Check for leaks
Turn on the water faucets and check for leaks. A small amount
of water might enter the washer. You will drain this water later.
NOTE: Replace inlet hoses after 5 years of use to reduce the risk
of hose failure. Record hose installation or replacement dates for
future reference.
If you connect only one water hose, you must cap off the
remaining water inlet port.
Periodically inspect and replace hoses if bulges, kinks, cuts,
wear, or leaks are found.
The apparatus must be connected to the water faucets using
the new hoses. Do not use old hoses.
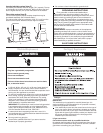
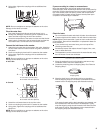
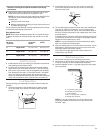
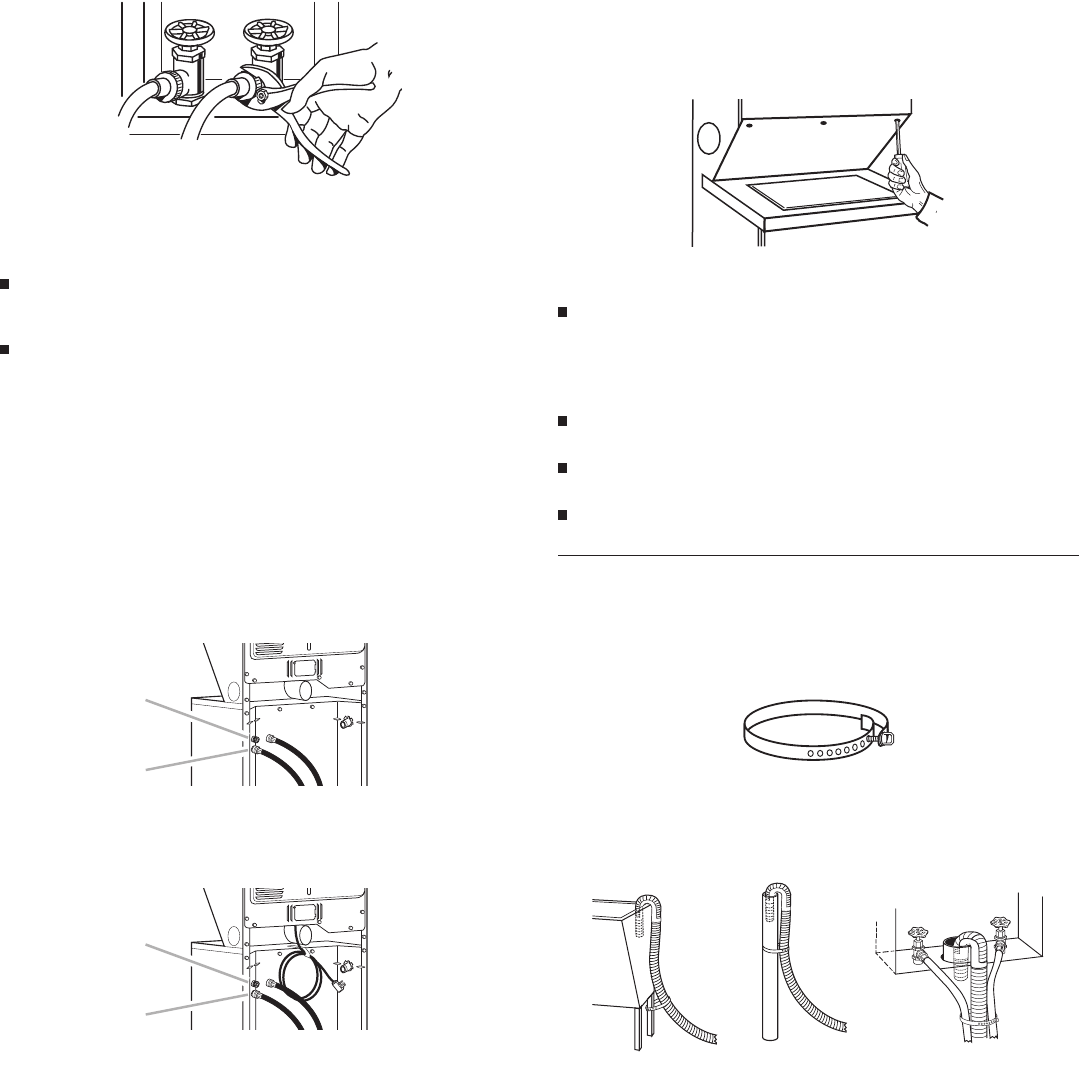
Secure the Drain Hose
1. Move the washer/dryer to its final location and remove any
cardboard used to move the washer/dryer.
2. Locate the remaining piece of shipping strap. See “Remove
Shipping Strap.”
Shipping strap
3. Wrap the drain hose to the laundry tub leg or standpipe
with the shipping strap (A or B below). Push fastener into the
nearest hole in the shipping strap (see illustration above).
If the water faucets and the drain standpipe are recessed, put
the hooked end of the drain hose in the standpipe. Tightly
wrap the shipping strap around the water inlet hoses
and the
drain hose (C above). Push fastener into the nearest hole in
the shipping strap (see illustration above).
A. Cold water inlet valve (top)
B. Hot water inlet valve (bottom)
A. Cold water inlet valve (top)
B. Hot water inlet valve (bottom)
A
B
A
B
B C
A