5
4
BEFORE THE FIRST USE
• When turned on for the first time, your new iron may give off a slight odor for up
to ten minutes. This is due to the initial heating of the materials used. It is safe,
not detrimental to the performance of the product, and will not recur.
• Prior to first use, clean steam vents using the SHOT OF STEAM
®
feature.
After cleaning vents, run iron over an all-cotton cloth to remove any residue.
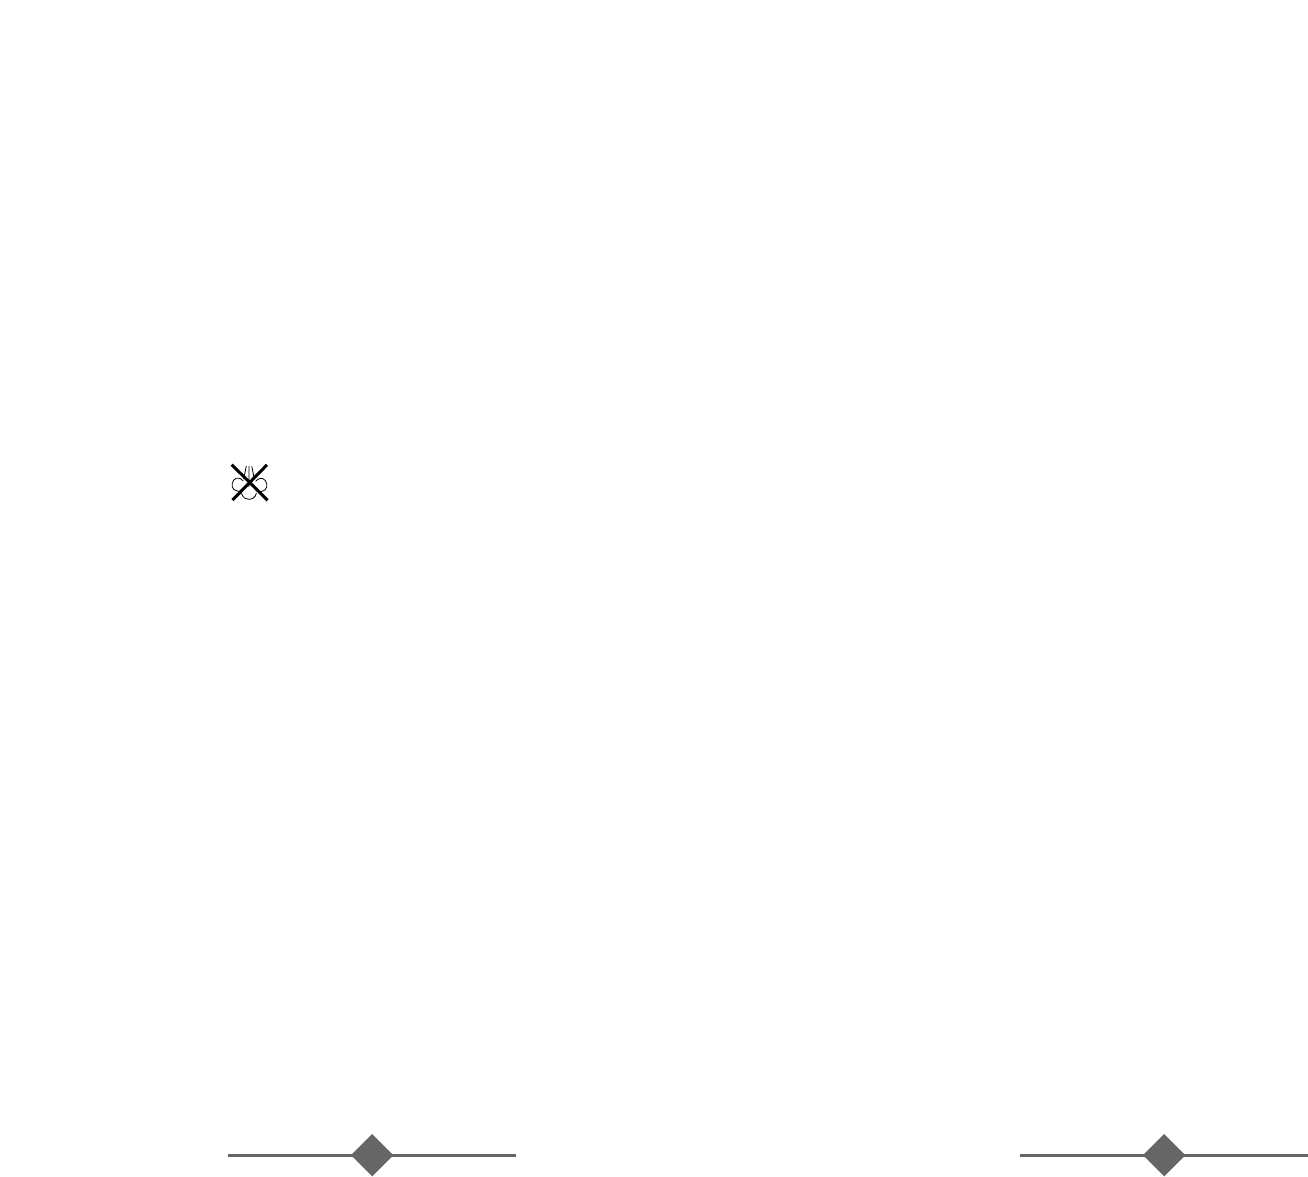
• When not ironing, always have steam dial turned to “0” No steam .
INSTRUCTIONS FOR USE
DRY IRONING
• Plug the cord into a 230 volt AC outlet. On units with automatic shut-off,
the auto off light will iluminate.
• Turn the temperature dial to the desired setting (refer to Ironing Guide for
recommended settings). While iron is heating, place iron on heel rest on a stable,
protected surface.
• Set the steam dial on ( ) to prevent steam flow if water is in the tank.
STEAM IRONING
• Make sure the plug is removed from the wall socket before filling the iron with water.
• Turn the steam dial to no steam icon area.
• Place the iron on its heel and open the water reservoir cover. Pour water slowly into
the water reservoir. Fill up to the maximum water level.
To prevent the risk of
burns, use caution when filling a hot iron with water. Burns can
occur from touching hot metal parts, hot water or steam.
Push firmly
to close the cover.
N
OTE
:
Tap water may be used due to the special design of this iron.
However, in areas with very hard water, distilled or demineralized water is recommended.
• Turn the temperature dial to any of the temperatures within the steam band and allow
the iron to heat for approximately 2 minutes before ironing. While heating, place iron
on heel rest on a stable, protected surface.
• Adjust Steam Dial to desired level of steaming.
SHOT OF STEAM
®
FEATURE
• The SHOT OF STEAM
®
feature provides an extra burst of steam for deep penetration
of stubborn wrinkles. The SHOT OF STEAM
®
feature can be used with dry or steam
ironing provided the tank is at least 1/2 full of water and the Temperature Dial is set
within the steam band.
• Allow the iron to heat for approximately 2 minutes.
• Press the SHOT OF STEAM
®
button several times to prime the pump.
• Pump SHOT OF STEAM
®
button another three to four times in order to clean the unit.
The SHOT OF STEAM
®
feature is now ready for use. The SHOT OF STEAM
®
feature
can be used continously with just a short pause between shots. The SHOT OF STEAM
®
feature is most effective with the iron held in a horizontal position just above the fabric
being ironed.
• If the tank runs dry, unplug the iron and refill with water. The iron may be filled with
water while it is hot.
N
OTE
:
It may be necessary to re-prime the pump before using
the SHOT OF STEAM
®
feature again.
SPRAY
MIST
®
FEATURE
• Use the SPRAY MIST
®
feature to dampen fabrics with stubborn wrinkles.
• Press the gray SPRAY MIST
®
button firmly to produce spray.
SAFETY S
MART
®
FEATURE
AUTO SHUT-OFF
• When the iron is plugged into 230 volt AC electrical outlet, the steady red light signals
that the iron is powered in and is ready to be used.
• If the iron is left on the heel rest unmoved the iron will stop heating in 15 minutes.
The light on the handle will blink to indicate the iron has automatically
shut off and will continue blinking until the iron is restarted or unplugged.
• If the iron is left unmoved in the ironing position or accidentally tipped over, the iron
will stop heating in 30 seconds.
Again, the light on the handle will blink to
indicate the iron has automatically shut off and will continue blinking
until the iron is restarted or unplugged.
•
N
OTE
:
If the Temperature Dial is turned to the Off position, light will continue
blinking and then go off.
• To restart the iron move the iron back and forth. Allow the iron to heat and continue
ironing as normal.
•
N
OTE
:
Although heat is no longer generated once the iron has automatically shut off,
allow sufficient time for the iron to cool before touching the soleplate or storing
the iron.
NON-STICK FINISH
• Non-Stick coating prevents sticking of fabrics and starch residue to the soleplate.
• To clean the soleplate, allow iron to cool and wipe with a soft cloth using
a mild vinegar solution.
• Do not use scouring pads, abrasives or chemical cleaning solvents as they
may damage the finish.
•
N
OTE
:
Scratches in the non-stick soleplate do not affect the performance of the iron.


