


OPERATING INSTRUCTIONS cont. OPERATING INSTRUCTIONS cont.
Filling with Water
BURST OF STEAM & CONTINUOUS STEAM (Horizontal & Vertical)
Please note: Before using the garment steamer/iron for the first time, it is
important to purge the inside of the iron by allowing it to steam
freely for a minute. This allows the removal of any impurities left
by the manufacturing process.
WARNING! Before filling the garment steamer/iron with water, be sure that the
unit is not plugged into the electrical outlet. The garment
steamer/iron may be filled with water while it is hot.
TO PREVENT THE RISK OF BURNS, use caution when filling
garment steamer/iron with water. Burns can occur from touching
hot metal parts, hot water or steam.
WARNING! DO NOT aim iron at face, towards yourself, or anyone else while
using or adjusting steam. Burns or serious injury may occur.
CAUTION:Never fill the garment steamer/iron with fabric conditioner, starches
or any other liquid, as these will damage the steam mechanism. Do
not use contaminated water.
1. Make sure that the garment steamer/iron is unplugged from the power source.
2. Fill the unit with water following the instructions for filling on page 5.
3. Plug the power cord into the electrical outlet.
4. Set the temperature control dial within the steam area, i.e. ““• • • ”.
(See page 5 for setting the temperature.)
5. The pilot light will go “On”.
6. When the correct temperature has been reached, the pilot light will go “Off”.
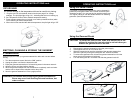
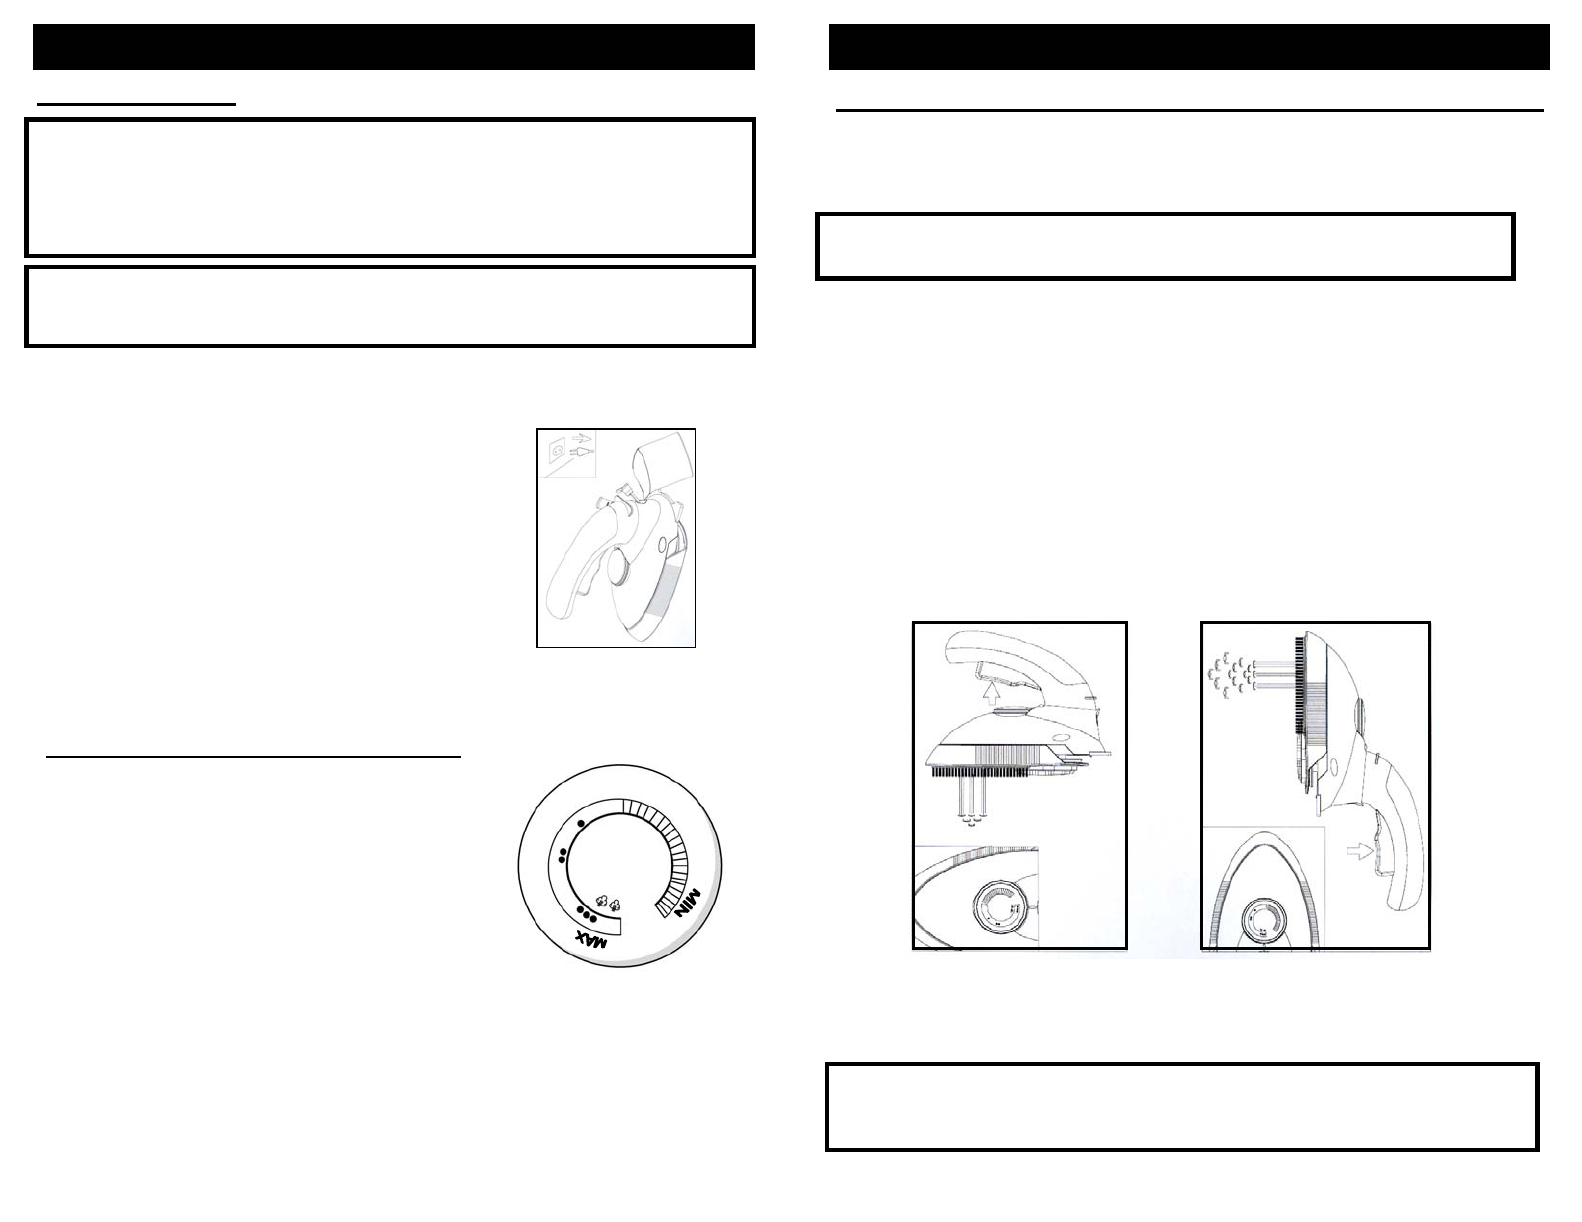
7. When the pilot light has gone off, press the steam trigger to produce a strong
jet of steam. To prevent water leaking from the soleplate, do not keep the
steam trigger depressed for more than 5 seconds. See illustrations below.
8. When using the continuous steam feature, depress the steam trigger and then
release. Steam flow will begin shortly after releasing the steam trigger. To
maintain a constant flow of steam, depress and release steam trigger again
when steam flow has begun to drop.
NOTE: Because of the soleplate design, ordinary tap water may be used with this
appliance. However, in very hard water areas, we recommend using distilled
or demineralized water.
1. Disconnect the unit from the power supply.
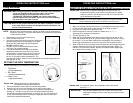
2. Open the water inlet cover.
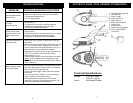
3. Using the measuring beaker provided and holding the
garment steamer/iron at a slight angle, pour water
slowly into the water filling inlet. See illustration.
DO NOT overfill the tank.
4. Plug the cord into a household electrical outlet
(see page 3 for voltage settings).
5. Turn the temperature control dial to the desired
temperature setting and allow the iron to heat for
approximately 2 minutes before ironing. Place iron
on its heel (on a stable, protected surface) while
the iron is warming to desired temperature. The
pilot light will come on. When the iron has reached the desired temperature, the
pilot light will go “Off”.
Vertical SteamBurst of Steam
SETTING THE IRON TEMPERATURE
Please note: Before starting to iron delicate fabrics, it is best to first test the
temperature of the garment steamer/iron on a hem or an inside seam.
1. Set the temperature control dial to the desired temperature.
2. Stand the unit on its heel and connect it to the main power supply.
3. The pilot light will come on to indicate that the garment steamer/iron is
heating up. The light will go “Off” when the set temperature has been
reached and the garment steamer/iron is ready to use. The pilot light will go
on and off as the thermostat is switching the heating element on and off to
maintain the selected temperature.
5
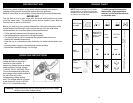
Set the temperature dial according to the type of fabric .
• Synthetics
(low temperature)
• • Silk, Wool
(medium temperature)
• • • Cotton, Linen
(high temperature)
Please note:
For maximum steam, the temperature control dial should
be set at
“• • • “.
IMPORTANT: If the garment steamer/iron has not been set to the correct
temperature setting for steam, water drops may leak from the
soleplate.
6