OPERATING INSTRUCTIONS (CONT.) INSTRUCCIONES PARA OPERAR (CONT.)
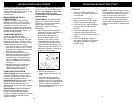
ELECTRONIC AUTO-OFF SELF CLEANING
It is important to “Self Clean” the iron at
least every two weeks to remove scale,
calcium, etc. The harder the water, the
more often the iron should be self
cleaned.
1. Set the variable steam control dial
to any steam position.
2. Fill the water tank up to the “MAX”
level.
3. Stand the iron on its heel. Plug the
iron into the electrical outlet.
4. Press the electronic temperature
control button until you get the
“MAX” temperature setting on the
display panel and wait until the iron
heats up and temperature setting
light stops flashing.
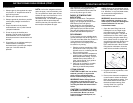
5. Turn the variable steam control dial
all the way to the right to the self-
cleaning position and hold the iron
horizontally over the sink. (Fig. 8).
6. Boiling water and steam will now be
ejected from the holes in the
soleplate. The impurities and scale
are washed away with it.
7. Move the iron back and forth as this
happens.
8. If there is any water left in the water
tank after the iron stops steaming,
just empty the remaining water in a
sink following the instructions for
emptying the iron.
9. Turn the variable steam control dial to
the “0” position when the water tank
is empty.
10.Place the iron back upright on its
heel to cool down before storing.
Fig. 8
4. Coloque la plancha sobre su talón
en una superficie estable protegida y
espere que caliente por Aprox. 2
minutos o hasta que la luz
indicadora en el lado derecho del
panel electrónico deje de destellar.
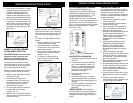
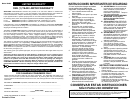
5. Para aumentar el vapor, gire el dial
regulador de vapor a la derecha.
Cuando se use más vapor, la
plancha consumirá más agua y
tendrá que rellenarse con más
frecuencia (Fig. 2)
BOTÓN PARA CHORRO CORTO Y
LARGO DE VAPOR
¡PRECAUCIÓN!
NO apunte la plancha
hacia la cara, hacia su cuerpo u otras
personas cuando regule el vapor, porque
podría causar quemaduras serias.
Los chorros adicionales y súbitos de vapor
ayudan a eliminar arrugas rebeldes en telas
de denim (mezclilla), de algodón o lino.
Éste dispositivo puede usarse al planchar
en seco o al vapor, según se desee.
1. Cerciórese que la plancha esté con
agua por lo menos hasta la mitad.
2. Gradúe la plancha para el tipo de tela y
temperatura correspondiente. Coloque
la plancha verticalmente sobre su talón
(en una superficie estable protegida) y
déjela calentar por Aprox. 2 minutos.
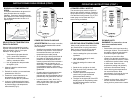
3. Gire el botón para vapor a la graduación
mínima (Fig. 3).
4. Con la plancha en posición horizontal,
presione el botón para chorros súbitos
de agua varias veces para cebar la
bomba.
Para usar el dispositivo de vapor continuo:
1. Gradúe el dial regulador de vapor a la
graduación que deseada.
2. Presione el botón de control
electrónico de temperatura hasta que
logre la graduación deseada para la
tela.
3. Gire el botón para graduar el vapor
completamente a la derecha (Fig. 4).
4. Para mantener un flujo constante de
vapor, asegúrese que la plancha esté
llena por lo menos hasta la mitad.
Fig. 2
Fig. 3
Fig. 4
NOTA: Si la plancha se seca,
desenchúfela del tomacorriente, échele
agua y vuelva a cebar la bomba. Se le
puede echar agua a la plancha mientras
esté caliente.
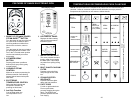
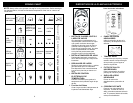
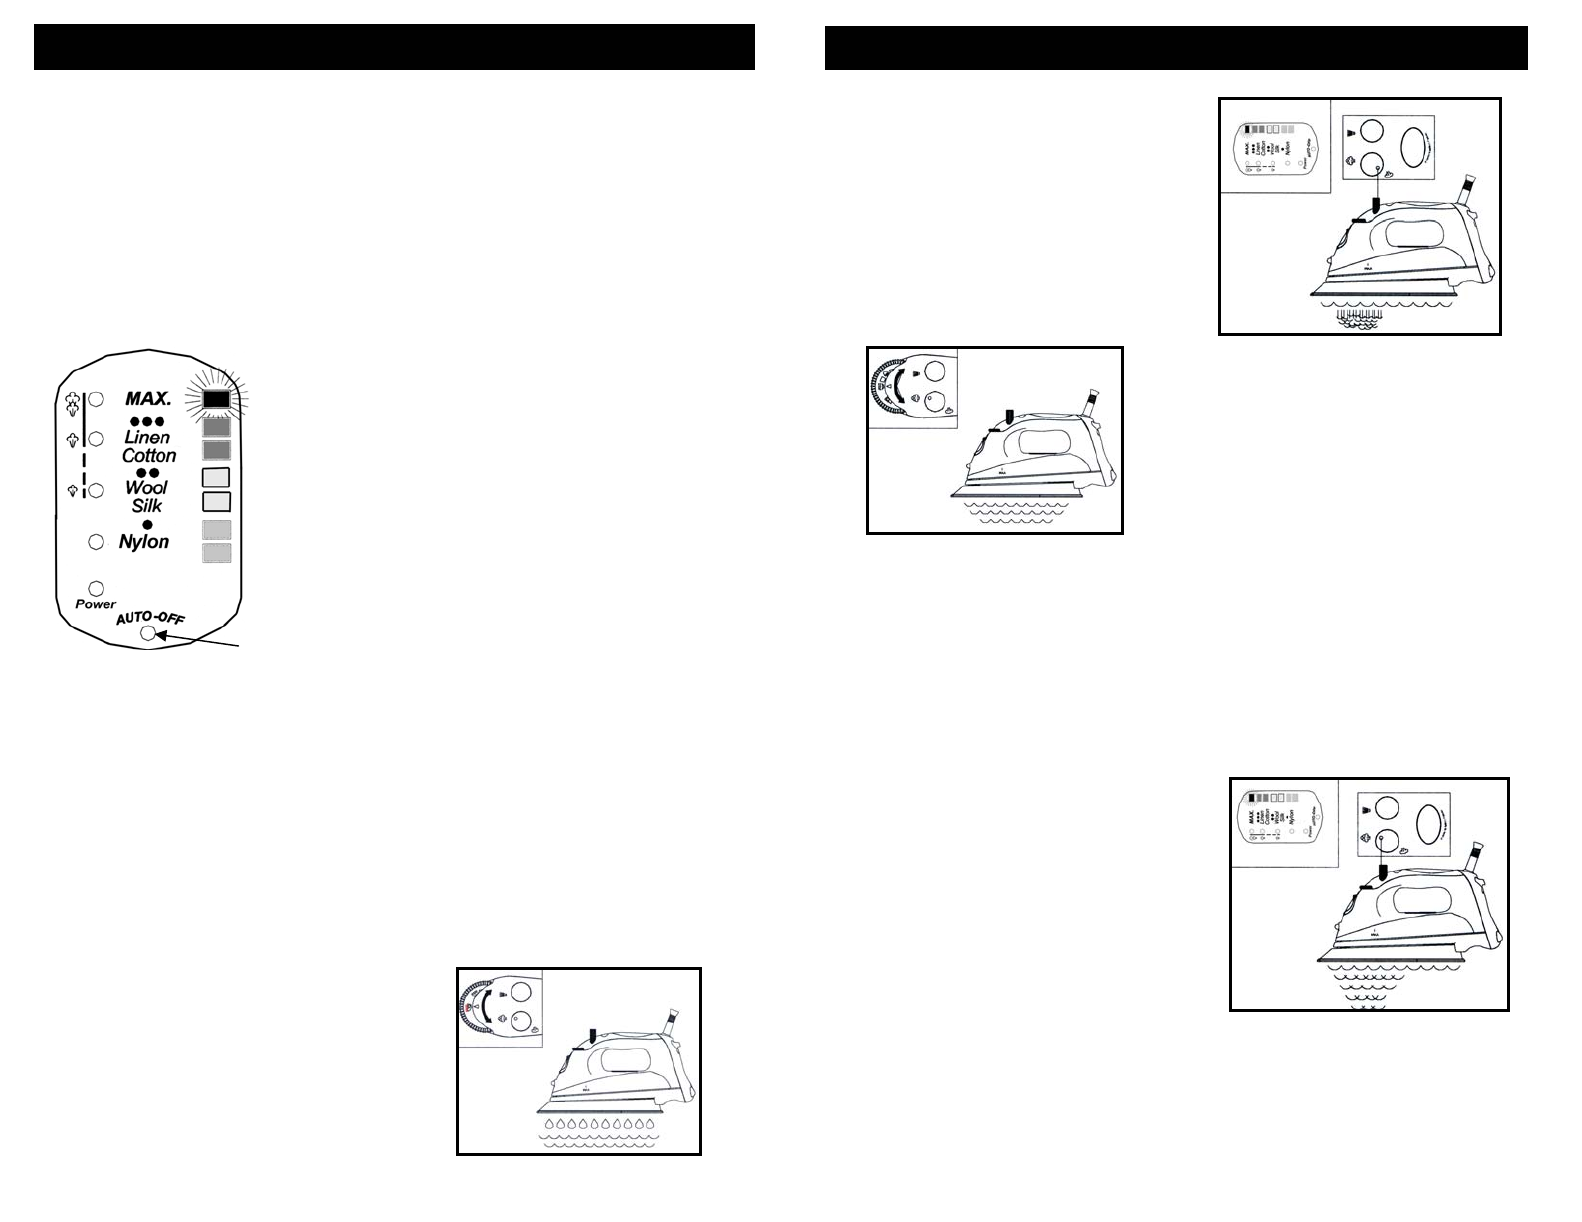
The SHARK ELECTRONIC Iron is
equipped with an electronic auto-off. The
electronic auto-off switches the iron off if it
has been left standing unmoved in any
position (sideways, flat or upright) for
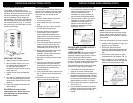
approximately 7-9 minutes. A red light on
the LED display panel will flash when the
iron switches itself off. (Fig. 7) To switch
the iron back on, just shake the iron side-
to-side several times.
Flash
Fig. 7
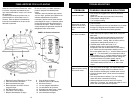
EMPTYING THE IRON
1. Always empty iron after each use.
2. When finished using the iron, turn
the variable steam control dial to
“0” and press the electronic
temperature control button until the
power light is lit.
3. Unplug the iron from the electrical
outlet.
4. Turn the iron upside down over the
sink with the tip pointing downward
and allow the water to flow from the
opening.
5. Place iron upright and allow to cool
before storing.
CAUTION! Use caution when
emptying the iron. Burns may occur
from touching hot metal surfaces,
hot water or steam.
7
16


