


CAREANDClEANING
Control Panel
- clean with a soft, damp stain or cleaning substance. Once these
cloth. Do not use abrasive substances.
steps are done, stains may still be visible,
Tumbler
- remove any stains such as
crayon, ink pen or fabric dye (from new
items such as towels or jeans) with an
all-purpose cleaner. Then tumble old
towels or rags to remove any excess
but should not transfer to subsequent
loads.
Cabinet
- wipe off any marks with soap
and water.
Dryer Exhaust System
- should be
inspected and cleaned once a year to
maintain optimum performance. The out-
side exhaust hood should be cleaned
more frequently to ensure proper opera-
tion. (Refer to the Installation Instructions
for more information.)
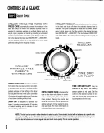
REPlACINGTliE DRUMllGtiT
Instructions for replacing the bulb:
1)
Unplug or disconnect the dryer from
the electrical power supply.
4) Rotate bulb counter-clockwise to
remove from socket.
5) Replace the bulb with a 120 volt, IO
7) Replace lens cover by hooking plastic
tabs into tumbler front below the light
housing.
2) Open the door and use a Phillips
screwdriver to remove the screw
attaching the lens to the tumbler
front.
3) Remove lens cover by pulling cover
toward center of tumbler.
watt maximum candelabra base light
bulb.
6) Turn the light bulb clockwise into
socket.
8) Reinstall the screw into the lens cover
screw hole.
9) Reconnect dryer to power supply.
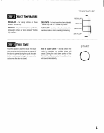
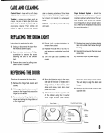
REVERSlNGTtlEDOOR
Directions for reversing the dryer door:
1)
Remove the hinge hole covers and
screws.
2) While supporting the door, remove 2
screws in the hinges that secure the
hinges to the cabinet.
3) Remove door by lifting slightly at the
hinges and pulling the hinge tabs out
of the hinge slots.
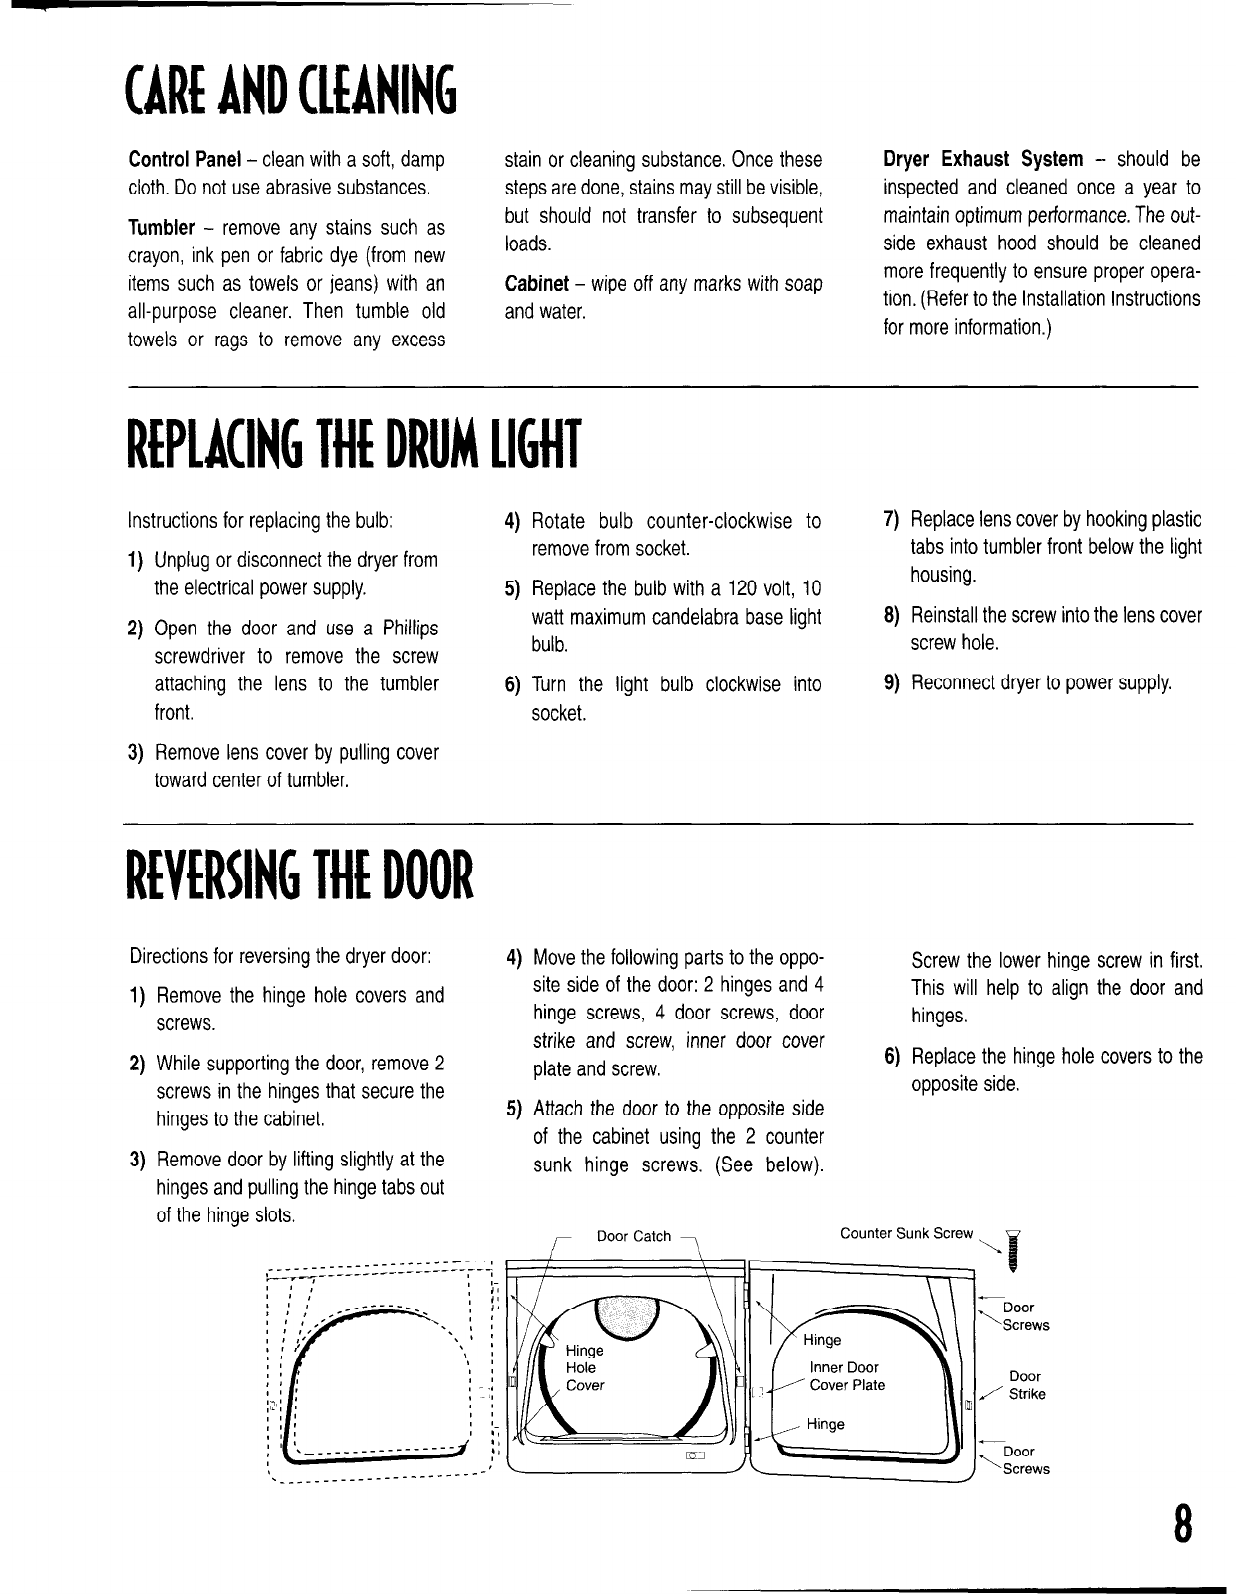
4) Move the following parts to the oppo-
site side of the door: 2 hinges and 4
hinge screws, 4 door screws, door
strike and screw, inner door cover
plate and screw.
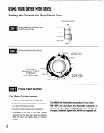
Screw the lower hinge screw in first.
This will help to align the door and
hinges.
6) Replace the hinge hole covers to the
opposite side.
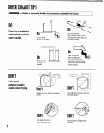
5) Attach the door to the opposite side
of the cabinet using the 2 counter
sunk hinge screws. (See below).
/
Door Catch
7
Counter Sunk Screw
\
poor
Screws
Door
/ Strike
8