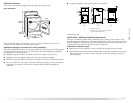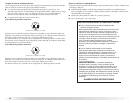
18
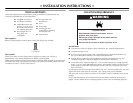
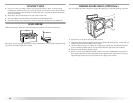
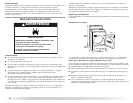
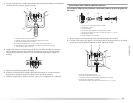
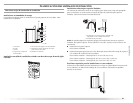
CONNECT VENT
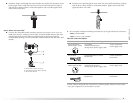
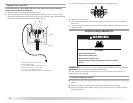
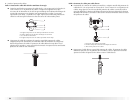
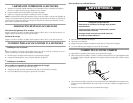
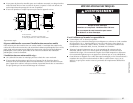
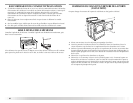
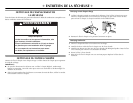
1. Using a 4" (10.2 cm) clamp, connect vent to exhaust outlet in dryer. If connecting to
existing vent, make sure the vent is clean. The dryer vent must fit over the dryer exhaust
outlet and inside the exhaust hood. Check that the vent is secured to exhaust hood with a
4" (10.2 cm) clamp.
2. Move dryer into its final location. Do not crush or kink vent.
3. (On gas models) Check that there are no kinks in the flexible gas line.
4. Once the exhaust vent connection is made, remove the corner posts and cardboard.
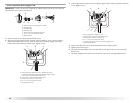
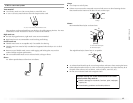
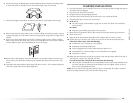
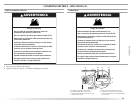
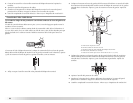
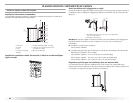
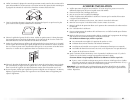
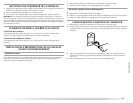
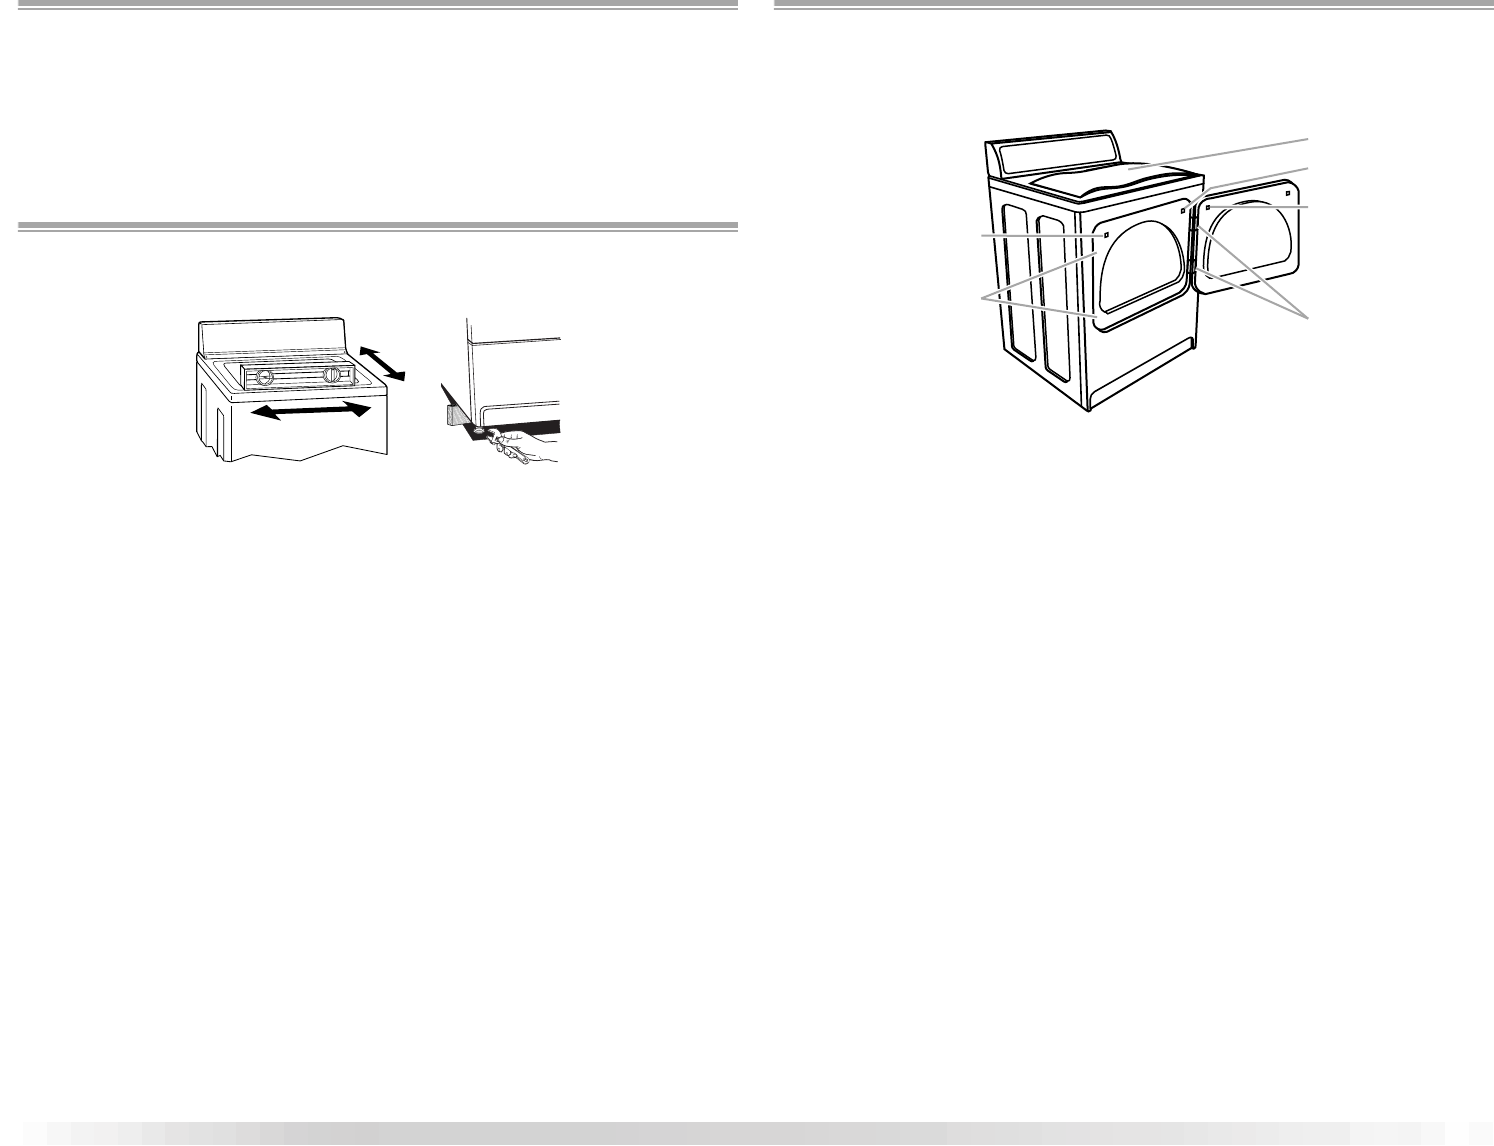
LEVEL DRYER
Check the levelness of the dryer. Check levelness first side to side, then front to back.
If the dryer is not level, prop up the dryer using a wood block. Use a wrench to adjust the legs
up or down and check again for levelness.
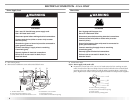
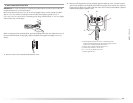
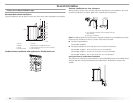
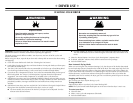
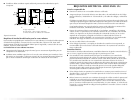
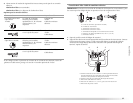
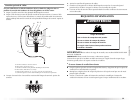
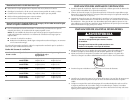
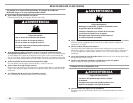
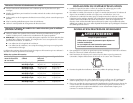
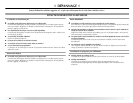
REVERSE DOOR SWING (OPTIONAL)
You can change your door swing from a right-side opening to a left-side opening, if desired.
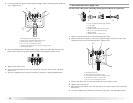
1. Place towel (A) on top of dryer to protect surface.
2. Open dryer door. Remove bottom screws from cabinet side of hinges (D). Loosen (do not
remove) top screws from cabinet side of hinges.
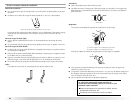
3. Lift door until top screws in cabinet are in large part of hinge slot. Pull door forward off
screws. Set door (handle side up) on top of dryer. Remove top screws from cabinet.
4. Remove screws attaching hinges to door.
5. Remove screws at top, bottom and side of door (4 screws). Holding door over towel on
dryer, grasp sides of outer door and gently lift to separate it from inner door. Do not pry
apart with putty knife. Do not pull on door seal or plastic door catches.
A
B
F
E