4
Installation Instructions
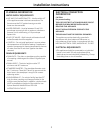
CONNECTING TO GAS SUPPLY
Connect the gas supply to the dryer. If codes
allow, use new flexible metal tubing (design
certified by the American Gas Association). Be
sure there are no kinks. For gas connections, you
MUST use pipe joint compound resistant to the
action of LP gas.
CAUTION: Be sure electricity is OFF at power
supply source (circuit breaker/fuse box).
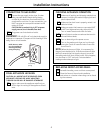
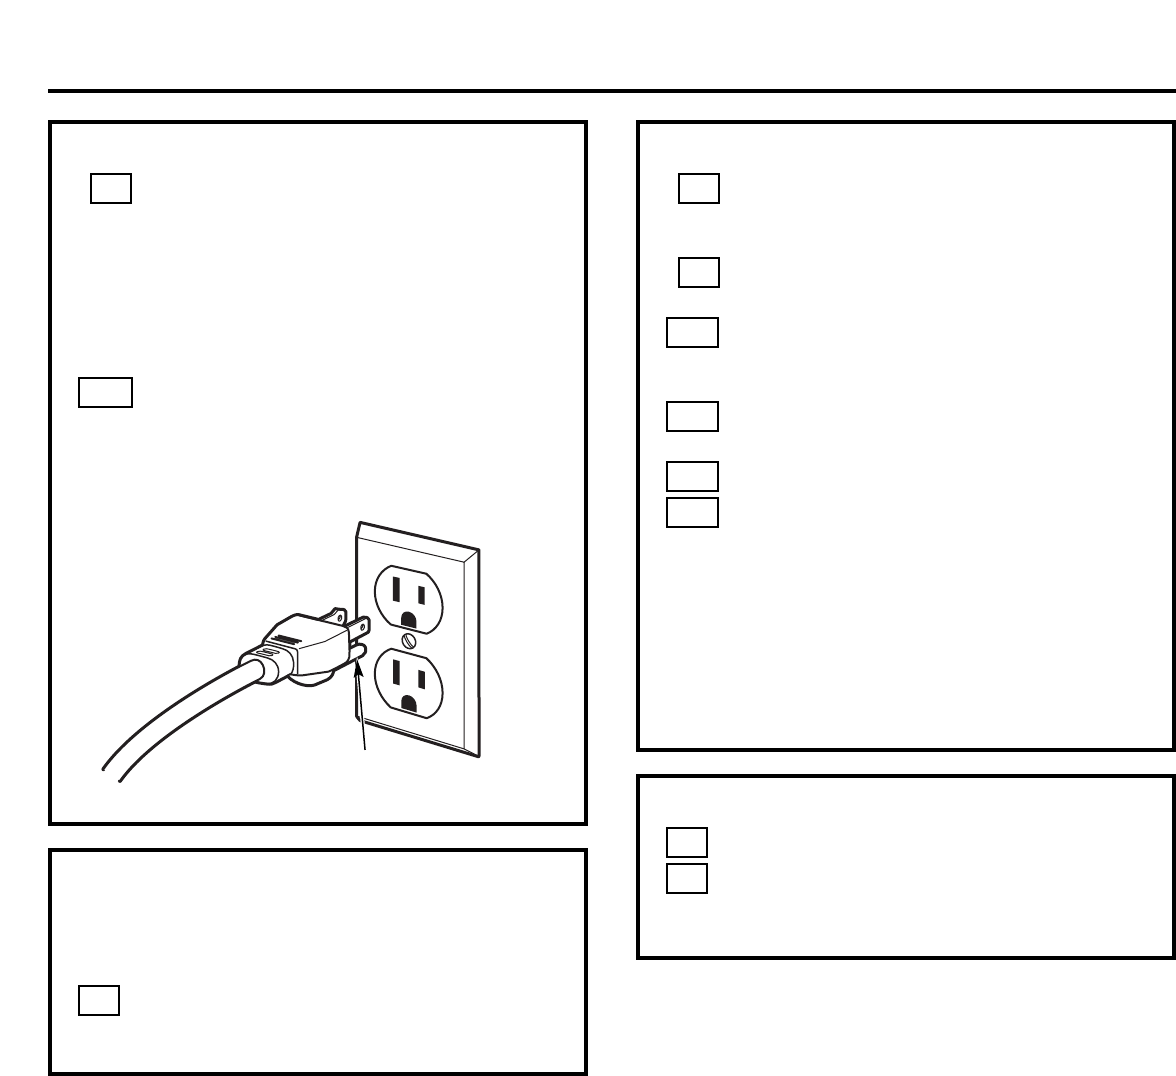
Plug power cord into electrical outlet.
IMPORTANT:
120 volt 60 hz AC only electrical supply is
required on a separate 15 ampere circuit fused by a time
delay fuse or circuit breaker.
14A
14
NOTE: Do not, under
any circumstances,
remove grounding
prong from plug.
Grounding
prong
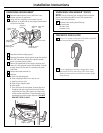
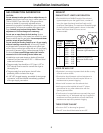
FINAL APPLIANCE LEVELING
CAUTION: ALL WEIGHT MUST BE REMOVED FROM
APPLIANCE LEVELING LEG WHILE ADJUSTING.
THREADS ON LEG WILL BE DAMAGED OTHERWISE.
Again, make sure the appliance rests firmly on
all four legs. No rocking of the appliance should
exist.
15
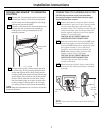
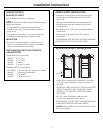
CHECKING APPLIANCE OPERATION
Make sure all packing and shipping materials are
removed, including the washer shipping bolt and
plastic spacer block.
Make sure the drain hose is properly routed—not
coiled or kinked.
Make sure water inlet hoses are connected (HOT
to HOT) and tightened securely without kinks.
Turn on water faucets and check for leaks.
Tape all joints to make sure exhaust ductwork is
secured without leaks.
Turn on electricity at the power source.
Turn on the washer and dryer and run through
one cycle. Check all hoses for leaks. Ensure the
burner has lit.
NOTE:
Before the burner will light, it is necessary for
the gas line to be bled of air. If the burner does not light
within 45 seconds the first time the dryer is turned on,
the safety switch will shut off the burner. If this happens,
turn the timer to “OFF” and wait 5 minutes before
making another attempt to light.
17D
17C
17B
17A
17
16
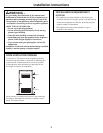
REPLACING FRONT ACCESS PANEL
Reinstall the safety cover and front access panel.
Place the Owner’s Manual and Installation
Instructions in a location where they can be found
by the customer.
19
18


