


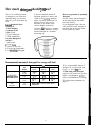


Care and Cleaning
USER MAINTENANCE
INSTRUCTIONS
● Wipe
the
cabinet with a damp
cloth. Occasionally wash it with
mild soap and water and then apply
a light coat of appliance polish to
help preserve the finish.
● Keep the area around and
underneath your appliance free from
the accumulation of combustible
materials such as lint, paper, rags,
chemicals, etc.
c
Keep the floor around your
appliance clean and dry to reduce
the possibility of slipping.
●
For long vacations,
be sure
water supply is shut off at faucets.
Drain all water from hoses if the
appliance will be exposed to
freezing weather.
● Winterizing instructions:
The washer cannot be operated
in
freezing temperatures. Before you
store the appliance, remove water
from all parts of the washer.
1. Turn off water supply faucets.
(The front access panel between
washer and dryer may have to be
removed. See procedure at right. )
Disconnect hoses from faucets
and drain.
2. Add 1 gallon of non-toxic
RV
antifreeze (available from the
hardware or recreational vehicle
store) to the washer tub.
3. Push the timer knob in, turn the
knob to the right to SPIN and pull
the knob out.
4. Let the washer spin for
I
or 2
minutes to let all water drain out.
Some but not all of the
RV
antifreeze will be expelled.
5. Push in the timer knob, dry
the tub interior, disconnect the
electrical plug, close the lid.
6. Store the appliance in an upright
position.
7. Before reusing washer, after
storage, run washer through a cycle
to rinse out the antifreeze.
Washer
● Lint
flllter.
The self-cleaning lint
filter needs no attention from you.
●
Washbasket. After each use,
leave the lid
open to allow moisture
to evaporate. Clean thoroughly with
nonabrasive household cleanser to
remove deposit left by heavily soiled
clothes. Do not use harsh cleansers.
“
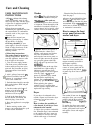
Agitator.
Remove the agitator at
regular intervals—about 4 to 6
months—and remove any lint that
may have accumulated. After
removing the front access panel, as
shown at right, unscrew the agitator
cap, grasp the agitator with both
hands, and pull it up and out of the
washbasket.
The slotted section at the top of the
metal shaft has a light coating of
lubricant to prevent parts from
sticking together. If this area appears
to be dry, apply a
light
coat of
grease or petroleum jelly around
the shaft before replacing the
agitator. Do not
overgrease.
Excess
grease may get into the clothes
load,
When replacing the agitator,
carefully lower it straight down
onto the agitator support block and
replace the cap securely.
Dryer
If your dryer is exhausted to the
outside, inspect and clean the dryer
exhaust
ducting at least once a
year.
How to
reduce the possibility of
a fire hazard, if your dryer is not
exhausted to the outside:
A clothes dryer produces combustible
lint. When the dryer is not exhausted
to the outside, this lint is more apt
to accumulate in and near the dryer,
which could create a fire hazard.
25
. Clean the lint filter before every
load. See page 7.
● Inspect the area behind the front
access panel at least once a year
and clean out any lint that may have
accumulated. Wipe or
lacuum,
being
careful not to disturb any electrical
or mechanical connections.
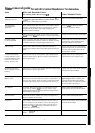
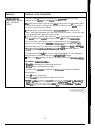
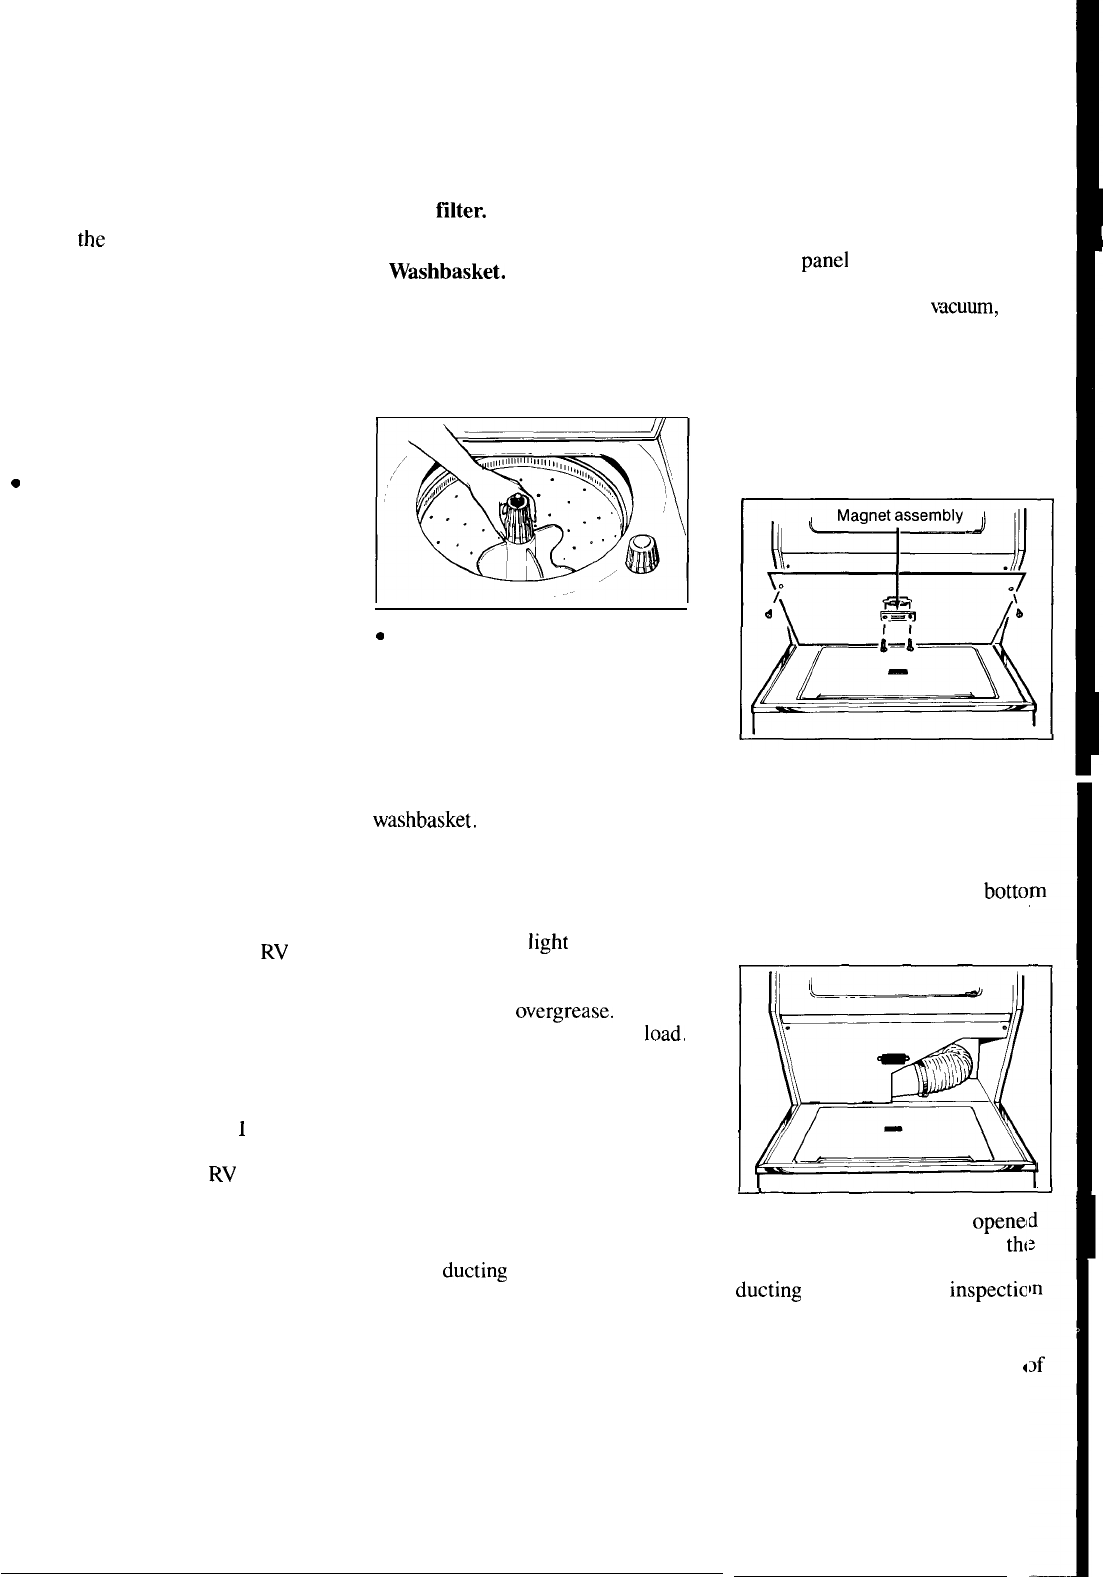
How to remove the front
access panel between the
washer and dryer
Take out 2 screws holding the
magnet assembly and remove
the magnet assembly.
Then take out 2 screws at top
corners of access panel and lift
access panel up until tabs at
botto]
of panel slip out of slots at rear of
washer.
The washer lid can now be
openel
enough to allow you to remove
thf
agitator, and the dryer exhaust
ducting
is accessible for
inspectic
and cleaning.
To replace the front access panel,
fit tabs on panel into slots at rear
~
washer, push panel back in place
and replace screws and magnet
assembly.