


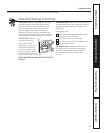

$19;B1@41>E1>
1B185:313?
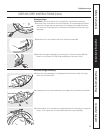
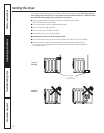
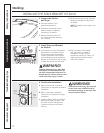
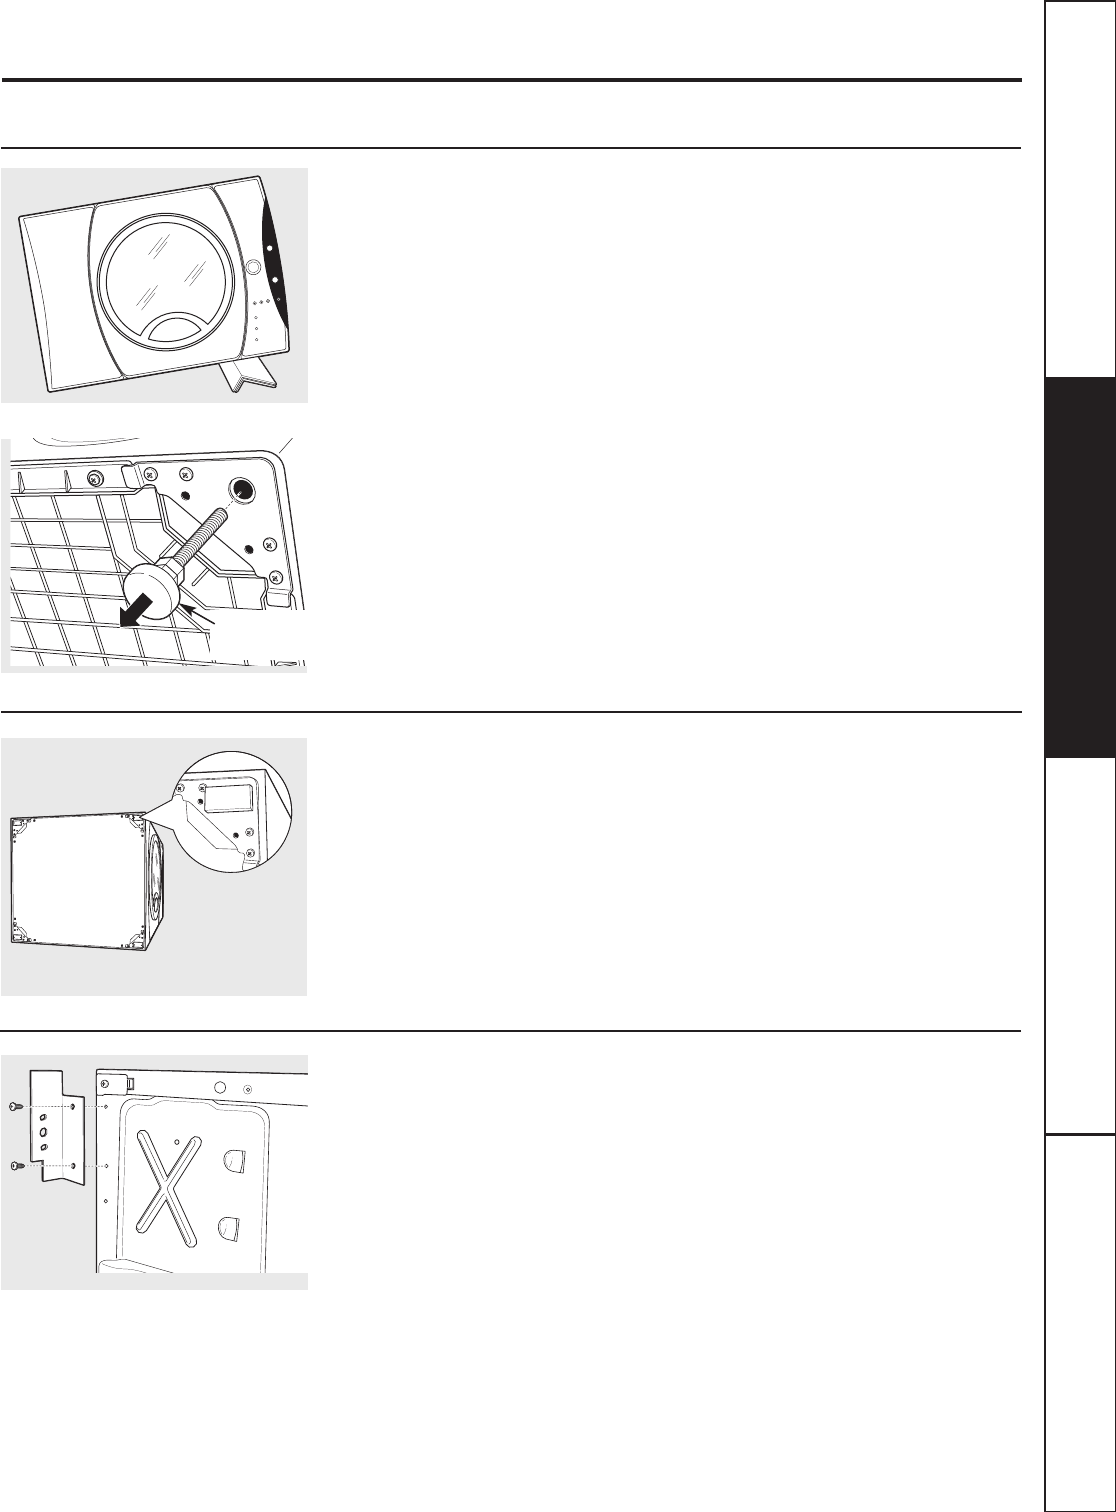
Carefully lay the dryer on its side.
Use the packing material so you
don’t scratch the finish on the dryer.
Use an open-end wrench or pliers
to remove the dryer leveling legs.
$% %$%#%%
Back out and remove
all 4 leveling legs
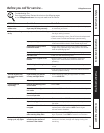
:?@-88$A..1>#-0?
@;>E1>-?1
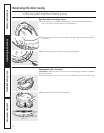
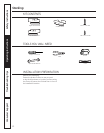
Locate the 4 rubber pads in the parts
package. Remove the adhesive
backing and firmly place over on the
bracket where you removed the
leveling legs.
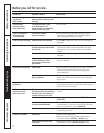
:?@-88>-/71@
@;>E1>
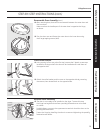
Align the holes in the left bracket
with the holes in the bottom left
corner of the dryer. Use a Phillips
screwdriver to install the 2 #12 x 1″
tapping screws.
Repeat the above step with the right
bracket on the bottom right corner
of the dryer.
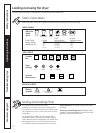
Set the dryer upright.
!"& Make sure to set the dryer
on a piece of packing material so
the brackets that are attached to
the bottom of the dryer do not
damage the floor.
<<85-:/1?/;9
22
;:?A91>%A<<;>@&>;A.81?4;;@5:3&5<?"<1>-@5:3:?@>A/@5;:?%-21@E:?@>A/@5;:?