installation electrolux 25
Installation
Unpacking
All transit bolts and packing must be
removed before using the appliance.
Slide out the polythene bag with the
polystyrene stuffing before using the
appliance Pull off adhesive strips from
inside machine on top of drum.
SShhoouulldd tthhee aapppplliiaannccee bbee mmoovveedd,, iitt mmuusstt
bbee ttrraannssppoorrtteedd vveerrttiiccaallllyy
.
TThhee aapppplliiaannccee mmuusstt nnoott bbee iinns
sttaalllleedd
bbeehhiinndd aa lloocckkaabbllee ddoooorr,, aa sslliiddiinngg ddoooorr aa
ddoooorr wwiitthh aa hhiinnggee oonn tthhee ooppppoossiittee ssiiddee
ttoo tthhaatt ooff tthhee aapppplliiaannccee..
Positioning
It is recommended that, for your
convenience, the machine is positioned
close to your washing machine.
The tumble dryer must be installed in a
clean place, where dirt does not build up.
Air must be able to circulate freely all
round the appliance. Do not obstruct the
front ventilation grille or the air intake
grilles at the back of the machine.
To keep vibration and noise to a
minimum when the dryer is in use, it
should be placed on a firm, level surface.
Once in its permanent operating position,
check that the dryer is absolutely level
with the aid of a spirit level. If it is not,
raise or lower the feet until it is.
The feet must never be removed. Do not
restrict the floor clearance through
deeppile carpets, strips of wood or
similar. This might cause heat build-up
which would interfere with the operation
of the appliance.
IImmppoorrttaanntt
The hot air emitted by the tumble dryer
can reach temperatures of up to 60°C.
The appliance must therefore not be
installed on floors which are not resistant
to high temperatures.
When operating the tumble dryer, the
room temperature must not be lower
than +5°C and higher than +35°C, as it
may affect the performance of the
appliance.
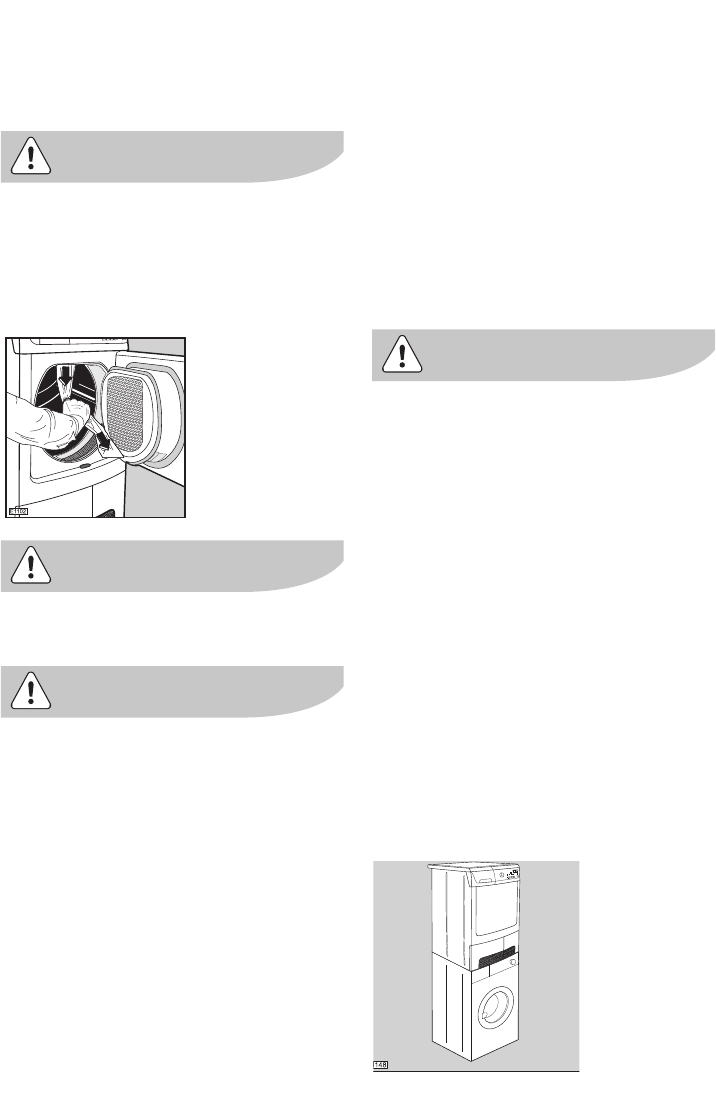
Stacking kit
A special stacking kit is available through
your dealer, to enable the mounting of
the dyer on top of a front loading
washing machine with cover’s depth
between 48 and 60 cm.
Read carefully the instructions supplied
with the kit.
125985630 gb.qxp 2006-07-20 08:30 Page 25


