INSTALLATION INSTRUCTIONS
Instructions for Use
8
• Insert the 4- wire supply cord through both
sections of the strain relief and re-install strain
relief screws, do not fully tighten until electrical
connections are complete.
• Attach the power cord ground conductor (green
wire) to the ground terminal marked with the
ground symbol. Tighten screw until ground
conductor is secure. (See Fig. 7)
• Attach the power cord neutral conductor (white
wire) to the neutral terminal. (marked N)
Tighten screw until neutral conductor is secure.
(See Fig. 7)
• Attach the power cord phase conductor (black
wire) to the phase terminal (marked L3).
Tighten screw until power conductor is secure.
(See Fig. 7)
• Attach the power cord phase conductor (red
wire) to the phase terminal (marked L1).
Tighten screw until power conductor is
secure.(See Fig. 7)
• Tighten the screws on the strain relief so that
the power cord cannot be moved.
• Re-install the cover of the junction box and
secure with four screws removed earlier.
• The dryer is now ready to be connected to the
power supply receptacle.
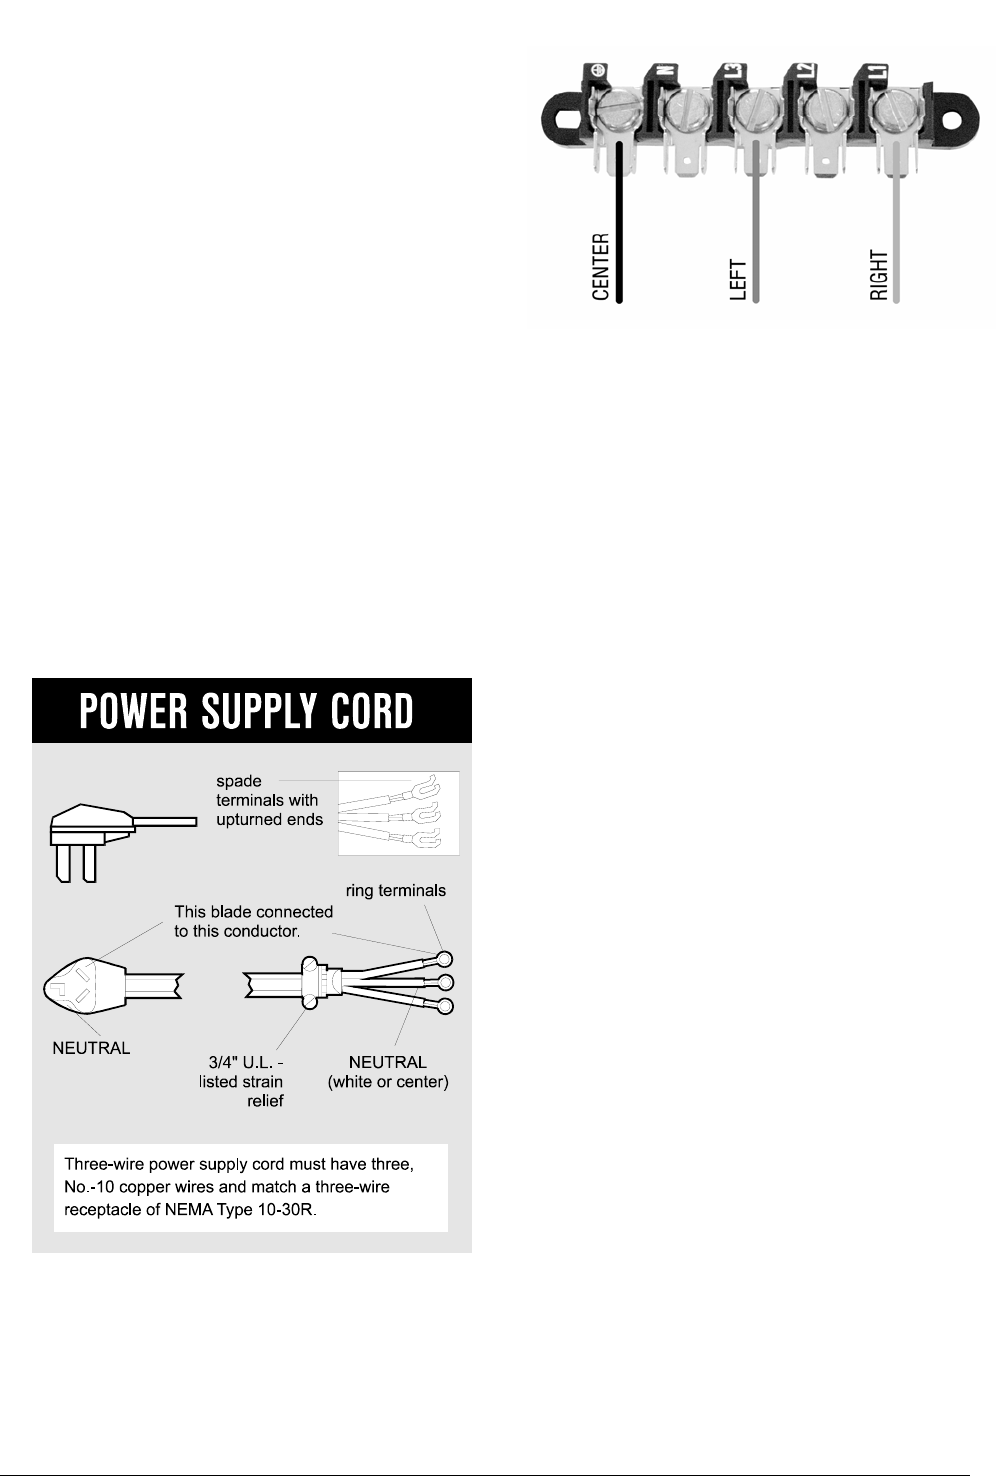
Three-wire connection
Junction box
Fig. 8
To connect power cord:
• Remove the screws from the cover of the
junction box located at the top rear of the dryer.
• Loosen/remove the two screws on the strain
relief clamp and remove from 3-wire supply
cord.
• The strain relief splits into two indentical parts.
• Insert the large flange of both sections into the
hole located on the left side of the junction box
housing. The short flange of both sections and
screws must remain positioned on the external
side of the junction box housing.
• Insert the 3- wire supply cord through both
sections of the strain relief and re-install the
strain relief screws, do not fully tighten until
electrical connections are complete.
• Attach the power cord ground conductor (green
wire) to the ground terminal marked with the
ground symbol. Tighten screw until ground
conductor is secure. (See Fig. 8)
• Attach the two remaining power cord phase
conductors ( left = black wire and right = red
wire ) to the phase terminals (marked L3 & L1).
Tighten screws so that the power conductors
are secure. (See Fig. 8)
• Tighten the screws on the strain relief so that
the power cord cannot be moved.
• Re-install the cover of the junction box and
secure with four screws removed earlier.
• The dryer is now ready to be connected to the
power supply receptacle.
Note:
The receptacle should be located so that the plug
and receptacle will be accessible with the dryer in
its installed position.
Additional Grounding Procedure
Some local codes may require a separate
ground. In such cases, the required accessory
ground wire, clamp and screw must be
purchased separately.
Never ground the dryer to plastic plumbing lines,
gas lines or hot water pipes.


