


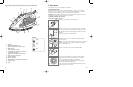

Surge of Steam
Use to remove stubborn creases.
1. With water tank filled to the MAX mark, turn the fabric-select dial to at least
setting 4 and wait for the temperature-ready light to go off.
2. To remove tough wrinkles, pump the button at 5-second intervals for a
concentrated blast of steam.
3. When finished ironing, turn the fabric-select dial to lowest heat setting, move
the dry/steam selector to and unplug the iron.
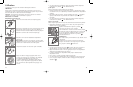
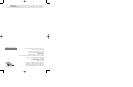
Vertical Steam
Use for removing wrinkles from hanging clothes and drapes.
1. Hang the garment to be steamed on a clothes hanger (curtains or drapes can
be steamed once they are hung).
2. Move the dry/steam selector to .
3. Hold the iron close to, but not touching, the fabric.
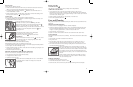
4. Pull the fabric tight in your free hand and pump the
button as you move the iron over the fabric (F).
5. When finished ironing, turn the fabric-select dial to lowest
heat setting, move the dry/steam selector to and
unplug the iron.
IRONING WITH SPRAY
Use to dampen tough wrinkles at any setting (G).
1. Be sure the iron is filled with water.
2. On first use, pump the button several times.
DRY IRONING
1. Make sure dry/steam selector is set to . You may want
to empty the water (see “Emptying Water Tank After
Ironing - Optional”).
2. Turn the fabric-select dial to the desired setting.
Read garment’s label to help you determine fabric type.
• The temperature-ready light glows until it reaches the appropriate temperature.
• It then glows on and off during ironing.
3. When finished ironing, turn fabric-select dial to lowest setting, unplug the iron
and place it on its heel rest.
4. Move the dry/steam selector to .
EMPTYING WATER TANK AFTER IRONING (OPTIONAL)
Note: It is not necessary to empty the water after each use.
1. Turn the fabric-select dial to the lowest setting.
2. Unplug the iron and let it cool.
3. Open the water-fill cover.
4. Empty the water by holding the iron over a sink with the
tip pointing down. Water will empty out of water-fill
opening (H).
6
5
SPECIAL FEATURES
ANTI-DRIP SYSTEM
The anti-drip system prevents water spotting at low temperatures.
10-MINUTE AUTO SHUTOFF
1. If you leave the iron on its heel rest without moving it, the iron will
automatically shut off after 10 minutes. The auto shutoff indicator light blinks
to let you know that the iron has stopped heating. To turn it back on, move the
iron until it starts heating again.
2. When finished, unplug the iron and stand it on its heel rest.
3. Move the dry/steam selector to .
Care and Cleaning
This product contains no user serviceable parts. Refer service to qualified service
personnel.
CLEANING OUTSIDE SURFACES
1. Make sure iron is unplugged and has cooled completely.
2. Wipe the soleplate and outer surfaces with a soft cloth dampened with water
and a mild household detergent. Never use abrasives, heavy-duty cleansers,
vinegar or scouring pads that may scratch or discolor the iron.
3. After cleaning, plug in the iron.
4. Steam iron over an old cloth to remove any residue from the steam vents.
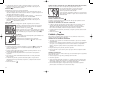
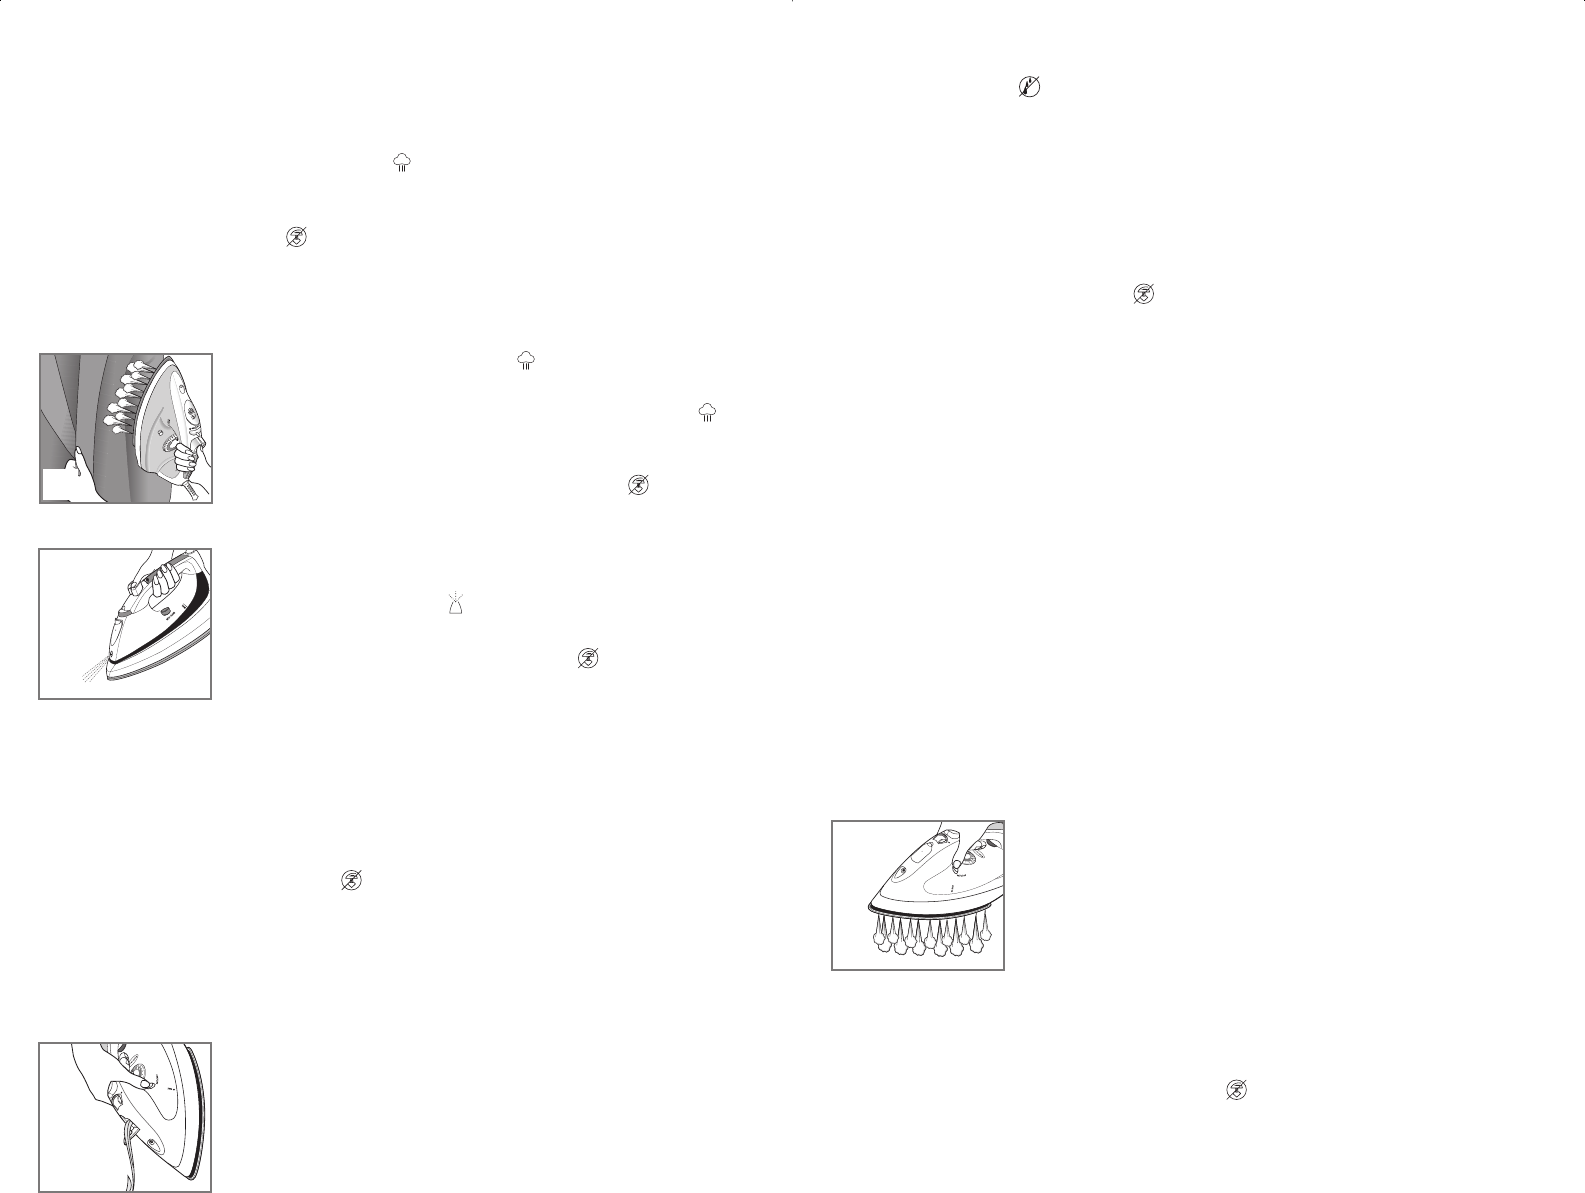
AUTO CLEANING
To keep the steam vents free of any buildup, follow these instructions about once
a month.
1. Fill the tank with water well below the MAX line.
2. Plug in the iron.
3. Turn the fabric-select dial to 6 and stand the iron on its heel rest. Allow it
to heat until the auto shutoff indicator light goes out and comes on again.
4. Turn fabric-select dial to lowest setting, unplug the iron and hold over a sink
with the soleplate facing down.
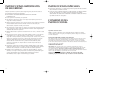
5. Press and hold the AUTO CLEAN button. Be careful, as
hot water and steam will come out of the steam vents (J).
Continue to hold AUTO CLEAN button until all the water
has emptied, or until you feel all mineral deposits have
been flushed. If necessary, rock iron side to side and front
to back.
6. When finished, release the button, stand the iron on its
heel rest and plug it in. Heat for about 2 minutes to dry
out any remaining water.
STORING YOUR IRON
1. Unplug the iron and allow it to cool.
2. Check that the dry/steam selector is set to .
3. Store vertically on its heel rest to prevent water leaking from the soleplate.
k
F
k
G
k
H
k
J
AS255Pub1000003118 7/25/06 4:25 PM Page 6