B2500
5 - USB memory key
B2500 MFP User’s Guide
27
USB memory
key
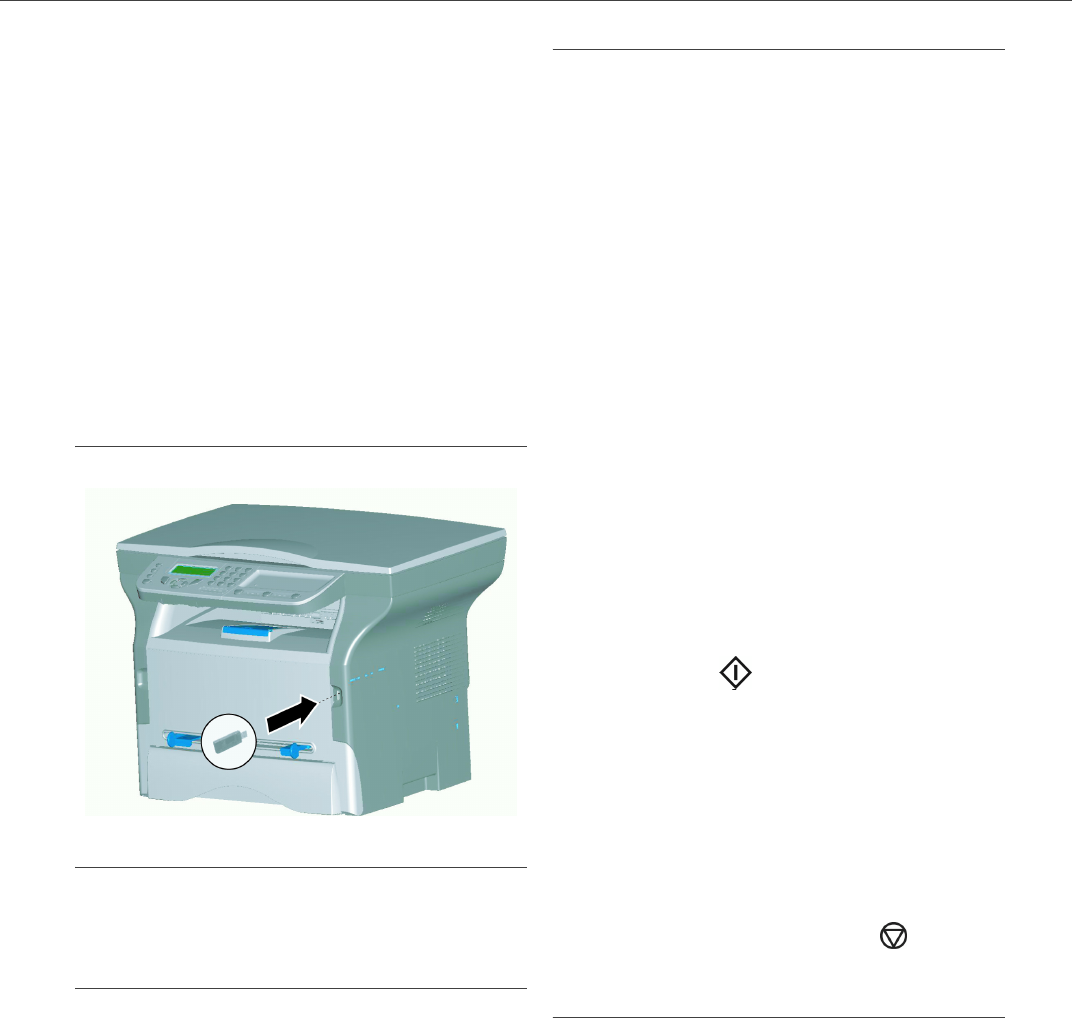
You can connect a USB memory Key on the front
side of your machine. The files stored in TXT, TIFF
and JPEG formats will be analyzed and you will be
able to use the following actions:
-print the stored files contained in your USB
memory key,
-delete the files contained in your USB memory
key,
-run an analysis on the contents of the inserted
USB memory key,
-digitize a document on your USB memory key.
Use of the USB memory key
Print your documents
You can print the stored files or a list of the files
located in the USB memory key.
Print the list of files located in the key
▼
01 - MEDIA/PRINT DOC./LIST
1
Insert the USB memory key on the front side of
the machine respecting the way of insertion.
2 MEDIA ANALYSIS appears on the screen.
3 Select PRINT DOC. with the ▼ or ▲ buttons
and confirm with
OK.
4 Select LIST with the ▼ or ▲ buttons and
confirm with
OK.
5 The list is shown in a table with the following
information:
- the analyzed files are indexed in an
incremental 1 by 1 order,
- the file’s name with it’s extension,
- the date of the file’s last save,
- the file’s size in Kbytes.
Print the files located in the key
▼
01 - MEDIA/PRINT DOC./FILE
1
Insert the USB memory key on the front side of
the machine respecting the way of insertion.
2 MEDIA ANALYSIS appears on the screen.
3 Select PRINT DOC. with the ▼ or ▲ buttons
and confirm with
OK.
4 Select FILE with the ▼ or ▲ buttons and
confirm with
OK.
5 You have three possibilities to print your files:
- ALL, to print all the files located in the
USB memory key.
Select ALL with the ▼ or ▲ buttons and
confirm with OK. The printing is started
automatically.
- SERIES, to print several files located in
the USB memory key.
Select SERIES with the ▼ or ▲ buttons
and confirm with OK.
FIRST FILE and the first indexed file
appears on the screen, select with the ▼
or ▲ buttons the file to print and confirm
with OK. A star (❅) appears on the left
side of the file.
LAST FILE appears on the screen, select
with the ▼ or ▲ buttons the other files to
print and confirm with OK.
Press the button. COPIES NUMBER
appears on the screen, enter the desired
number of copies with the digital keypad
and confirm with OK to start printing.
- SELECTION, to print only one file located
in the USB memory key.
Select with the ▼ or ▲ buttons the file to
print and confirm with OK. COPIES
NUMBER appears on the screen, enter
the desired number of copies with the
digital keypad and confirm with OK to
start printing.
6
Quit this menu by pressing the button.
Delete your files located in the key
You can delete files located in your USB memory
key.
▼
06 - MEDIA/DELETE/MANUAL
1
Insert your USB memory key on the front side
of your machine respecting the way of
insertion.
2 MEDIA ANALYSIS appears on the screen.
3 Select DELETE with the ▼ or ▲ buttons and
confirm with
OK.
4 Select MANUAL with the ▼ or ▲ buttons and
confirm with
OK.
5 You have three possibilities to delete your files:
- ALL, to delete all the files located in the


