STEP 3: PRINT GUIDES AND INSTALL OTHER SOFTWARE 11
Scanning
This section describes how to scan with your Strobe XP 200 scanner.
There are two methods available for scanning documents, you can use
the scanner’s AutoScan feature or scan from the PaperPort software.
Both methods scan equally well, so use the one with appropriate options
for the item you are scanning.
• AutoScan—Using the AutoScan feature, simply insert a document in
the scanner and it is automatically scanned using predefined settings.
See “Scanning using the AutoScan Feature” on page 14.
• PaperPort software—When you start a scan from the PaperPort
software you can select scanning options and preview the scanned
image before starting to scan a document. See “Scanning from the
PaperPort Software” on page 24.
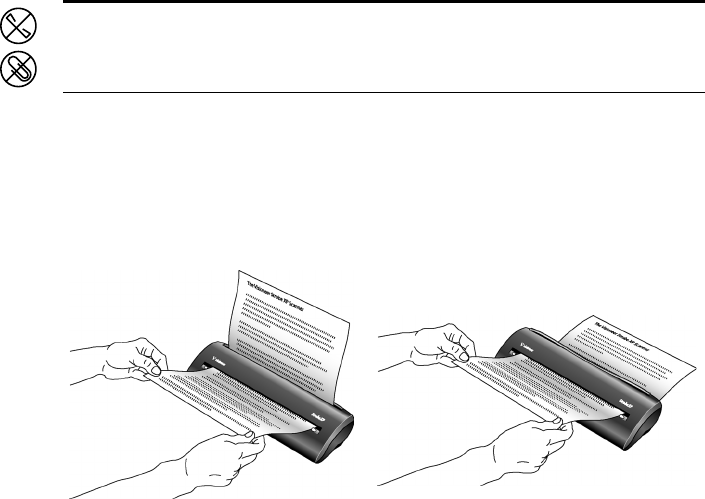
PAPER RETURN OPTIONS
The position of the paper return determines the path of the scanned
document. You can set the paper return to feed documents back toward
you, or straight through the scanner.
Note: Always remove any staples or paper clips from documents
before inserting them into the scanner. Staples and paper clips can jam
the feed mechanism and scratch the internal components.


