23
Menu settings
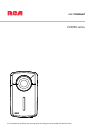
Using the camcorder menu
1. To access the menu for photo taking, press MENU in Photo preview mode. To access the menu for
video taking, press MENU in Video preview mode.
2.
Press + or – to highlight a menu option.
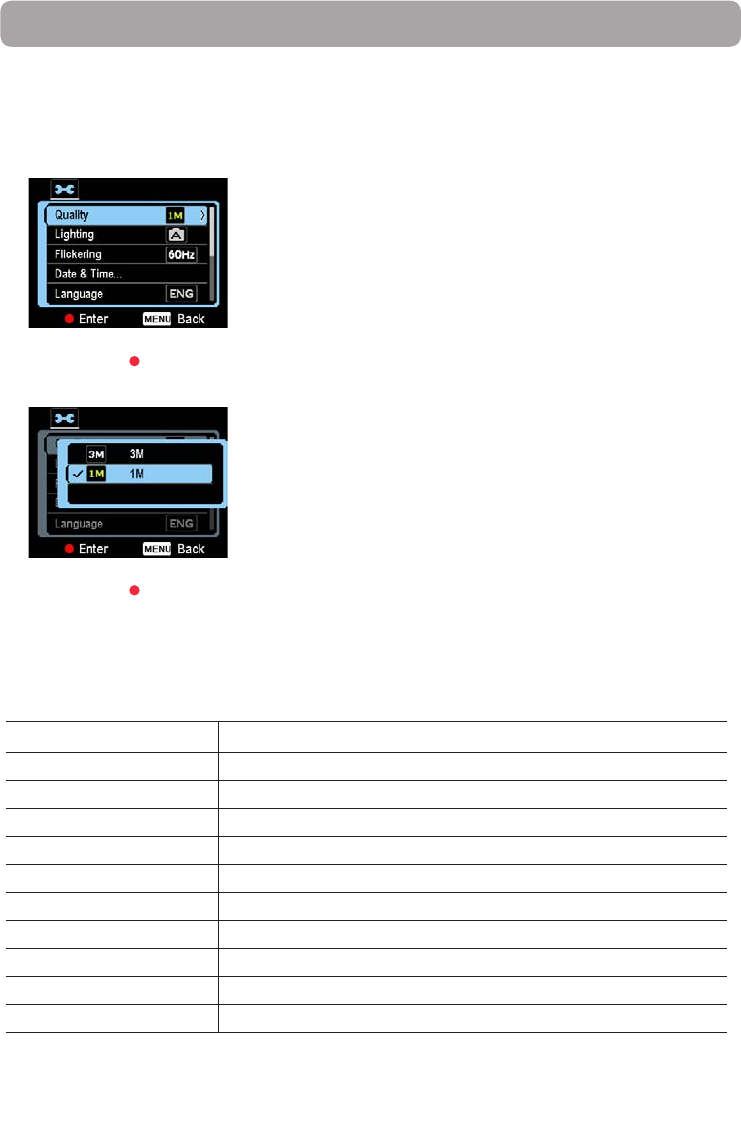
3. Press RECORD to enter the highlighted menu option.
4. Press + or – to change the setting.
5. Press RECORD to save settings.
6. Press MENU to exit the camcorder menu.
Menu options and settings
Menu options Available settings
Quality HD, HQ, WebQ(Video mode); 1M, 3M(Photo mode)
Lighting (Photo mode only) Auto, Outdoor, Indoor, Low light
Flickering
1
50Hz, 60Hz
Date & Time YYYY - MM - DD, HR : MM AM/PM
Language English, Francais, Espanol
TV Output NTSC (US), PAL
Key Tone On, O
Format...
2
Yes, No
Restore settings Yes, No
System info Show the current rmware version
1
For best results use 60Hz for US and Canada as this matches the power line frequency which in turn will reduce
flicker from indoor lighting.
2
Format the camcorder will remove all data files. Backup your media before formatting the camcorder.