Before Using Your Camera
1
41
While shooting, the current settings can be checked on the status screen.
You can also switch the display to the control panel and change settings.
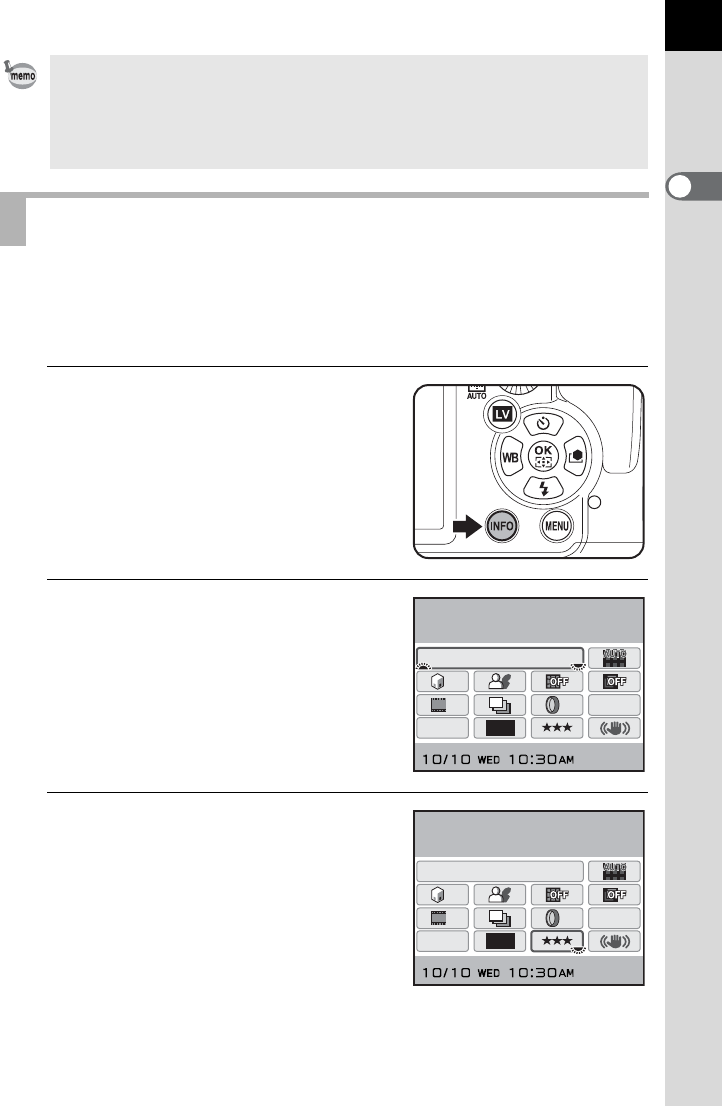
Following, how to set [JPEG Quality] is explained as an example.
1
Check the status screen and then
press the M button.
The control panel appears.
Press the M button when the status
screen is not displayed.
2
Use the four-way controller
(2345) to select an item you
want to change the setting for.
Items that cannot be changed for the
current camera settings appear grayed
out and cannot be selected.
3
Use the front e-dial (R) or rear
e-dial (S) to change the
setting.
While direct key operation is enabled, the guide indicators for the direct keys
are displayed in blue (when [Status Screen] (p.258) in the [R Set-up 1] menu
is set to [Display Color 1]). Direct key operation is not available when the AF
point switching dial is set to j and the AF point is being changed. In such
cases, press and hold the 4 button. (p.114)
Using the Control Panel
16M
[
37
]
ISO
AUTO
200-1600
JPEG
HDR
OFF
OFF
OFF
OFF
OFF
OFF
11
ISO AUTO Setting
Adjustment Range
16M
[
37
]
ISO
AUTO
200-1600
JPEG
HDR
OFF
OFF
OFF
OFF
OFF
OFF
11
JPEG Quality
