159
Shooting Settings
5
The following parameters can be changed according to the selected
image finishing tone.
*1 For [Favorite 1-3], you can save the settings of a cross processed image as a
favorite in advance through the playback mode palette. (p.160)
6
Use the four-way controller (45) to adjust the
parameter’s value.
You can check the saturation and hue with the radar chart.
Available operations
7
Press the 4 button.
The screen that was displayed in Step 3 appears again.
8
Press the 4 button.
The camera returns to the control panel.
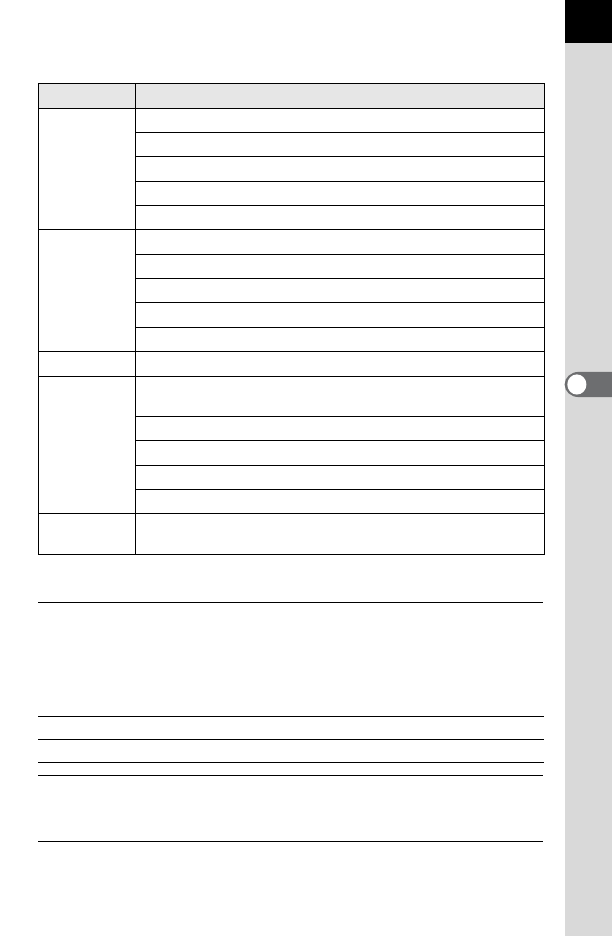
Image Tone Parameter
Bright/
Natural/
Portrait/
Landscape/
Vibrant/
Radiant
Saturation: -4 to +4
Hue: -4 to +4
High/Low Key Adj: -4 to +4
Contrast: -4 to +4
Sharpness: -4 to +4
Muted/
Bleach
Bypass
Saturation: -4 to +4
Toning: Off/Green/Yellow/Orange/Red/Magenta/Purple/Blue/Cyan
High/Low Key Adj: -4 to +4
Contrast: -4 to +4
Sharpness: -4 to +4
Reversal Film
Sharpness: -4 to +4
Monochrome
Filter Effect: None/Green/Yellow/Orange/Red/Magenta/
Blue/Cyan/Infrared Filter
Toning: Off/Green/Yellow/Orange/Red/Magenta/Purple/Blue/Cyan
High/Low Key Adj: -4 to +4
Contrast: -4 to +4
Sharpness: -4 to +4
Cross
Processing
Random/Preset 1-3/Favorite 1-3
*1
Rear e-dial (S) Switches between [Sharpness] and [Fine Sharpness].
d button Resets the adjustment value to the default setting.
