4
4.4 Adjusting the Image Density
4-12 Di1610/Di1610p
Making Copies Chapter 4
4.4 Adjusting the Image Density
The image density setting can be adjusted in two broad modes, “Text” and “Photo”.
Image Density Setting
● Text mode:
The image density can be adjusted either automatically (Auto) or manually in
nine steps.
❍ The image density is adjusted automatically according to the original from
which a copy is to be made.
❍ Manual image density adjustment:
The image density can be adjusted to one of nine levels.
To reduce bleed-throughs when copying newspapers and magazines, press
the [ ] key to select a lighter setting. To reproduce faint colors in brighter
parts of the image, press the [Ö ] key to select a darker setting.
Selecting a darker setting could result in a background image being
reproduced on the copy, while selecting a lighter setting could make the copy
image itself too light: Select the appropriate level according to your original.
● Photo mode:
Select “Photo” when making a copy from an original having large halftone
images, such as photos.
Setting the Image Density
1 Position the original.
❍ “Loading Originals” on page 3-22
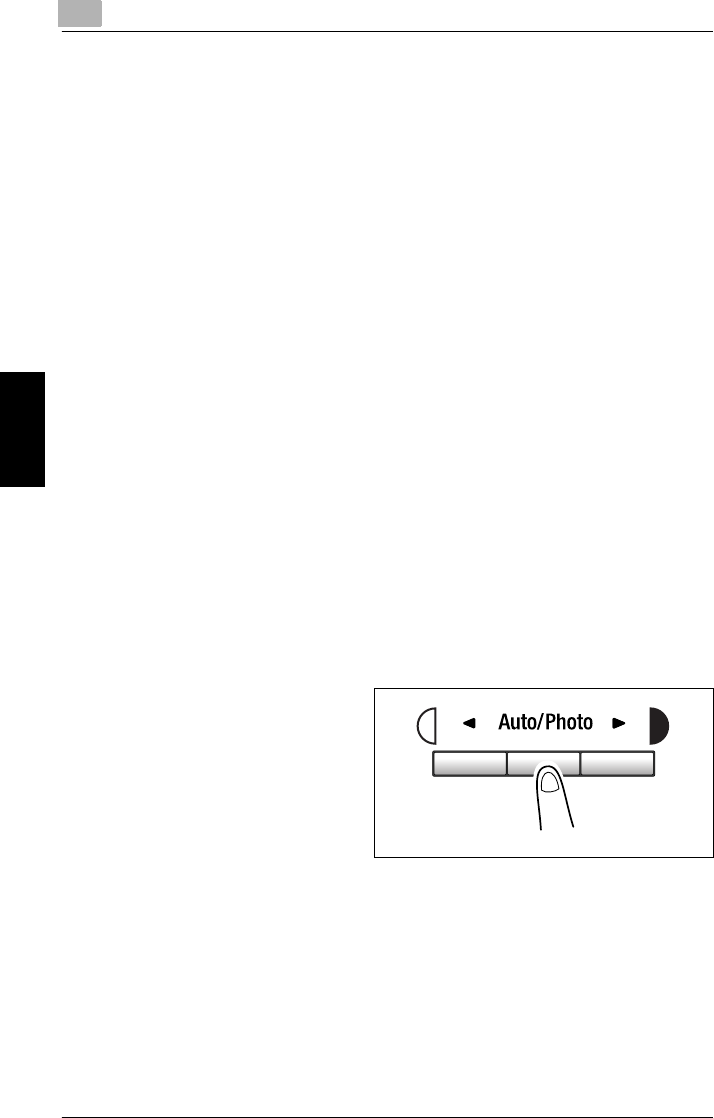
2 Press the [Auto/Photo] key on the
control panel to select the desired
mode.
Ö


