6-2. Registering Destinations
153 III Scanner
Chapter 6 Using the Scanner Functions
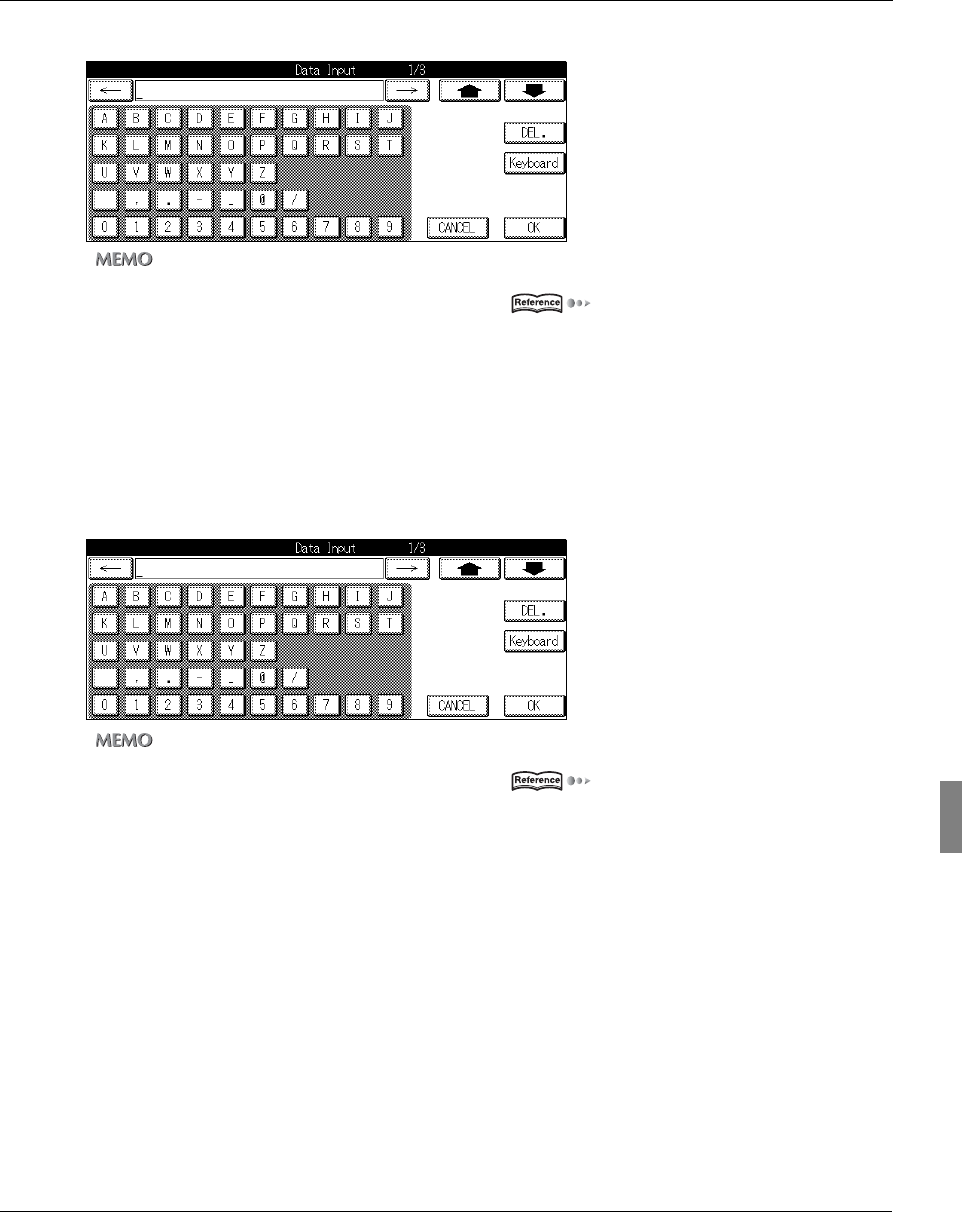
3 Use the character keys to input the address.
zUp to 60 alphanumerics and symbols can be input as the [E-Mail address].
For details on character input, refer to [3-1. Inputting Text] ( Page 16).
4 Touch the [OK] key.
→ The display returns to the [E-Mail registration/edit] screen.
5 Touch the [Name] key.
→ The [Data Input] screen is displayed.
6 Use the character keys to input the registration name.
zThe [Name] can be up to 24 characters.
For details on character input, refer to [3-1. Inputting Text] ( Page 16).
7 Touch the [OK] key.
→ The display returns to the [E-Mail registration/edit] screen.
8 Select [A-] - [No. etc] to set the registration group.
When you register a group, it is displayed in the groups registered with the [E-Mail] screen.
→ The selected group is displayed in the [Character to search] column.
