Installation Manual 8000 Page 4 of 8 January 2004
ASSEMBLE SEAL DISC AND MOUNTING
BOLTS
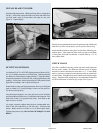
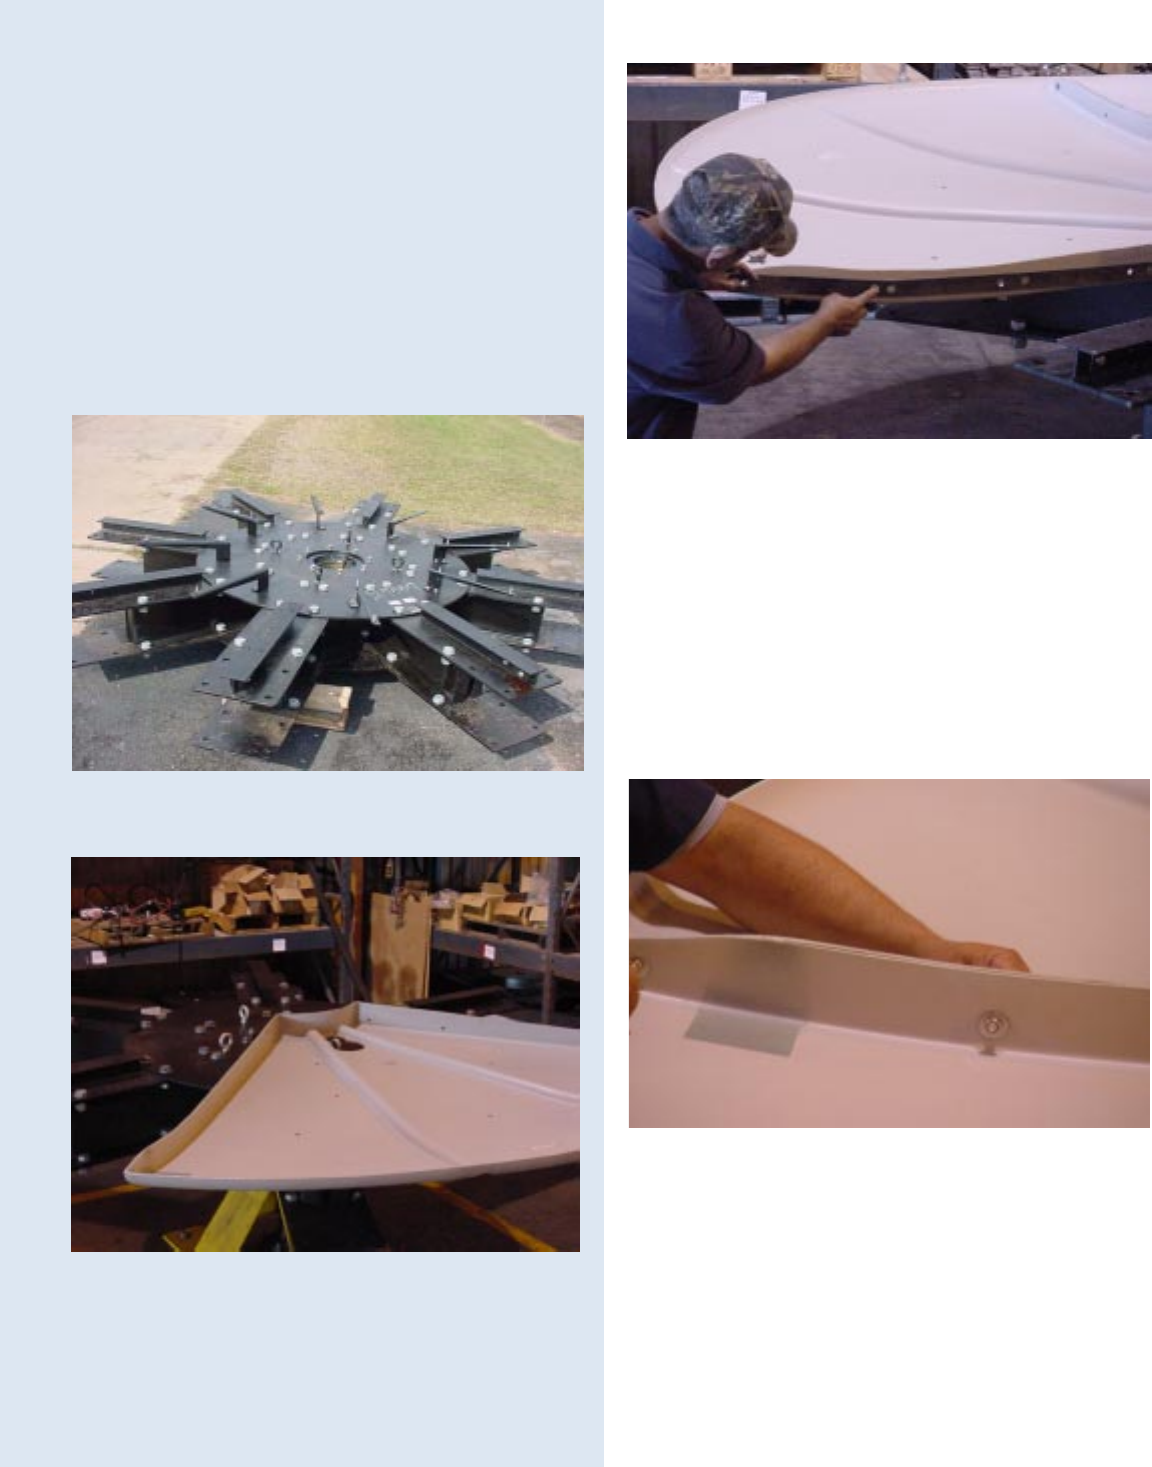
Place seal-disc quarter section on hub, aligning the pear-shaped
opening over one of the eye-bolts (See Figure 6) and drop the
seal-disc quarter section onto the nearest group of seal-disc
bracket stud pairs. Remove adhesive backing on nitrile gasket
section and apply gasket to seal-disc flange surface carefully
such that holes in gasket lineup with the holes in the flange (See
Figure 7). Repeat these operations with the next three seal-disc
quarter sections, ensuring that seal-disc balance match-marks
are aligned.
Figure 5
Figure 6
Figure 8
Figure 7
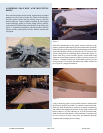
Make final adjustments to the quarter sections such they mate
properly with each other and all seal-disc bracket studs, install the
fasteners loosely joining each seal-disc section using one flat washer
against the fiberglass surface on each side, one 3/8” hex bolt, lock
washer, and hex nut at each flange hole location (See Figure 8).
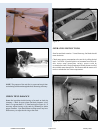
Ensure final fit-up of the seal-disc sections, check flatness and
alignment of pear-shape openings with the eye-bolts, and snug all
fasteners. Complete fasteners at each bracket location (two per
bracket) using a 3/8” hex bolt, flat washer, lock washer, and hex nut
(See Figure 9). Snug these fasteners.
Using a measuring tape in several radial locations, double-check
the seal-disc assembly such that it is centrally located on the hub.
Make any final adjustments as necessary to ensure concentricity
and trueness then tighten all fasteners at the flange surfaces and
bracket studs to 15 ft-lbs lubricated or 20 ft-lbs non-lubricated.
Make sure that all other details of fan installation is complete and
be sure to remove all tools, loose parts, and materials from the
completed hub assembly prior to startup.