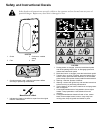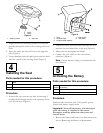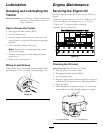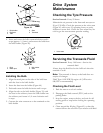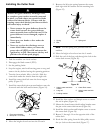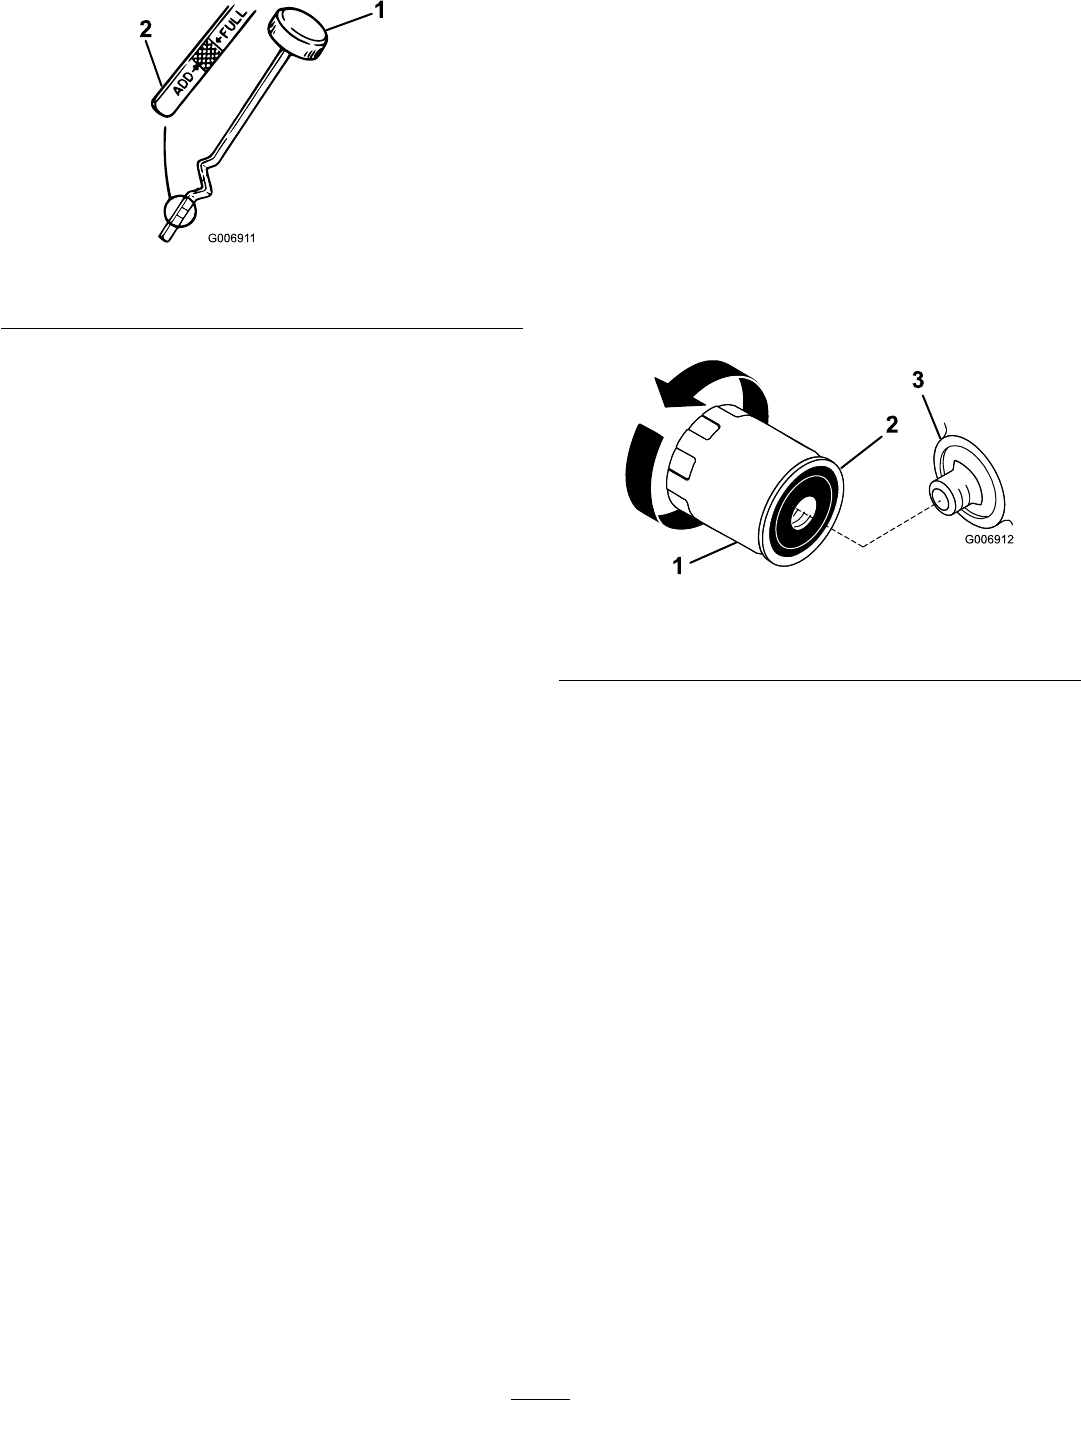
7. Unscrew the oil dipstick and wipe the metal end
clean (Figure 28).
Figure 28
1. Oil dipstick
2. Metal end
8. Screw the oil dipstick fully onto the ll hole.
9. Unscrew the dipstick again and look at the metal
end. If the oil level is low, slowly pour only enough
oil into the ll hole to raise the level to the Full mark
on the dipstick.
Important: Do not overll the crankcase with
oil and run the engine; the engine damage may
result.
Changing the Oil
Service Interval: After the rst 5 hours
Every 50 hours Change it more
often under a heavy load or in high
temperatures.
1. Start the engine and let it run for 5 minutes.
Note: This warms the oil so that it will drain more
easily.
2. Park the tractor so that the left side is slightly lower
than the right side to ensure that the oil drains
completely.
3. Disengage the blade control (PTO).
4. Set the parking brake.
5. Stop the engine, wait for all moving parts to stop, and
remove the key before leaving the operating position.
6. Open the hood.
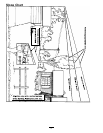
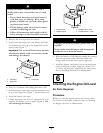
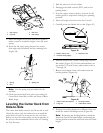
7. Place a drain pan below the oil drain plug and
remove it (Figure 27).
8. When the oil has drained completely, install the oil
drain plug.
Note: Dispose of the used oil at a certied recycling
center.
9. Change the oil lter, if necessary. Refer to Changing
the Oil Filter.
10. Slowly pour approximately 80% of the specied
amount of oil into the ll hole (Figure 27). Check the
oil level; refer to 4 and 5 of Checking the Oil Level.
Changing the Oil Filter
Service Interval: Every 100 hours
Note: Change the oil lter more frequently when the
operating conditions are extremely dusty or sandy.
1. Drain the oil from the engine; refer to Changing and
Draining the Oil.
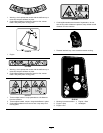
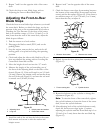
2. Remove the old oil lter and wipe the lter adapter
(Figure 29) gasket surface.
Figure 29
1. Oil lter
3. Filter adapter
2. Gasket
3. Apply a thin coat of new oil to the rubber gasket on
the new oil lter (Figure 29).
4. Install the new oil lter to the lter adapter.
5. Turn the oil lter clockwise until the rubber gasket
contacts the lter adapter, then tighten the oil lter
an additional 1/2 to 3/4 turn (Figure 29).
6. Slowly pour about 80% of the specied amount of
oil into the ll hole (Figure 27). Check the oil level;
refer to 7 and 8 of Checking the Oil Level.
7. Close the hood.
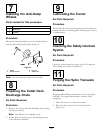
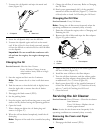
Servicing the Air Cleaner
Service Interval: Every 25 hours—Clean the air cleaner
foam element.
Every 100 hours—Replace the air
cleaner paper element.
Note: Service the air cleaner more frequently if the
operating conditions are extremely dusty or sandy.
Removing the Foam and Paper
Elements
1. Disengage the blade control (PTO).
26