18 Printing from a Memory Card
Cropping and enlarging a
photo
1. Press s Memory Card.
2. Select the photo you want to crop with
the View and Print Photos option
(& “Printing Photos” on page 17).
3. Press G [Display/Crop].
4. Refer to “Cropping and enlarging a
photo” on page 13 and follow steps 4 to
7.
5. Press x Menu and change the settings
(& “Print settings for Memory Card
mode” on page 42). Then press OK.
6. Press x Start.
Previewing the adjusted
image before printing
This printer automatically corrects color
and improves the quality of your images by
using the PhotoEnhance function. The
PhotoEnhance Preview function lets you
preview the adjusted images on the LCD
screen.
Note:
❏ This function is available only when
d PhotoEnhance Preview is displayed.
❏ Make sure PhotoEnhance is set to On.
❏ The PhotoEnhance function only affects your
printouts. It does not change your original
images.
1. Select a photo. The hourglass icon is
displayed at the bottom of the screen,
and then the level of PhotoEnhance
adjustment is displayed.
Note:
❏ You can perform other operations while
the hourglass icon is displayed.
❏ In some cases, the hourglass icon may not
be displayed.
2. Press d to preview the adjusted image.
Note:
❏ Press d again to display the image without
the PhotoEnhance function.
❏ If you switch the display after the image
has been adjusted, and then go back to
the image, it is displayed without the
PhotoEnhance function.
❏ You can also adjust the images using
Enhance, Scene Detection, Filter,
Brightness, Contrast, Sharpness, and
Saturation functions, and preview the
adjusted images. These functions only
affect your printouts. They do not change
your original images.
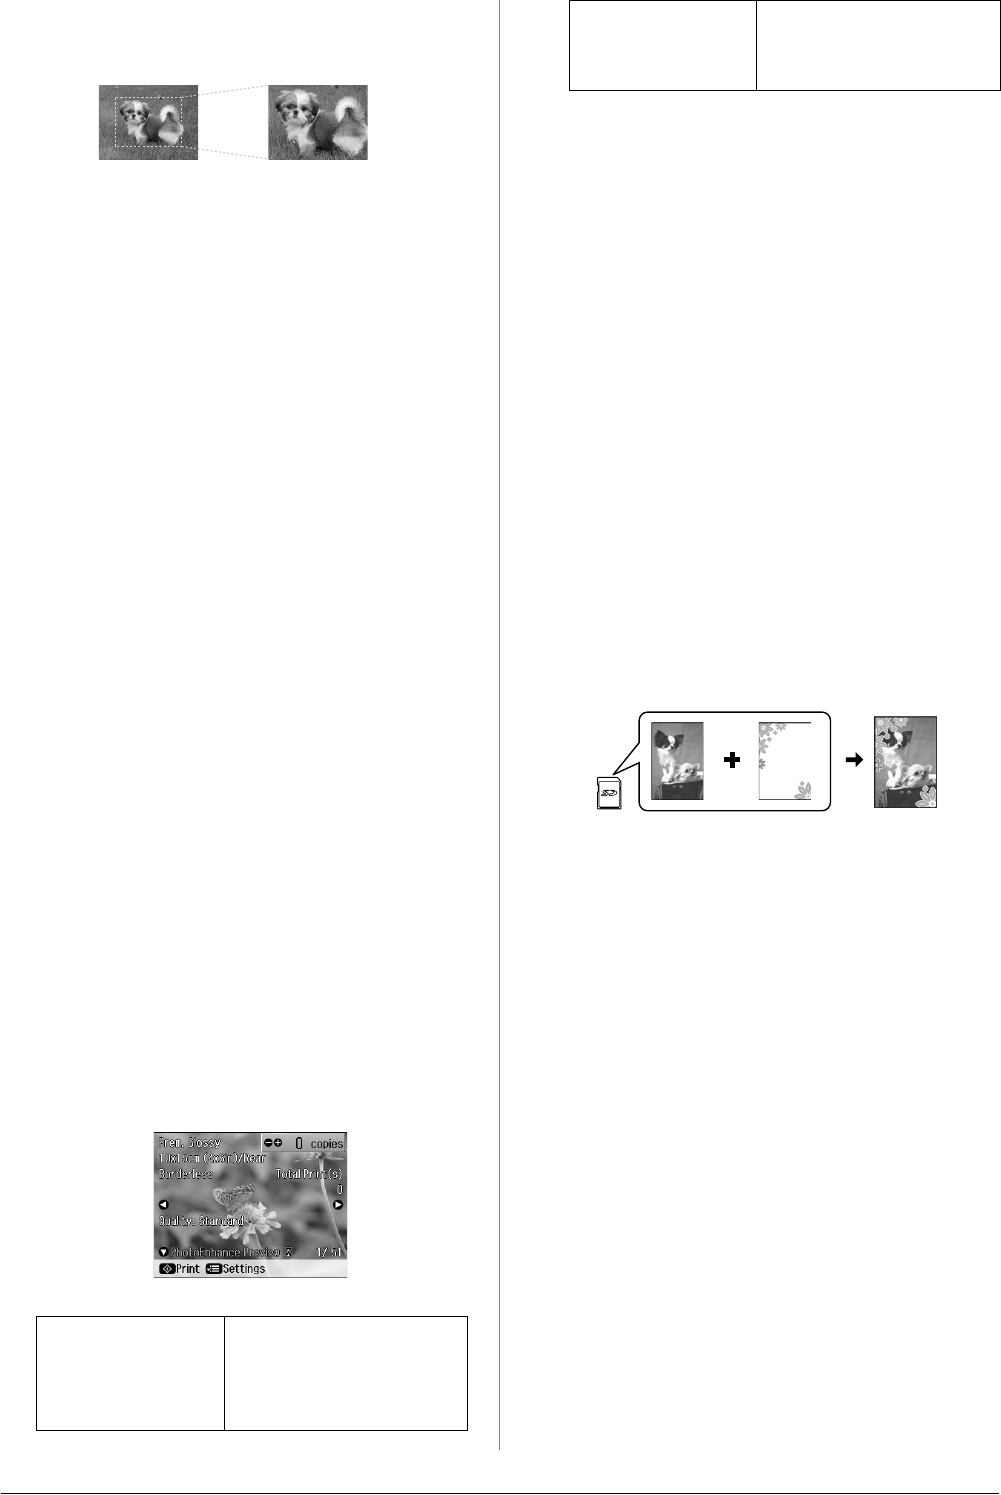
Printing with fun frames
You can add colorful frames to your photos.
1. Choose P.I.F. Frames from the software
CD-ROM that came with the printer and
use the EPSON PRINT Image Framer
Tool to save them to a memory card. For
details, see the software help.
Note:
Depending on your location, the EPSON
PRINT Image Framer Tool and the P.I.F.
Frames may not be included on the software
CD-ROM.
2. Load the appropriate paper for the frame
size (& page 7).
3. Insert the memory card containing your
photos and P.I.F. frames (& page 15).
PhotoEnhance
Preview
(orange
characters)
The PhotoEnhance
adjustment level is
high.
PhotoEnhance
Preview (white
characters)
The PhotoEnhance
adjustment level is not
very high.


