119
Playback Images
7
Image Protection
Protecting a Single Image
This prevents the image from being erased accidentally.
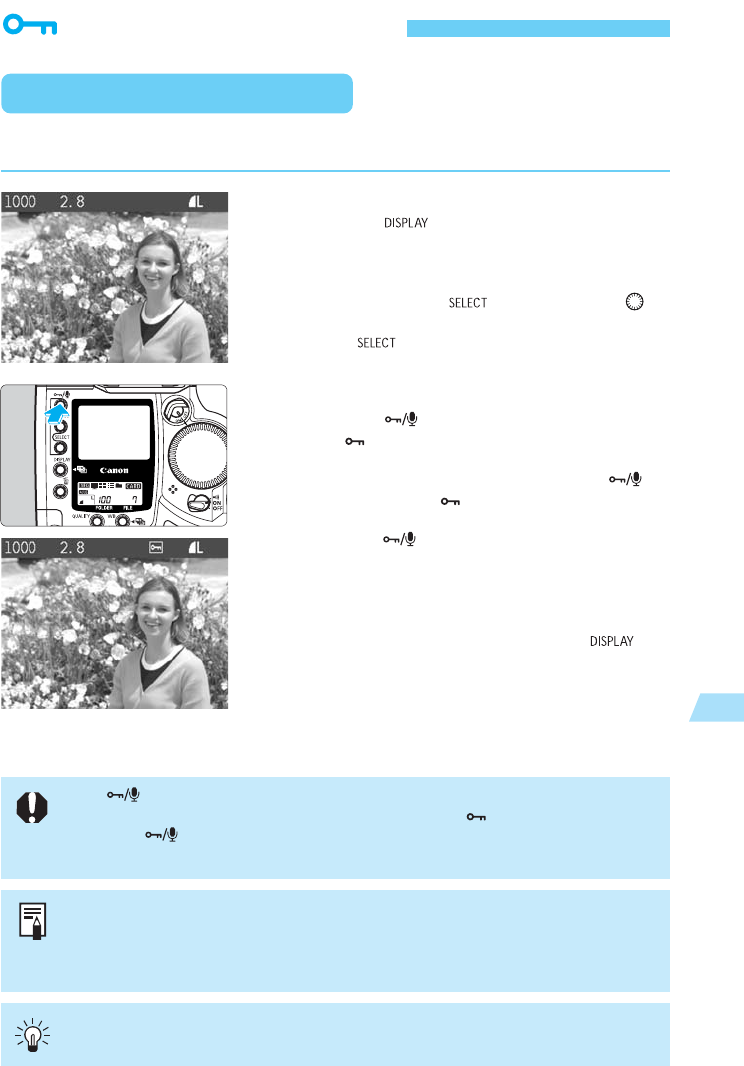
Select the image to be protected.
•
Press the < > button to turn on the image
display. (→p.116)
•
The image can be protected regardless of the
display format.
•
While pressing the < > button, turn the < >
dial to select the image to be protected. Then let go
of the <
> button.
1
Protect the image.
•
Press the < > button.
s
The < > icon will then appear to indicate that the
image is protected.
•
To cancel the image protection, press the < >
button again. The <
> icon will turn off.
•
To protect another image, select the image and
press the < > button. Repeat this step for all
other images you want to protect.
•
When the image is displayed immediately after
capture, you can follow step
2
to protect that
image.
•
To turn off the image display, press the < >
button.
2
•
You can also protect all the images in a folder or in the CF card all at once.
(→p.120)
•
A protected image cannot be erased with the camera. To erase a protected
image, cancel the protection first.
You can also erase all images at once while retaining the protected ones. (→p.123,
125)
The < > button has dual functions for image protection and sound recording. To
protect an image, press the button and let go when the < > icon appears. If you
press the <
> button too long (about 2 seconds), the microphone will start
recording instead and the image protection will not be applied.


