13
CLEANING THE LINT SCREEN
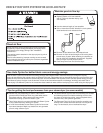
Every load cleaning
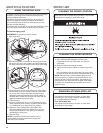
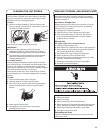
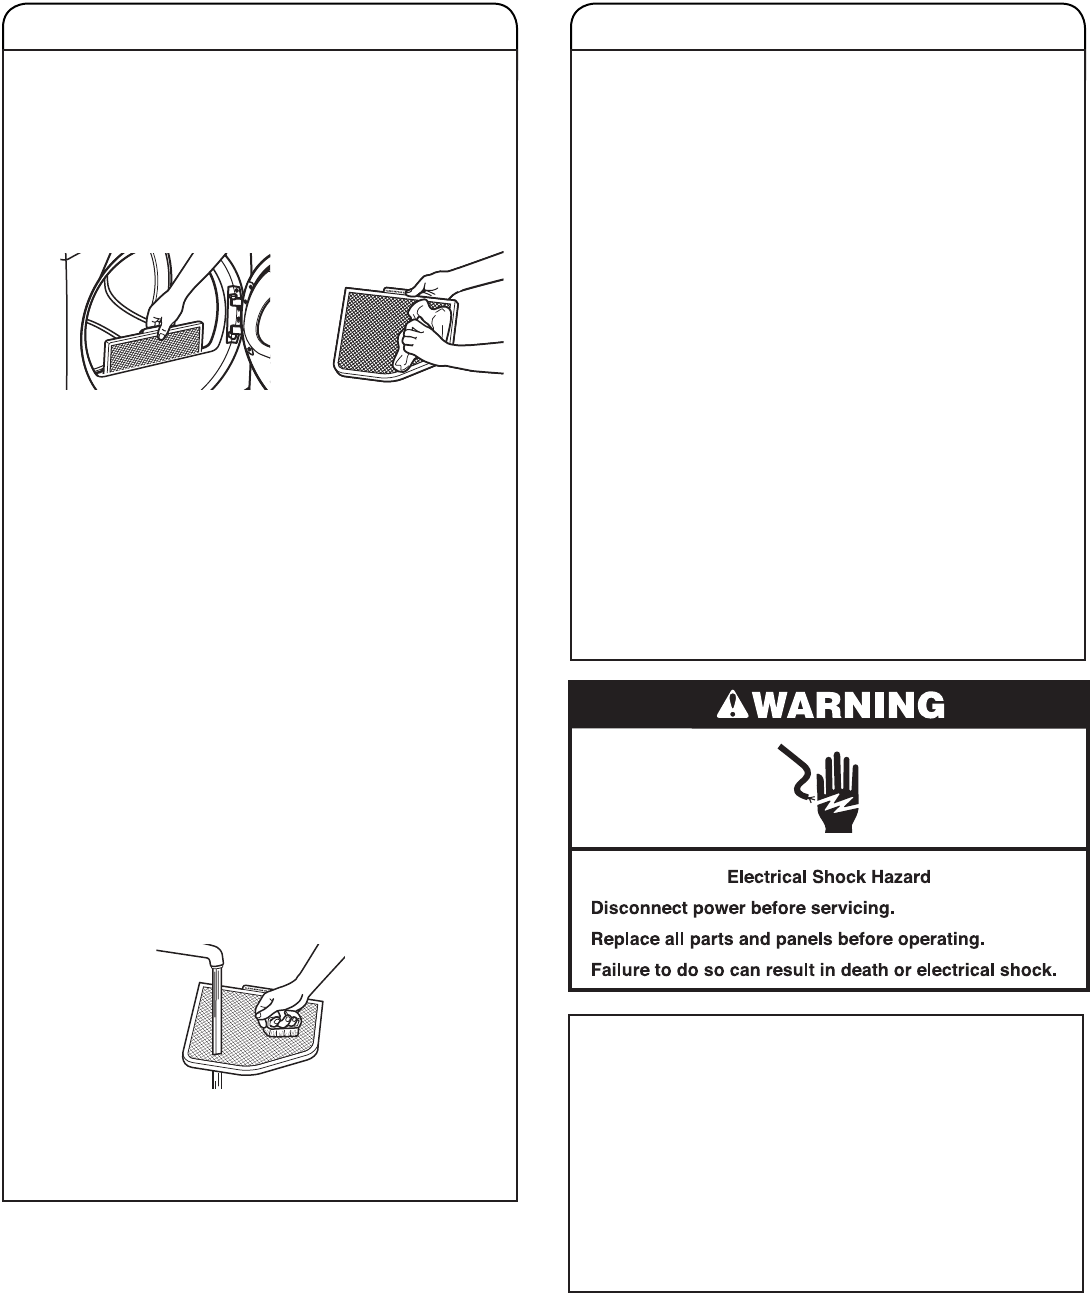
The lint screen is located in the door opening of the dryer.
Be sure to clean the lint screen after each load. A screen
blocked by lint can increase drying time.
To clean:
1. Pull the lint screen straight up. Roll lint off the screen
with your ngers. Do not rinse or wash screen to remove
lint. Wet lint is hard to remove.
2. Push the lint screen rmly back into place.
IMPORTANT:
n
Do not run the dryer with the lint screen loose,
damaged, blocked, or missing. Doing so can cause
overheating and damage to both the dryer and fabrics.
n
If lint falls off the screen into the dryer during removal,
check the exhaust hood and remove the lint. See
“Venting Requirements.”
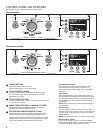
As needed cleaning
Laundry detergent and fabric softener residue can build
up on the lint screen. This buildup can cause longer drying
times for your clothes, or cause the dryer to stop before
your load is completely dry. The screen is probably clogged
if lint falls off while the screen is in the dryer.
Clean the lint screen with a nylon brush every 6 months,
or more frequently, if it becomes clogged due to a residue
buildup.
To wash:
1. Roll lint off the screen with your ngers.
2. Wet both sides of lint screen with hot water.
3. Wet a nylon brush with hot water and liquid detergent.
Scrub lint screen with the brush to remove residue
buildup.
4. Rinse screen with hot water.
5. Thoroughly dry lint screen with a clean towel.
Reinstall screen in dryer.
NON-USE, STORAGE, AND MOVING CARE
Install and store your dryer where it will not freeze. Because
some water may stay in the hose, freezing can damage
your dryer. If storing or moving your dryer during freezing
weather, winterize it.
Non-Use or Storage Care
Operate your dryer only when you are at home. If you will
be on vacation or not using your dryer for an extended
period of time, you should:
1. Unplug dryer or disconnect power.
2. Clean lint screen. See “Cleaning the Lint Screen.”
3. Turn off the water supply to the dryer. This helps to
avoid unintended ooding (due to a water pressure
surge) while you are away.
Moving Care
For power supply cord-connected dryers:
1. Unplug the power supply cord.
2. Gas models only: Close shut-off valve in gas supply line.
3. Gas models only: Disconnect gas supply line pipe and
remove ttings attached to dryer pipe.
4. Gas models only: Cap the open fuel supply line.
5. Steam models only: Shut off water faucet.
6. Disconnect the water inlet hose from faucet, then drain
the hose. Transport hose separately.
7. Make sure leveling legs are secure in dryer base.
8. Use tape to secure dryer door.
For direct-wired dryers:
1. Disconnect power.
2. Disconnect wiring.
3. Steam models only: Shut off water faucet.
4. Steam models only: Disconnect the water inlet hose from
faucet, then drain the hose. Transport hose separately.
5. Make sure leveling legs are secure in dryer base.
6. Use tape to secure dryer door.
Reinstalling the Dryer
Follow the “Installation Instructions” to locate, level, and
connect the dryer.


