12
■ Is the sink or drain clogged?
Sink and drainpipe must b
e able to carry away 17 gal. (64 L) of
water per minute. If sink or drainpipe is clogged or slow, water
can back up out of drainpipe or sink.
■ Is water splashing off the tub ring or the load?
The wash load should be balanced and not overloaded. If the
wa
sh load is unbalanced or overloaded, incoming water can
deflect off the load.
■ Is the washer properly installed?
The washer must be level. The feet should be properly
in
stalled and the nuts tightened. See “Level the Washer” in the
Installation Instructions.
■ Was the cycle interrupted and then the Deep Clean option
selected?
The Deep Clean option should be
started on a dry load only.
The Deep Clean option cannot be selected after the tub has
started filling with water.
■ Check household plumbing (laundry tubs, faucets,
drainpipe, water pipes) for leaks.
Dispenser operation
■ Are the laundry products in the correct dispensers?
Add the correct amount of liquid ch
lorine bleach to the
dispenser. Use only liquid chlorine bleach in the dispenser.
■ Is there water remaining in the bottom of a dispenser? Did
the dispenser drain properly?
A small amount of water may be left in a dispenser at the end
of the cycle. This is normal.
■ Did you put powdered or liquid color-safe bleach into the
liquid chlorine bleach dispenser (on some models)?
Add powdered or liquid color-safe bleach directly to the
washer basket. Do not use the chlorine bleach dispenser for
color-safe bleach.
Washer Operation
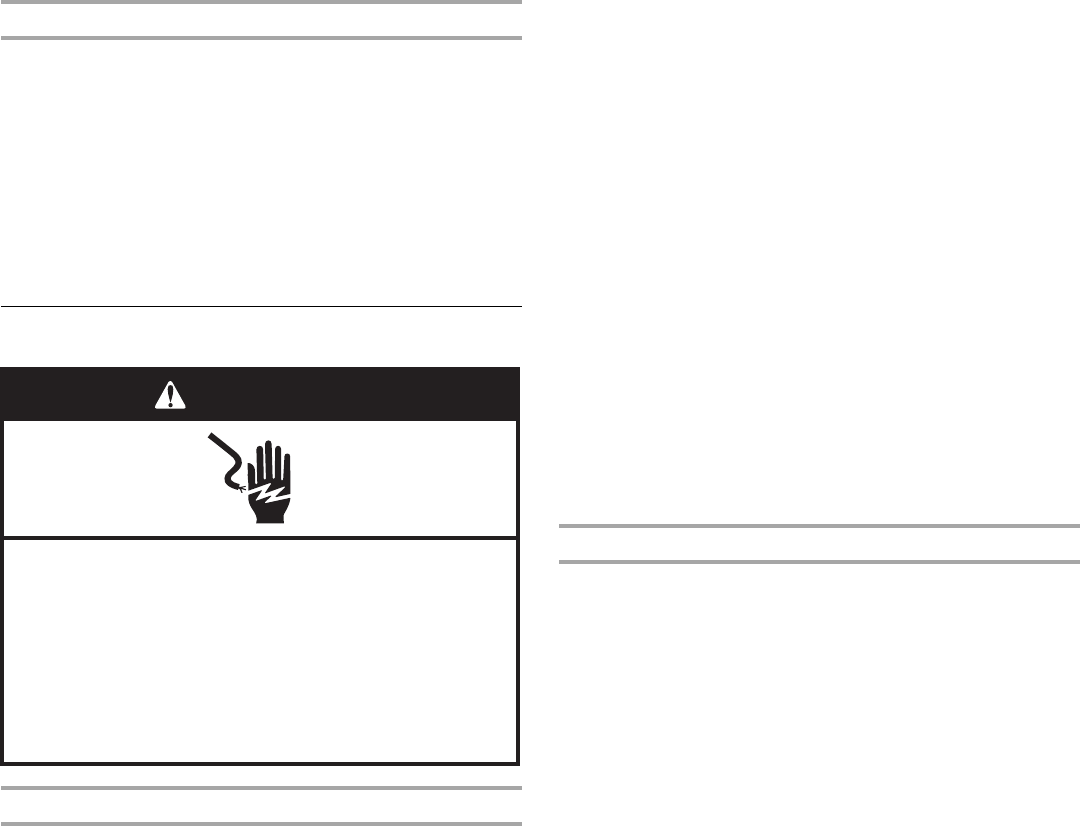
Electrical Shock Hazard
Plug into a grounded 3 prong outlet.
Do not remove ground prong.
Do not use an adapter.
Do not use an extension cord.
Failure to follow these instructions can result in death,
re, or electrical shock.
WARNING
Washer won’t fill, rinse or agitate; washer stops
■ Is the power cord plugged into a grounded 3 prong outlet?
Plug power cord into a grounded 3 prong outlet.
■ Are you using an extension cord?
Do not use an extension cord.
■ Is there power at the plug?
Check electrical source or call electrician.
■ Is the indicator on the Cycle Control knob properly lined
up with a cycle?
Turn the Cycle Control knob to the right slightly.
■ Are the water inlet valve screens clogged?
Turn off the water and remove inlet hoses from the washer.
Remove any accumulated film or part
icles. Reinstall hoses,
turn on water, and check for leaks.
■ Are the hot and cold water faucets turned on?
Turn on the water.
■ Is the water inlet hose kinked?
Straighten the hoses.
■ Does the water level seem too low, or does the washer
appear to not fill completely?
The Auto Water Level feature senses the size of the load and
adds the
correct amount of water for the load size.
■ Are you using Auto Water Level?
The Auto feature senses the size of the load and adds the
corr
ect amount of water for the load size.
■ Has a household fuse blown, or has a circuit breaker
tripped?
Replace the fuse or reset the circuit breaker. If the problem
con
tinues, call an electrician.
■ Is the washer in a normal pause in the cycle?
The washer may pause during ce
rtain cycles. Allow the cycle
to continue.
■ Is the washer overloaded?
Wash smaller loads. See “Starting
Your Washer” for maximum
load size.
■ Is there oversudsing?
Cancel the current cycle. Select DRAIN & SPIN to drain the
lo
ad. Re-select your desired cycle and press START. Do not
add detergent. Use cold water.
■ Is the lid open?
The lid must be closed during op
eration. The washer will not
operate with the lid open.
■ Did you add more items to the load once the washer
started?
Once the load is wet, there may appear to be space for more
items. Do not add more than 1 or 2 garments after the cycle
has started. For best results determine load size with dry
items only.
Washer continues to fill or drain, or the cycle seems stuck
■ Is the top of drain hose lower than the control knobs on
washer?
The top of the drain hose must be at least 39" (990 mm) above
the floor. See “Drain System” in the Installation Instructions.
■ Does the drain hose fit too tightly in the standpipe, or is it
taped to the standpipe?
The drain hose should be loose yet fi
t securely. Do not seal the
drain hose with tape. The hose needs an air gap. See
“Installation Instructions.”


