


4
INSTALLATION
INSTRUCTIONS
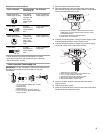
Tools and Parts
Check that you have everything necessary for correct installation.
Proper installation is your responsibility.
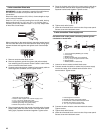
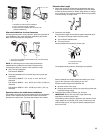
Parts supplied
Remove parts packages from dryer drum. Check that all parts are
included.
■ Door Reversal Kit
■ Parts package.
4 Leveling legs
NOTE: Do not use leveling legs if installing the dryer on a
pedestal.
Parts needed
Check local codes. Check existing electrical supply and venting.
See “Electrical Requirements” and “Venting Requirements”
before purchasing parts.
■ For close-clearance installations between 31.5 in. (80.01 cm)
and 37 in. (93.98 cm), see “Plan Vent System” section for
venting requirements.
Mobile home installations require metal exhaust system hardware
available for purchase from the dealer from whom you purchased
your dryer. For further information, please refer to the “Assistance
or Service” section of this manual.
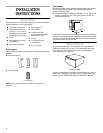
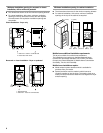
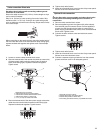
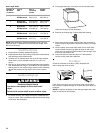
Optional Pedestal
Are you placing the dryer on a pedestal? You may purchase a
pedestal separately for this dryer. This pedestal will add about
13 in. (33 cm) to the height of your unit for a total height of
approximately 51 in. (130 cm).
Optional pedestal
To order, call the dealer from whom you purchased your dryer or
refer to the “Assistance or Service” section of this manual. Ask
for Part Number LAB2700LQ (White) or LAB2700LT (Biscuit).
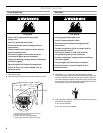
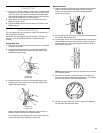
■ Flat-blade screwdriver
■ Adjustable wrench that
opens to 1 in. (2.5 cm) or
hex-head socket wrench
(for adjusting dryer feet)
■ Level
■ Wire stripper (direct wire
installations)
■ #2 Phillips screwdriver
■ Safety glasses
■ Vent clamps
■ Caulking gun and
compound (for installing
new exhaust vent)
■ Gloves
■ Tin snips (new vent
installations)
■ ¼ in. nut driver