17
Sorting
■ Separate heavily soiled items from lightly soiled ones, even if
they would normally be washed together. Separate lint-givers
(towels, chenille) from lint-takers (corduroy, synthetics,
permanent press). When possible, turn lint-givers inside-out.
■ Separate dark colors from light colors, colorfast items from
noncolorfast items.
■ Sort by fabric and construction (sturdy cottons, knits, delicate
items).
Unloading
■ Remove clothes from washer after the cycle is completed.
Metal objects such as zippers, snaps, and buckles may rust if
left in the washer basket for a long time.
■ When unloading garments, occasionally check under the
rubber rim at the front of the tub for small items.
Loading
WASHER CARE
Cleaning Your Washer
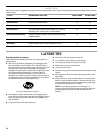
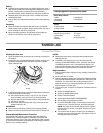
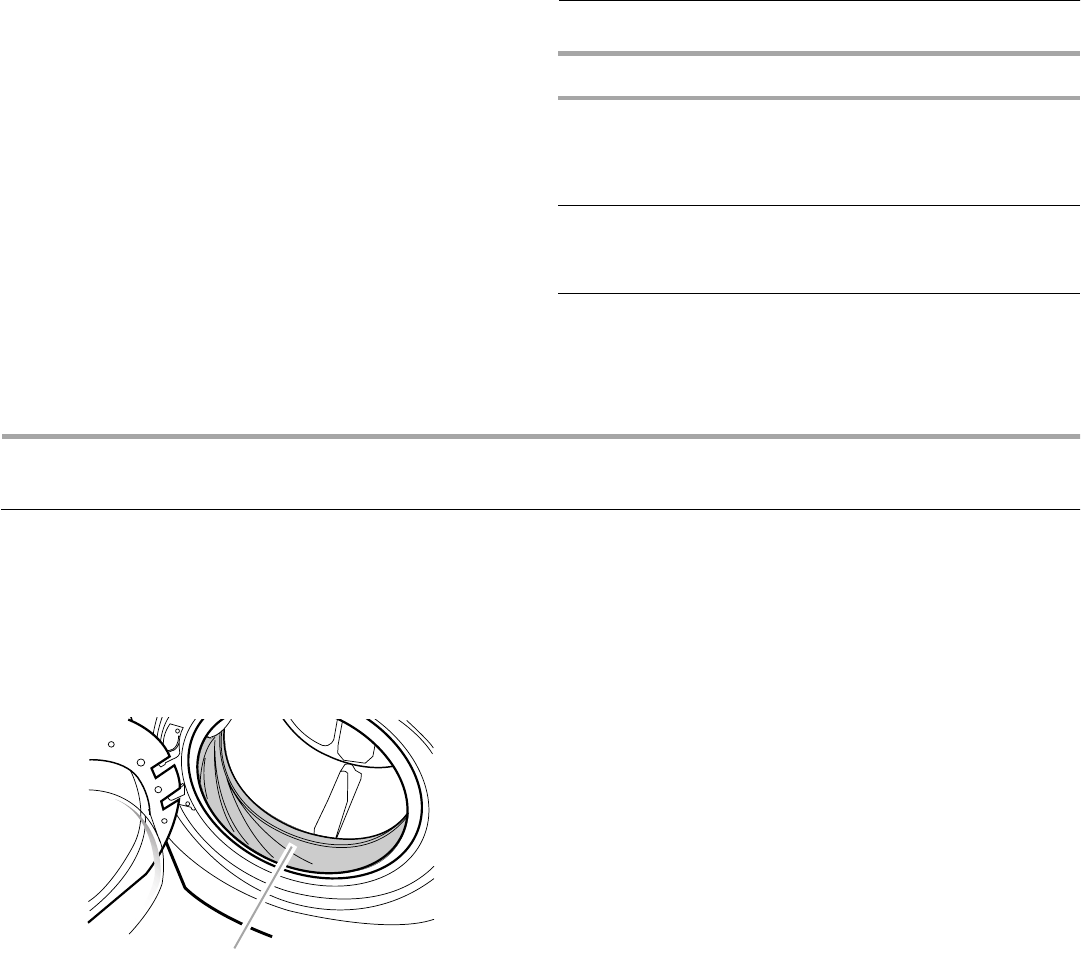
Cleaning the door seal
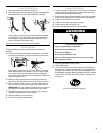
1. Open the washer door and remove any clothing or items from
the washer.
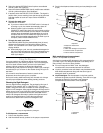
2. Inspect the gray colored seal between the door opening and
the basket for stained areas. Pull back the seal to inspect
areas under the seal.
3. If stained areas are found, wipe down these areas of the seal,
using the procedure that follows.
a) Mix a dilute solution, using ³₄ cup (177.4 mL) of liquid
chlorine bleach, and 1 gal. (3.8 L) of warm tap water.
b)
Wipe the seal area with the dilute solution, using a damp cloth.
c) Let stand 5 minutes.
d) Wipe down area thoroughly with a dry cloth and let the
washer interior air dry.
IMPORTANT:
■ Wear rubber gloves when cleaning for prolonged periods.
■
Refer to the bleach manufacturer’s instructions for proper use.
Washer Monthly Maintenance Procedure
Your washer has a special cycle stored within the machine’s
programming. Pressing a specific combination of buttons will
access this cleaning cycle. This cycle uses higher water volumes
in combination with liquid chlorine bleach to thoroughly clean the
inside of your washing machine.
NOTES:
■ Read these instructions completely before beginning the
cleaning process.
■ If necessary, the cleaning cycle may be interrupted by
pressing the PAUSE/CANCEL button. However, this will not
immediately stop the cycle. The machine will display “int”
(interrupt) and continue with several rinse and drain steps to
ensure that all remaining bleach is rinsed from the unit.
Begin procedure
1. Open the washer door and remove any clothing or items from
the washer.
2. Be sure the door is closed.
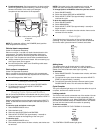
3. Open the dispenser drawer and remove the detergent divider
from the Main Wash detergent compartment. See “Using the
Dispenser” for instructions. No laundry products will be
added at this time; you will be required to add only liquid
chlorine bleach, at a later step.
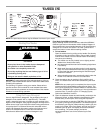
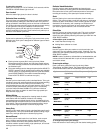
4. To enter the cycle, a specific combination of buttons must be
pressed.
■ Select the POWER button.
■ Select the RINSE/SPIN button.
■ Select LOW SPIN Speed.
■ Select Warm/Cold WATER TEMPERATURE.
■ Set the End of Cycle Signal to Softer.
■ Push EXTRA RINSE button 4 times within 5 seconds to
start the cycle. The door will lock, and filling will begin.
NOTE: The water in the unit will dispense for a moment,
then the door will unlock, lock again, and then the cycle
will continue.
■ The machine will fill and run a short cycle to determine
whether any items have been left in the washer. This will
take approximately 3 minutes.
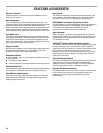
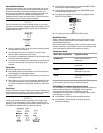
Loading suggestions (maximum size loads).
Heavy Work Clothes
4 jeans
4 workpants
4 workshirts
2 sweatpants
2 sweatshirts
Towels
10 bath towels
10 hand towels
14 washcloths
Mixed Load
3 sheets (1 king, 2 twin)
4 pillowcases
3 shirts
3 blouses
9 T-shirts
9 shorts
10 handkerchiefs
A.Seal
A


