


9
BEFORE YOU BEGIN
Read these instructions completely and carefully.
•
IMPORTANT – Save these
instructions for local inspector’s use.
•
IMPORTANT – Observe all
governing codes and ordinances.
• Note to Installer – Be sure to leave these
instructions with the Consumer.
• Note to Consumer – Keep these instructions
for future reference.
• Skill level – Installation of this appliance requires
basic mechanical skills.
• Completion time – 1 hour
• Proper installation is the responsibility of the
installer.
• Product failure due to improper installation is not
covered under the Warranty.
• Note
–
This appliance must be properly
grounded, and electrical service to the washer must
conform with local codes and ordinances and the
latest edition of the National Electrical Code,
ANSI/NFPA 70.
Washer must be installed on firm flooring to minimize
vibration during spin cycles. Concrete flooring is best,
but wood base is sufficient providing floor support
meets FHA standards. Washer should not be installed
on rugs or exposed to the weather.
Install or store where it will not be exposed to
temperatures below freezing or exposed to the
weather.
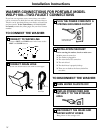
WASHER LOCATION
If you have questions, call 800-GECARES or visit our Website at: www.GEAppliances.com
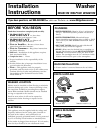
Installation
Washer
Instructions
WSLS1100 WSLP1100 WSLM1100
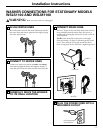
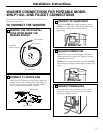
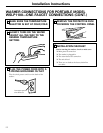
• WATER PRESSURE—Must be 10 p.s.i. minimum to
150 p.s.i. maximum dynamic pressure measured at
faucet.
• WATER TEMPERATURE—Household water
heater should be set to deliver water at 120° to 150°F
(50° to 66°C) IN THE WASHER when HOT wash is
selected.
• SHUT-OFF VALVES—Both hot and cold shut-off
valves (faucets) should be supplied.
• DRAIN—Water may be drained into a standpipe or
set tub. The discharge height MUST NOT BE LESS
THAN 30″ nor more than 8′ above the base of the
washer. The standpipe must be 1
1
⁄2″ minimum inside
diameter and must be open to the atmosphere.
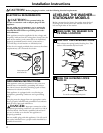
PLUMBING
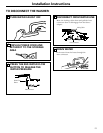
• Ensure washer is centered between the rack sides.
RACK INSTALLATION
This appliance must be supplied with the voltage and
frequency indicated on the rating plate (located on
the back of the washer), and connected to an
individual, properly grounded branch circuit, protected
by a 15 or 20 amp circuit breaker or time-delay fuse.
If the washer is plugged into the dryer’s 115 volt outlet,
then the dryer needs to be on a dedicated circuit.
ELECTRICAL
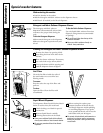
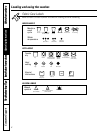
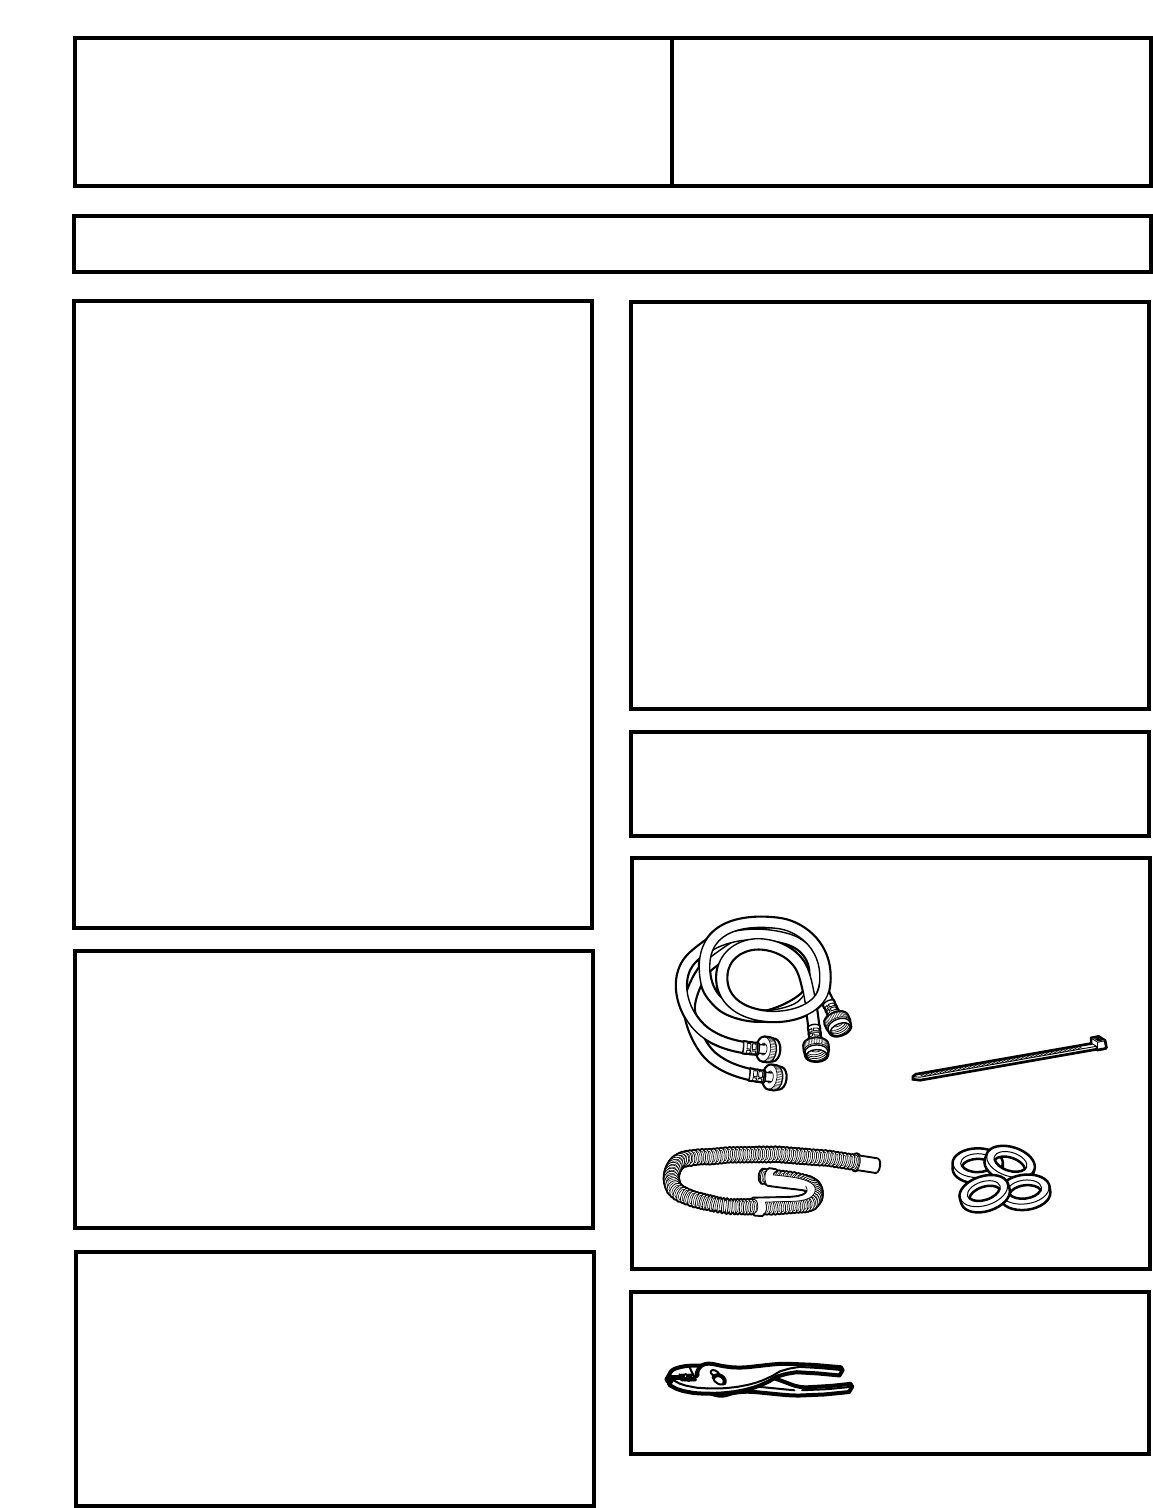
❏ Pliers
TOOLS REQUIRED
❏ Water Hoses (2)
PARTS SUPPLIED
❏ Drain Hose
❏ Cable Tie
❏ Rubber Washers (4)