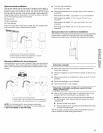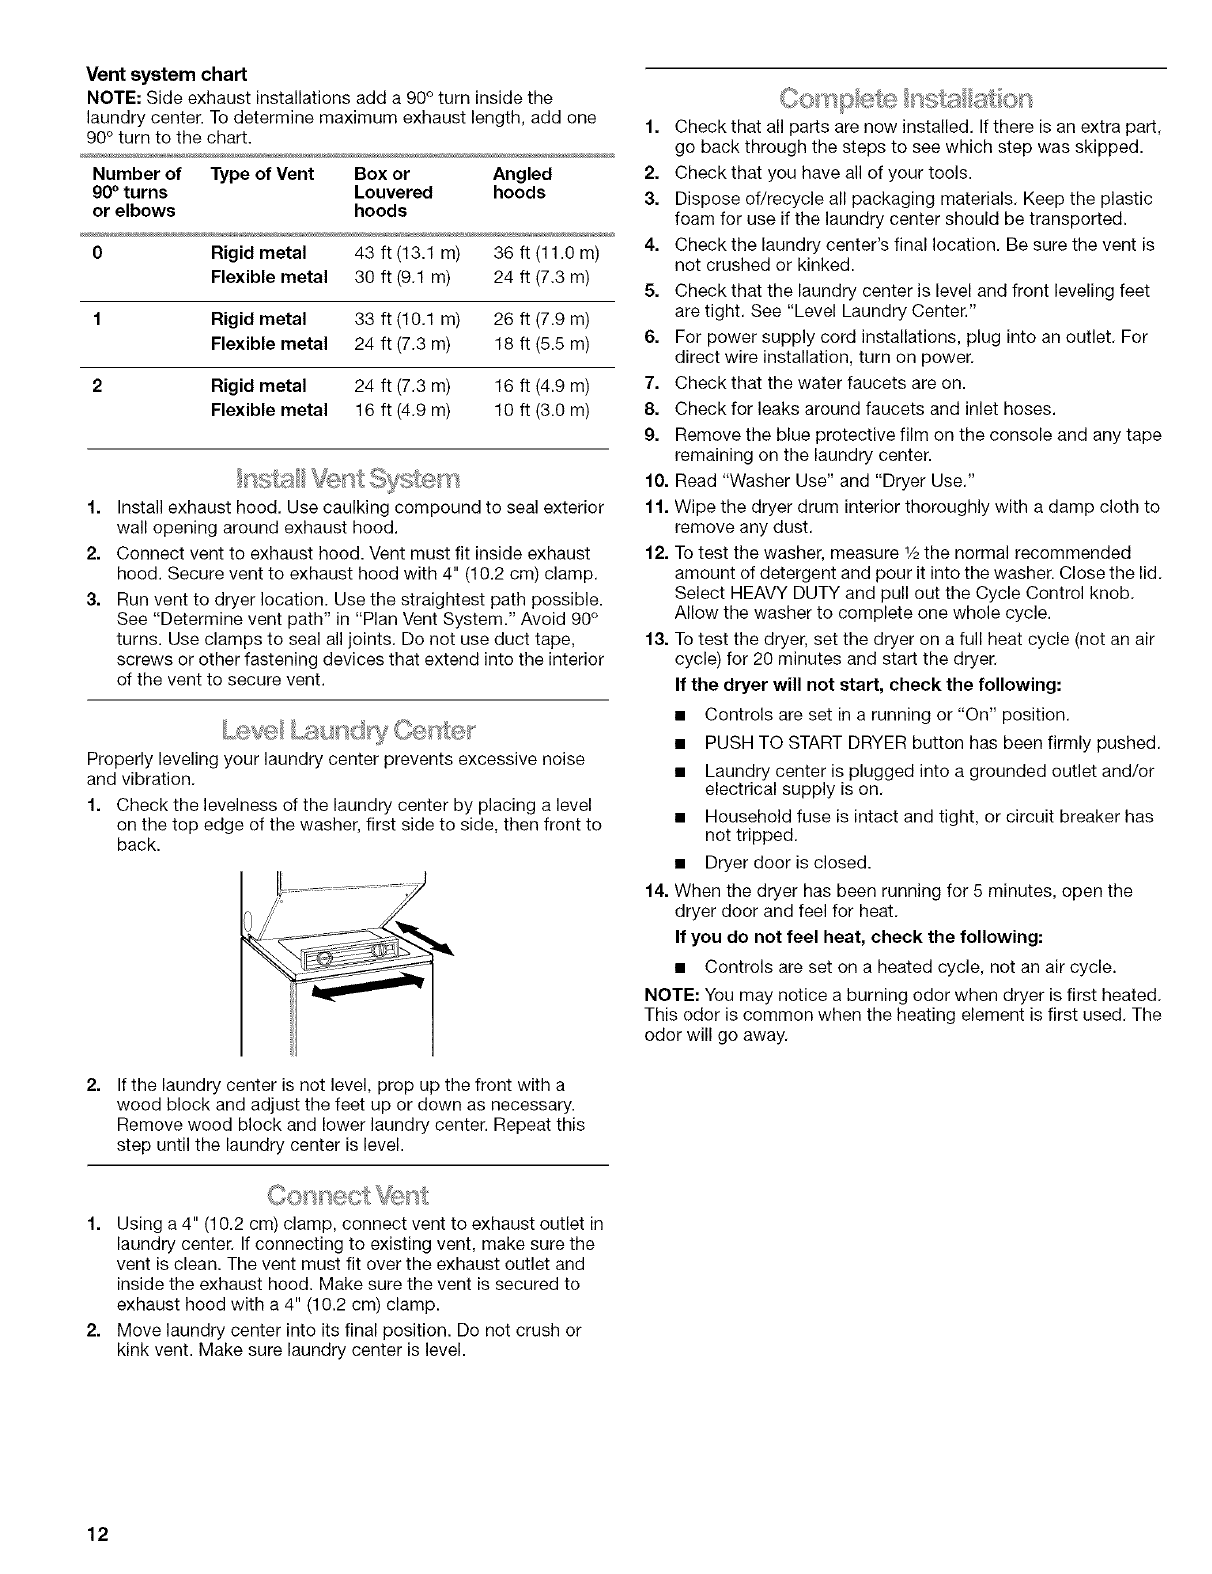
Vent system chart
NOTE: Side exhaust installations add a 90 ° turn inside the
laundry center. To determine maximum exhaust length, add one
90° turn to the chart.
Number of Type of Vent Box or Angled
90° turns Louvered hoods
or elbows hoods
0 Rigid metal 43 ft (13.1 m) 36 ft (11.0 m)
Flexible metal 30 ft (9.1 m) 24 ft (7.3 m)
1 Rigid metal 33 ft (10.1 m) 26 ft (7.9 m)
Flexible metal 24 ft (7.3 m) 18 ft (5.5 m)
2 Rigid metal 24 ft (7.3 m) 16 ft (4.9 m)
Flexible metal 16 ft (4.9 m) 10 ft (3.0 m)
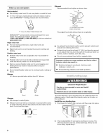
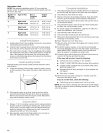
1. Install exhaust hood, Use caulking compound to seal exterior
wall opening around exhaust hood.
2. Connect vent to exhaust hood. Vent must fit inside exhaust
hood. Secure vent to exhaust hood with 4" (10.2 cm) clamp.
3. Run vent to dryer location. Use the straightest path possible.
See "Determine vent path" in "Plan Vent System." Avoid 90°
turns. Use clamps to seal all joints. Do not use duct tape,
screws or other fastening devices that extend into the interior
of the vent to secure vent.
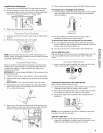
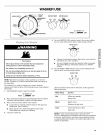
Properly leveling your laundry center prevents excessive noise
and vibration,
1. Check the levelness of the laundry center by placing a level
on the top edge of the washer, first side to side, then front to
back.
2.
If the laundry center is not level, prop up the front with a
wood block and adjust the feet up or down as necessary.
Remove wood block and lower laundry center. Repeat this
step until the laundry center is level.
1. Check that all parts are now installed. If there is an extra part,
go back through the steps to see which step was skipped.
2. Check that you have all of your tools.
3. Dispose of/recycle all packaging materials, Keep the plastic
foam for use if the laundry center should be transported.
4. Check the laundry center's final location, Be sure the vent is
not crushed or kinked.
5. Check that the laundry center is level and front leveling feet
are tight. See "Level Laundry Center."
6. For power supply cord installations, plug into an outlet, For
direct wire installation, turn on power.
7. Check that the water faucets are on.
8. Check for leaks around faucets and inlet hoses.
9. Remove the blue protective film on the console and any tape
remaining on the laundry center.
10. Read "Washer Use" and "'Dryer Use,"
1f. Wipe the dryer drum interior thoroughly with a damp cloth to
remove any dust,
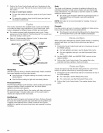
12. To test the washer, measure _/2the normal recommended
amount of detergent and pour it into the washer. Close the lid,
Select HEAVY DUTY and pull out the Cycle Control knob,
Allow the washer to complete one whole cycle.
13, To test the dryer, set the dryer on a full heat cycle (not an air
cycle) for 20 minutes and start the dryer.
If the dryer will not start, check the following:
• Controls are set in a running or "On" position.
• PUSH TO START DRYER button has been firmly pushed.
• Laundry center is plugged into a grounded outlet and/or
electrical supply is on.
• Household fuse is intact and tight, or circuit breaker has
not tripped.
• Dryer door is closed.
14. When the dryer has been running for 5 minutes, open the
dryer door and feel for heat.
If you do not feel heat, check the following:
• Controls are set on a heated cycle, not an air cycle.
NOTE: You may notice a burning odor when dryer is first heated.
This odor is common when the heating element is first used. The
odor will go away.
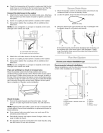
1. Using a 4" (10,2 cm) clamp, connect vent to exhaust outlet in
laundry center. If connecting to existing vent, make sure the
vent is clean. The vent must fit over the exhaust outlet and
inside the exhaust hood. Make sure the vent is secured to
exhaust hood with a 4" (10.2 cm) clamp.
2. Move laundry center into its final position. Do not crush or
kink vent. Make sure laundry center is level.
12


