


714
4
2
7
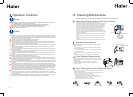
Note:
6
1
3
5
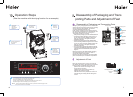
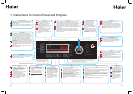
Disassembly of Packaging and Transporting Parts
Connect the
water inlet
pipe and open
the faucet
Insert the power
plug into the
power socket
Correctly
place the
drain pipe
Press the power
key to start the
washing
machine
Open the door of
the washing
machine, put
clothes therein,
and close the door
Press the “Start/Pause”
key to start the
procedure
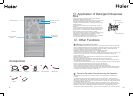
The needed procedure can be selected through the procedure selecting
ring, and washing time, poaching times, dehydration time,
tdryin
g time (available for the machine with the drying
function), heating temperature, dehydration speed and other functions can be
adjusted through the function selecting key on the control panel.
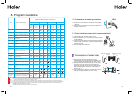
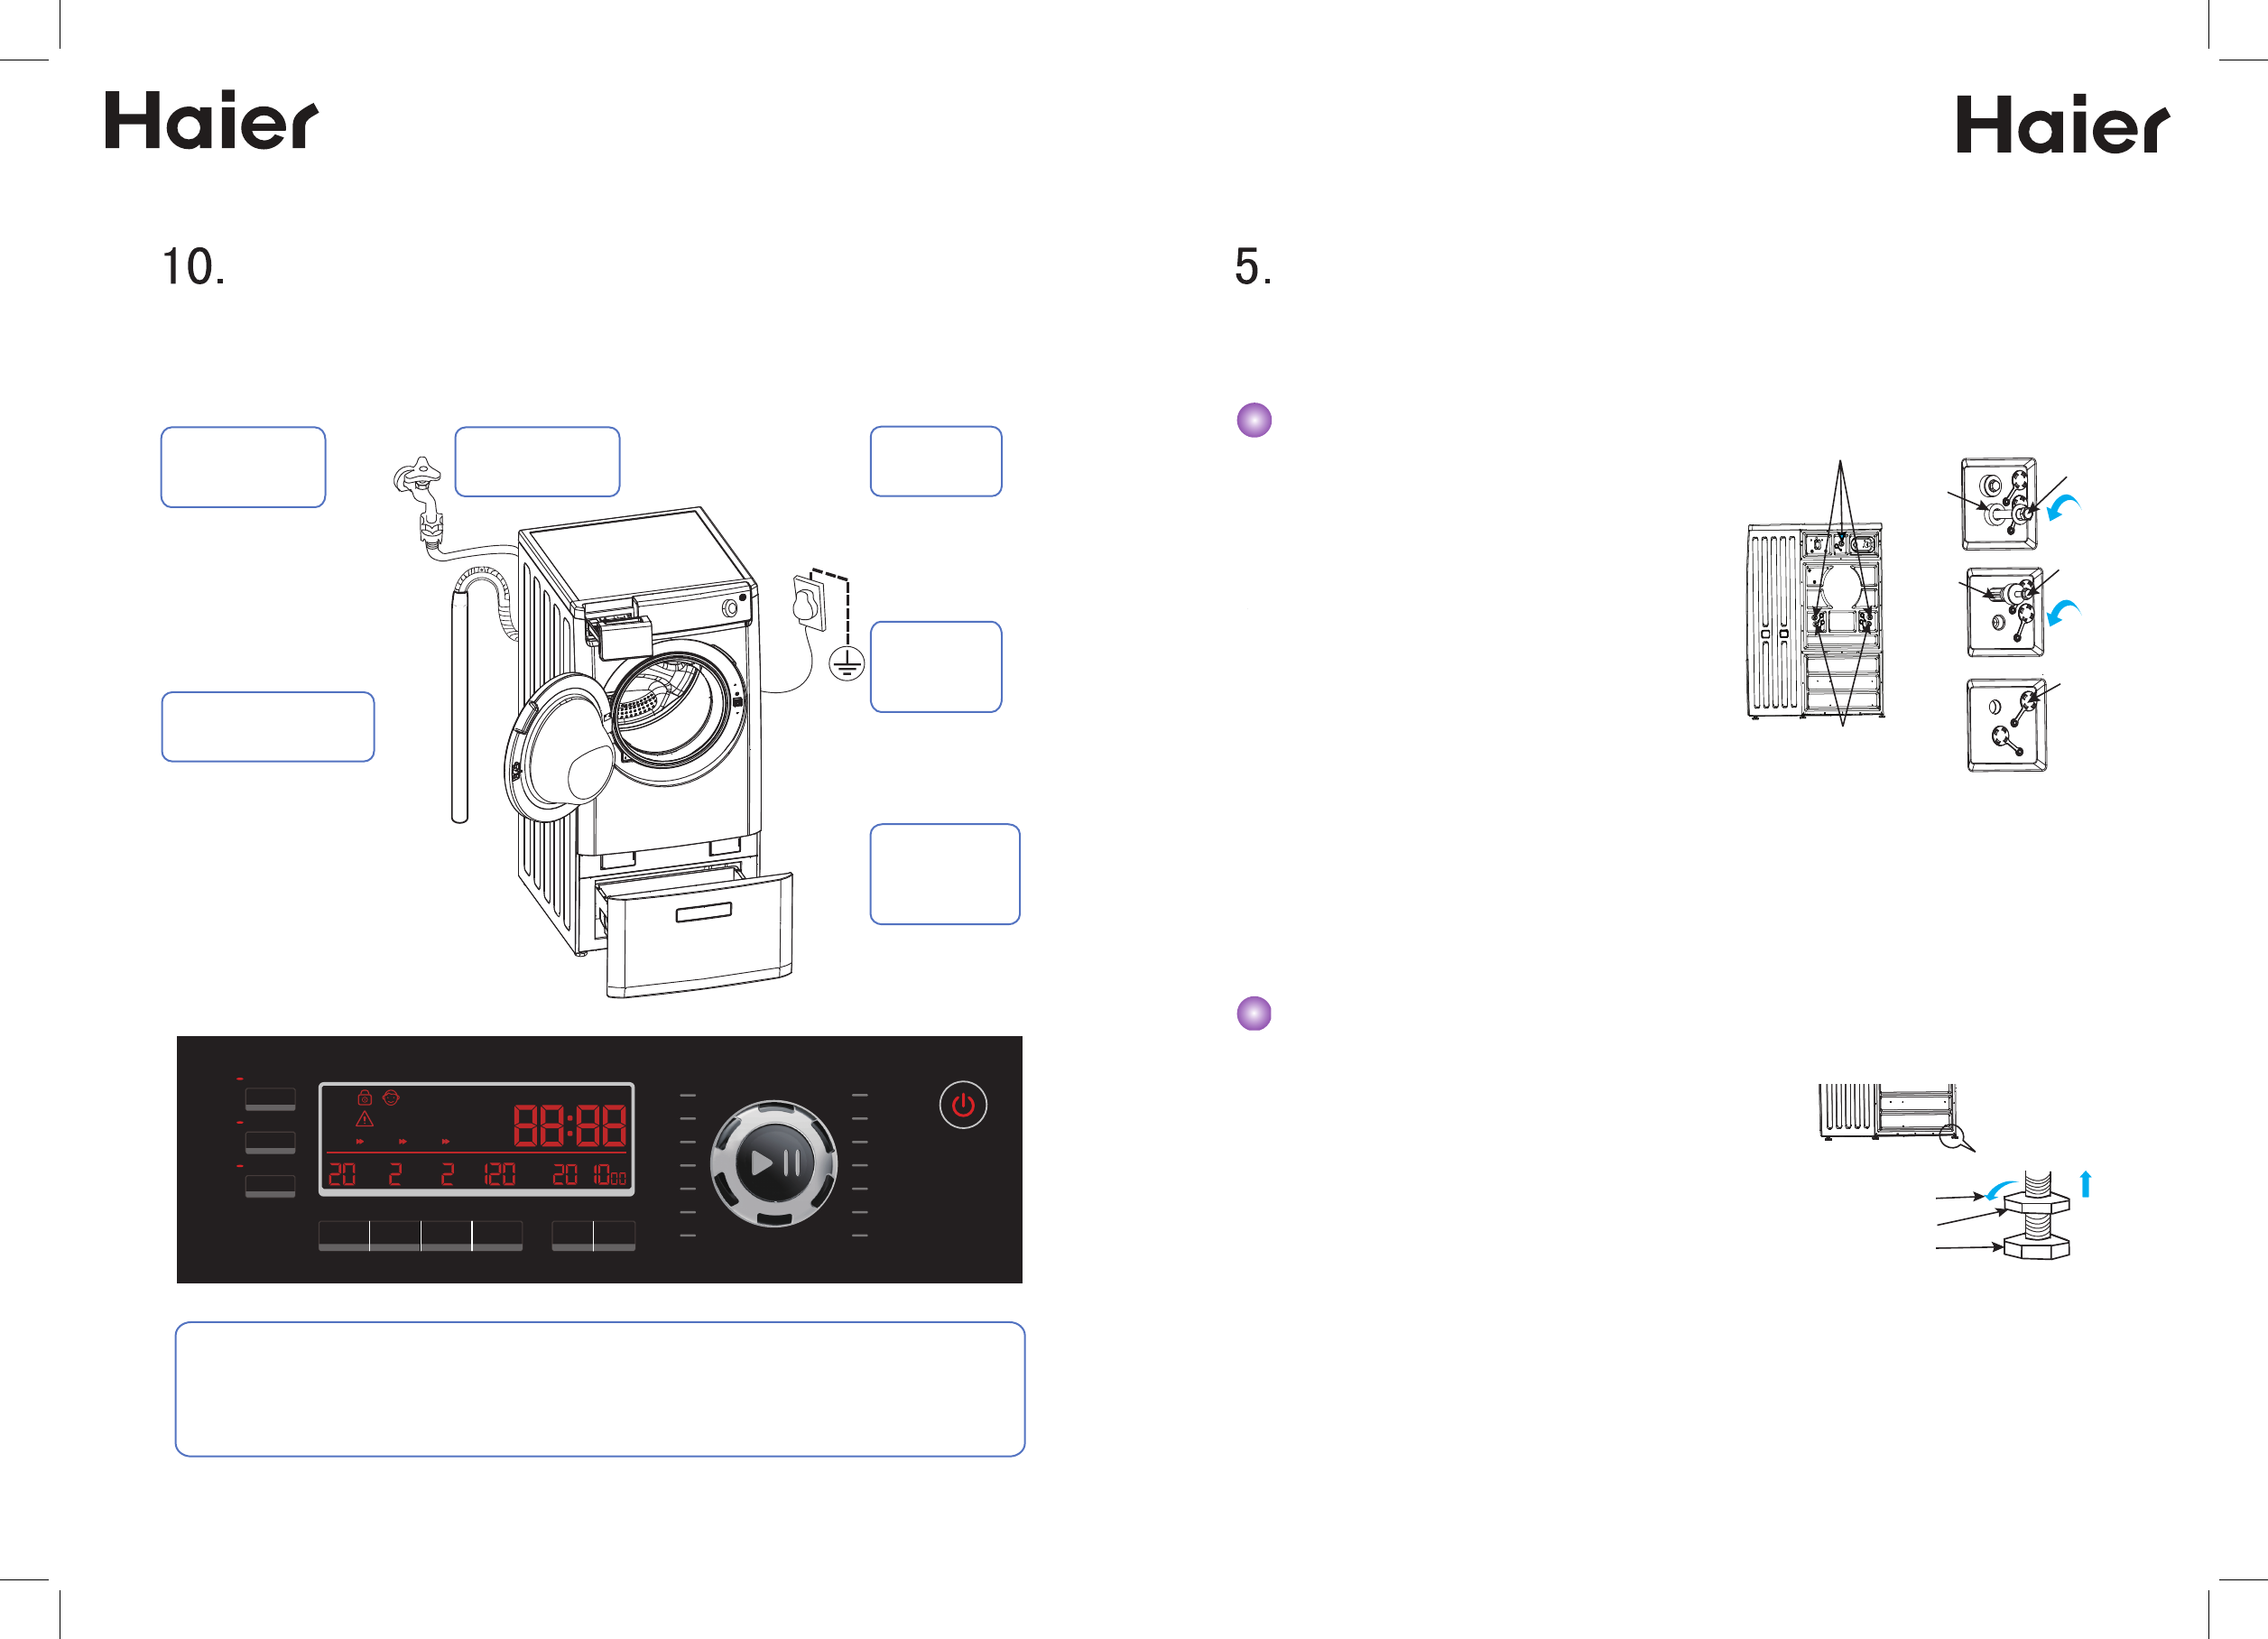
Disassembly of Packaging and Trans
porting Parts and Adjustment of Feet
Packaging rods, packaging bolts and accessories are
used for fixing the internal components of the washing
machine during the transportation, and shall be
completely disassembled before use.
Firstly, the two packaging rods are dismounted and
then the three packaging bolts are disassembled, and
the positions thereof are shown in the Figure 1.
The specific operation is as follows:
Please properly keep the disassembled packaging
and transporting parts for future use in case of
moving and machine transportation.
Please ensure that the packaging and transportation
parts are assembled prior to machine transportation.
Firstly the two packaging rods are disassembled from
the washing machine through a screw wrench or a
No. 18 wrench, and then packaging cushions are
taken out. The arrow in the Figure 2 shows the
disassembly direction.
Next the three packaging bolts are disassembled
from the washing machine through the screw wrench
or a No. 13 wrench, and then packaging sleeves are
taken out. The arrow in the Figure 3 shows the
disassembly direction.
The covers of the p
ackaging bolt holes are clamped
into those holes left after the packaging rods and the
packaging bolts are disassembled, shown as the
Figure 4.
①
②
③
Adjustment of Feet
When the washing machine is even, the noise and
the vibration are reduced, thus please ensure that the
washing machine is adjusted evenly before use.
please loosen the lock nut through a wrench
among those accessories.
Adjust the level of the washing machine by
adjusting the heights of the feet.
After the feet are evenly adjusted, the lock nut is
screwed along the locking direction through the
wrench.
Packaging bolts
Packaging
cushions
Packaging rods
Packaging
sleeves
Packaging
bolts
Covers of
packaging
bolt holes
Locking direction
Lock nut
Feet
Figure 1
Figure 4
Figure 3
Figure 2
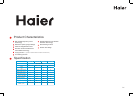
Operation Steps
(Take the machine with the drying function for an example)
As for the machine without the drying function, please don’t select the drying function
(time) ,the load function can be selected.
Packaging rods
Intense
Added Water
Wash Rinse
Delay
Wool
Synthetic
Cotton
Speed
Temp
Dry
Spin
Mix
Drum clean
Underwear
Duvet
Delicate
Dry
Spin
Rinse
Night
Quick
Airwash
Power
Wash
Rinse Spin
Dry
Minutes
Times MinutesMinutes
Degree
Rotation
Ironing
Weak Drying
Strong Drying
Delay Time
Remaining Time