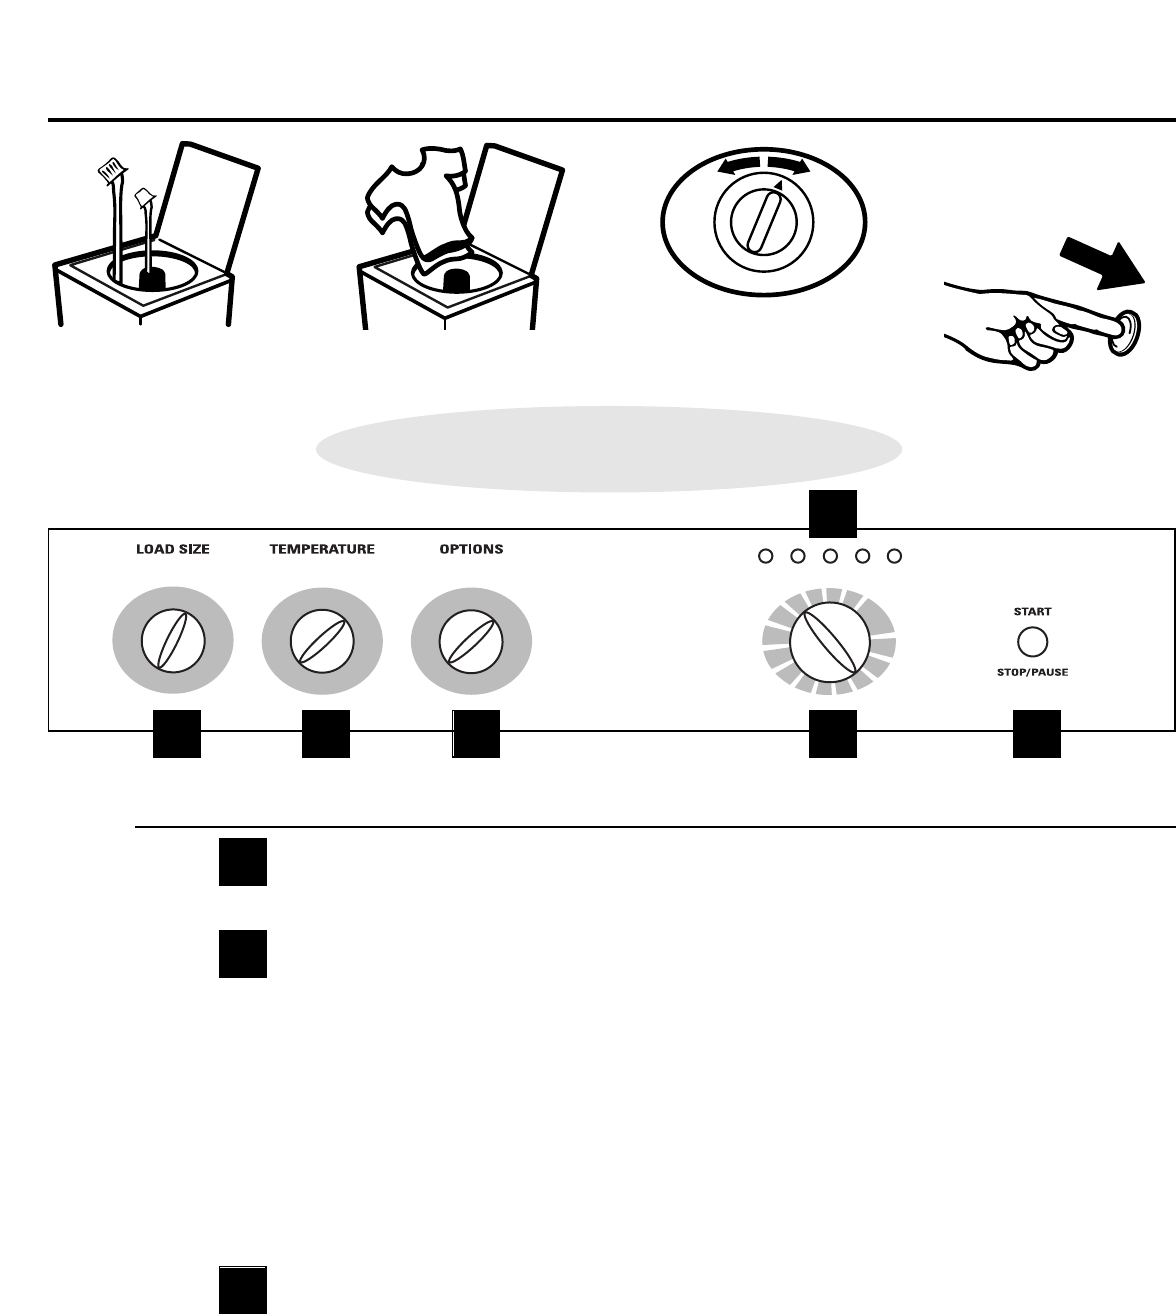
6
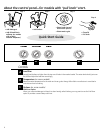
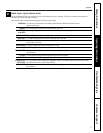
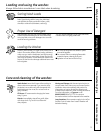
• Add detergent
• Add diluted fabric
softener (on models
with a fabric
softener dispenser)
• Add clothes
• Select load size and
other wash options
• Select wash cycle
• Close lid
• Push START
Quick Start Guide
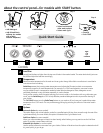
About the control panel—for models with START button.
Load Size
Loosely load clothes no higher than the top row of holes in the washer basket. The water level should just cover
the clothes. Adjust the load size accordingly.
Temperature
Select the water temperature for the wash and rinse cycles. Always follow fabric manufacturer’s care label or
instructions when laundering.
PerfecTemp senses the incoming water temperature and adjusts the fill water to obtain a more precise
temperature range for all wash temperatures. For example, in a COLD wash selection, some warm water
may be added to reach a temperature needed to better dissolve detergents. Often, detergents are not
completely dissolved in very cold water, especially in cooler climates.
During winter months, when the water entering your home is colder, or for locations with very cold water year
round, use the PerfecTemp plus COLD to help dissolve powdered detergents and to improve the cleaning of
your clothes.
The TAP COLD feature turns the PerfecTemp feature on your washer off, and uses your household tap water
temperature for a COLD wash. This can provide energy savings by reducing the amount of hot water used in
your wash.
Options
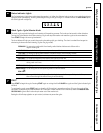
Autosoak Option (on some models)
This option begins with a brief agitation, soaks for a specified period of time, then moves through the rest of the
cycle automatically. On some models, this option is located on the Cycle Selector knob.
2nd Rinse Option (on some models)
When you use extra detergent or bleach to clean heavily soiled clothes, you may want to use the 2nd Rinse
option. It provides a second deep cold rinse.
Extended Spin Option (on some models)
Use this option to extract more water from your clothes. Clothes will be drier when this option is selected and will
dry more quickly in your dryer.
A
A
B
B
C
C
D
E
F
Step 1
Step 2
Step 3
Step 4
Controls


