


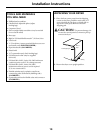
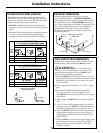

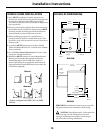
Installation Instructions
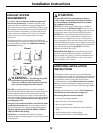
TOOLS AND MATERIALS
YOU WILL NEED
• Phillips head screwdriver
• Channel-lock adjustable pliers (adjust
leveling legs)
• Carpenter’s level
• Flat or straight blade screwdriver (may be needed
for cord strain relief)
• Duct tape
• Rigid or UL-listed flexible metal 4″ (10.2 cm) duct
• Vent hood
• 1/4″ nut driver (remove terminal block access cover
and install cord) (ELECTRIC DRYER)
• Pipe thread sealer (GAS DRYER)
• Plastic knife
• 1/2″ open-end wrench (lock leveling legs)
• UL-listed strain relief (may be supplied
with cord)
• UL-listed 30A, 240V, 3-wire, #10 AWG minimum
conductor power cord (U.S. existing structure)
• UL-listed 30A, 240V, 4-wire, #10 AWG
minimum conductor power cord is required
(U.S. new construciton)
• Flexible stainless steel or plastic-coated brass
connnecting tube (if allowed by building code)
(GAS DRYER)
• Open-end wrenches for flexible tube and connector
(GAS DRYER)
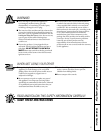
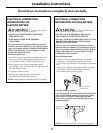
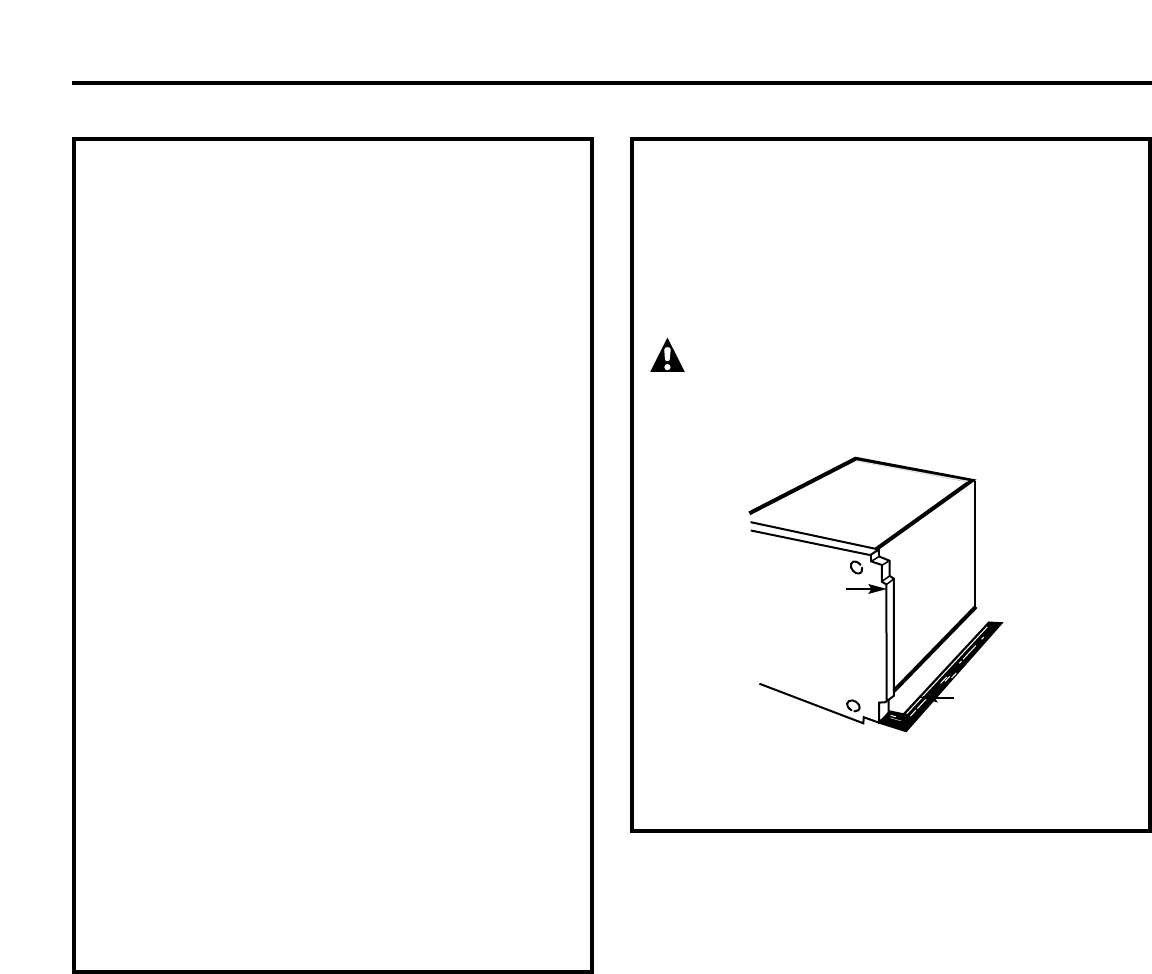
UNPACKING YOUR DRYER
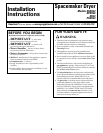
1. Place the four corner posts from the shipping
carton on the floor, parallel to each other, 2-3″
apart. Carefully lay the dryer on its left side on
top of the corner posts. Remove the foam
shipping pad.
CAUTION: To prevent damage, do
not use the control panel as a means to pick up
or move the dryer.
2. Return the dryer to an upright position.
Foam shipping pad
Back of
Dryer
10
Packing