


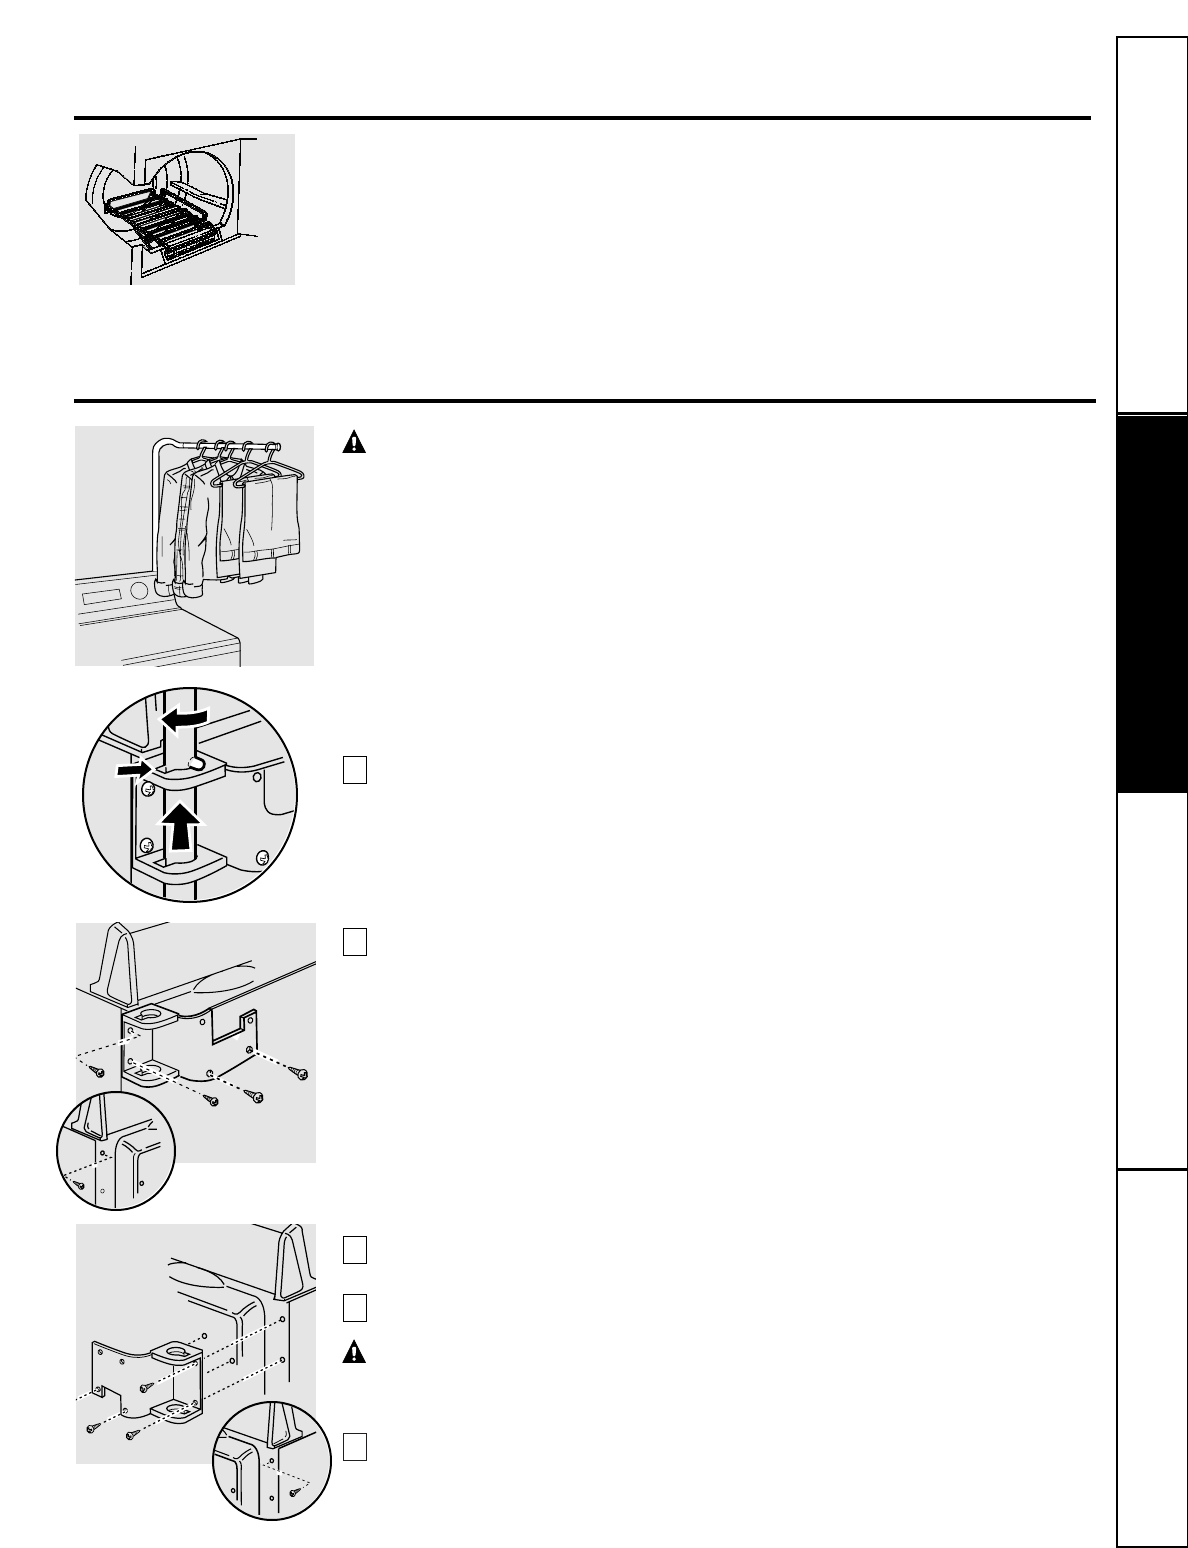
WARNING!
■Do not overload the Drying Center. It may be damaged if more than 20 lbs. are applied.
■Always store the Drying Center in a safe position so that it does not hit anyone.
■Do not allow children to play with the Drying Center.
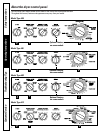
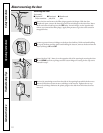
The pole on the Drying Center can be set at different heights. Line up the tabs on
the pole with the notch on the brackets (this will occur when the pole is parallel to
the control panel) and raise or lower the pole, resting the tab on the bracket at the
height you want.
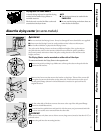
The Drying Center can be mounted on either side of the dryer.
To remove and transfer the Drying Center to the opposite side:
Remove the pole by raising it up. Make sure to line up the tabs on the pole with the
notches on the bracket.
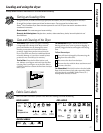
Remove the four screws that secure the bracket to the dryer. Three of the screws will
be required to mount the bracket on the other side. The fourth screw at the top of
the side panel flange (shown in circled illustration) needs to be put back into its
original location.
On the other side of the dryer remove the screw at the top of the side panel flange
(shown in circled illustration).
Turn the bracket upside down and attach it with the screw you just removed and with
the three screws that were removed from the other side.
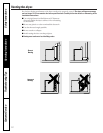
WARNING!
Make sure you use only these screws. Never use any long screws (must be less than 3/8″) or
pointed screws.
Insert the pole into the mounting bracket.
5
4
3
2
1
9
Customer ServiceTroubleshooting TipsOperating InstructionsSafety Instructions
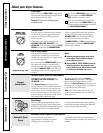
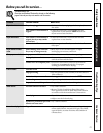
Drying Rack–on some models
A handy drying rack may be used for drying
articles such as stuffed toys, pillows or
washable sweaters.
Hook the rack over the lint filter so the rack
extends into the dryer drum.
NOTE:
■ The drying rack must be used with the
TIMED CYCLE.
■ Do not use this drying rack when there are
other clothes in the dryer.
About the drying center (on some models).