8
OPERATING INSTRUCTIONS
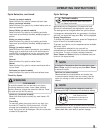
Turn the cycle selector in either direction to the cycle
desired.
To change the cycle once it has begun, press the cancel
button before selecting a new cycle. Just turning the cycle
selector knob to another selection will not change the cycle.
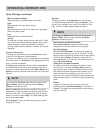
Auto Dry Cycles
Auto Dry cycles take the guesswork out of selecting the
correct drying time for each load. Moisture sensing bars
at the back of the dryer drum sense the moisture level of
the load as it tumbles through the heated air. With Auto
Dry cycles, the load will automatically be dried at the
selected temperature to the desired dryness level. Auto
Dry cycles save time and energy and protect fabrics.
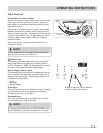
Cycle Selection
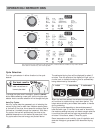
The estimated drying time will be displayed for about 5
minutes. Then the outside of the display will light up in a
circular track to indicate the drying time is automatically
being determined by the sensors.
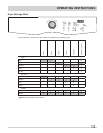
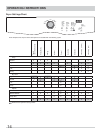
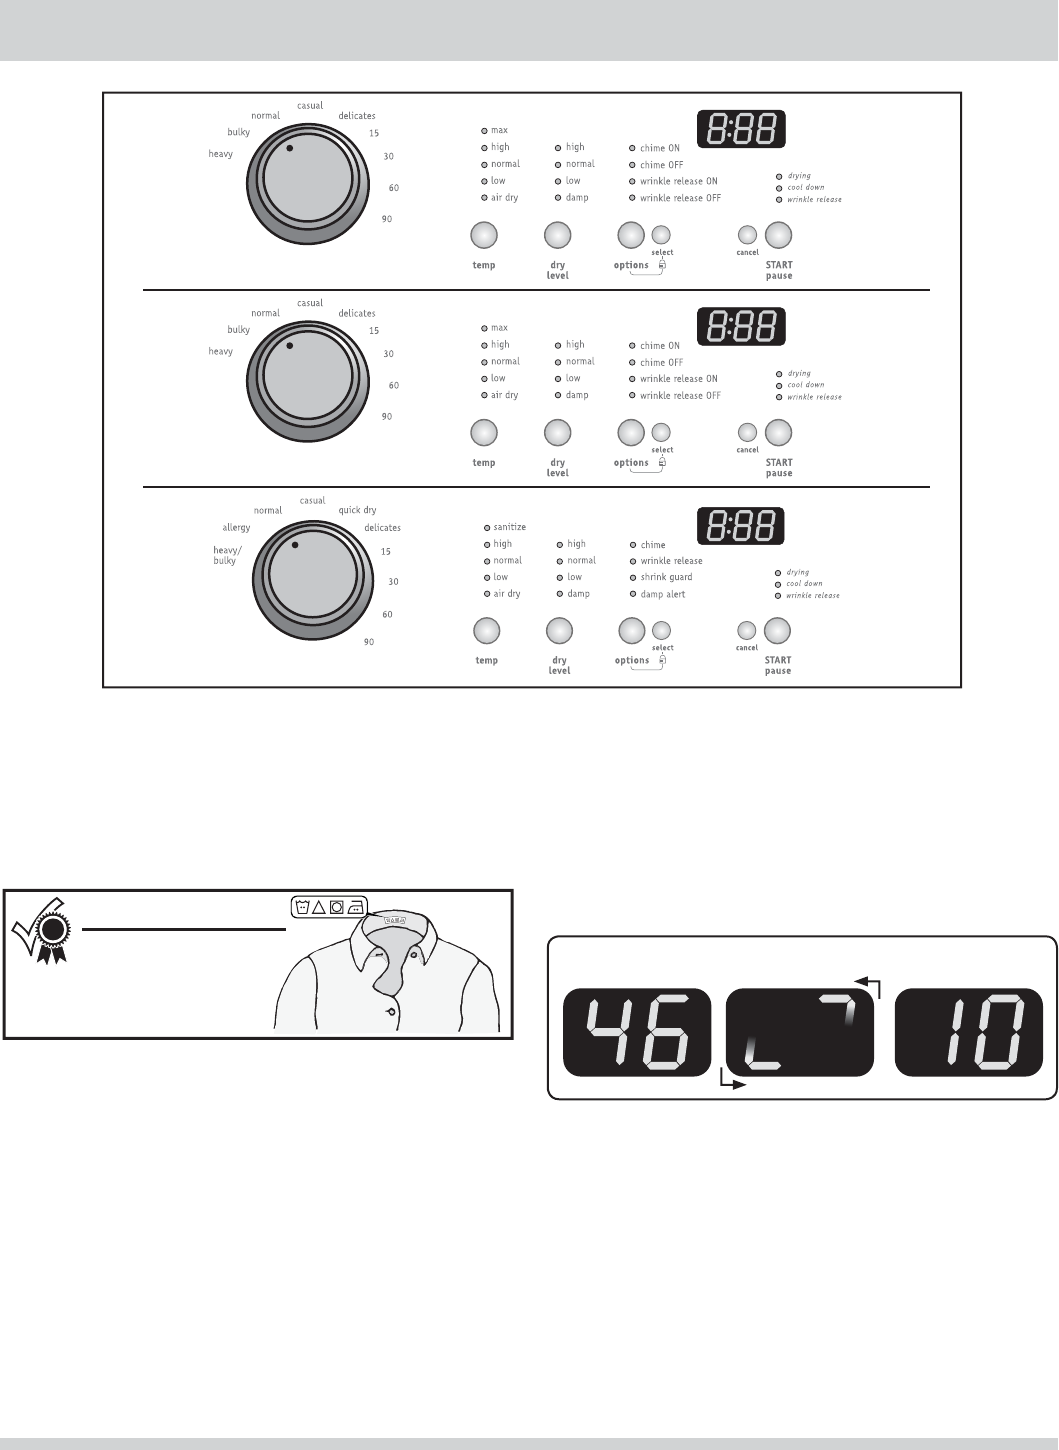
This manual covers many models and not all cycles, options, or features listed are available on every model. Consoles
shown above for reference only. Your model may differ.
1. initial 2. calculating 3. estimated
When the load has reached the selected dryness level, it
will continue to tumble during a cool down period. This
helps reduce wrinkling and makes items easier to handle
during unloading.
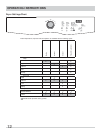
Drying time varies depending on size and dampness of
load and fabric type. If the load is too small or almost dry,
the moisture sensing bars may not detect enough moisture
to continue the cycle and the cycle may end after a few
minutes. If this occurs, select a Timed Dry cycle.
Room temperature and humidity, type of installation and
electrical voltage or gas pressure can also affect drying
time.
Follow the fabric care
label instructions on
items to be dried.
For best results


