


2
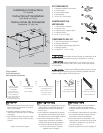
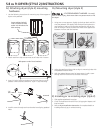
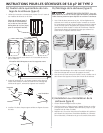
Allow for approximately 5 in. (12.5 cm) behind the
pedestal for clearance of back of washer or dryer to the wall.
Allow additional space if venting dryer upward or downward.
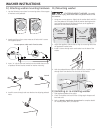
If locking nuts are not removed on units with metal
feet, mounting holes in appliance will not align to mounting
holes in brackets.
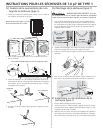
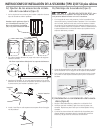
Due to higher center of gravity of appliance on ped-
estals, some side-to-side rocking is normal during operation.
Vibration can be minimized by assuring appliance is installed
properly, including being level and solid on all four (4) legs by
following these directions.
PREPARATION INSTRUCTIONS
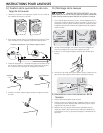
If washer or dryer is new and has not been installed yet, skip to 1.
step 4.
If dryer is already installed, disconnect dryer from electrical and 2.
gas connections and exhaust venting.
If washer is already installed, disconnect washer from electrical 3.
connection. Turn off hot and cold water supply and disconnect
hot and cold water supply hoses from water supply outlets.
Disconnect drain hose from drain pipe.
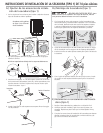
If appliance has plastic feet, screw each foot fl ush to the base.4.
If appliance has metal feet, unscrew them, remove the locking 5.
nut and reinstall the feet fl ush to the base.
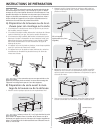
A) Preparing washer or dryer for mount-
ing on pedestal
B) Preparing pedestal before mounting
washer or dryer
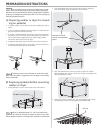
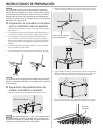
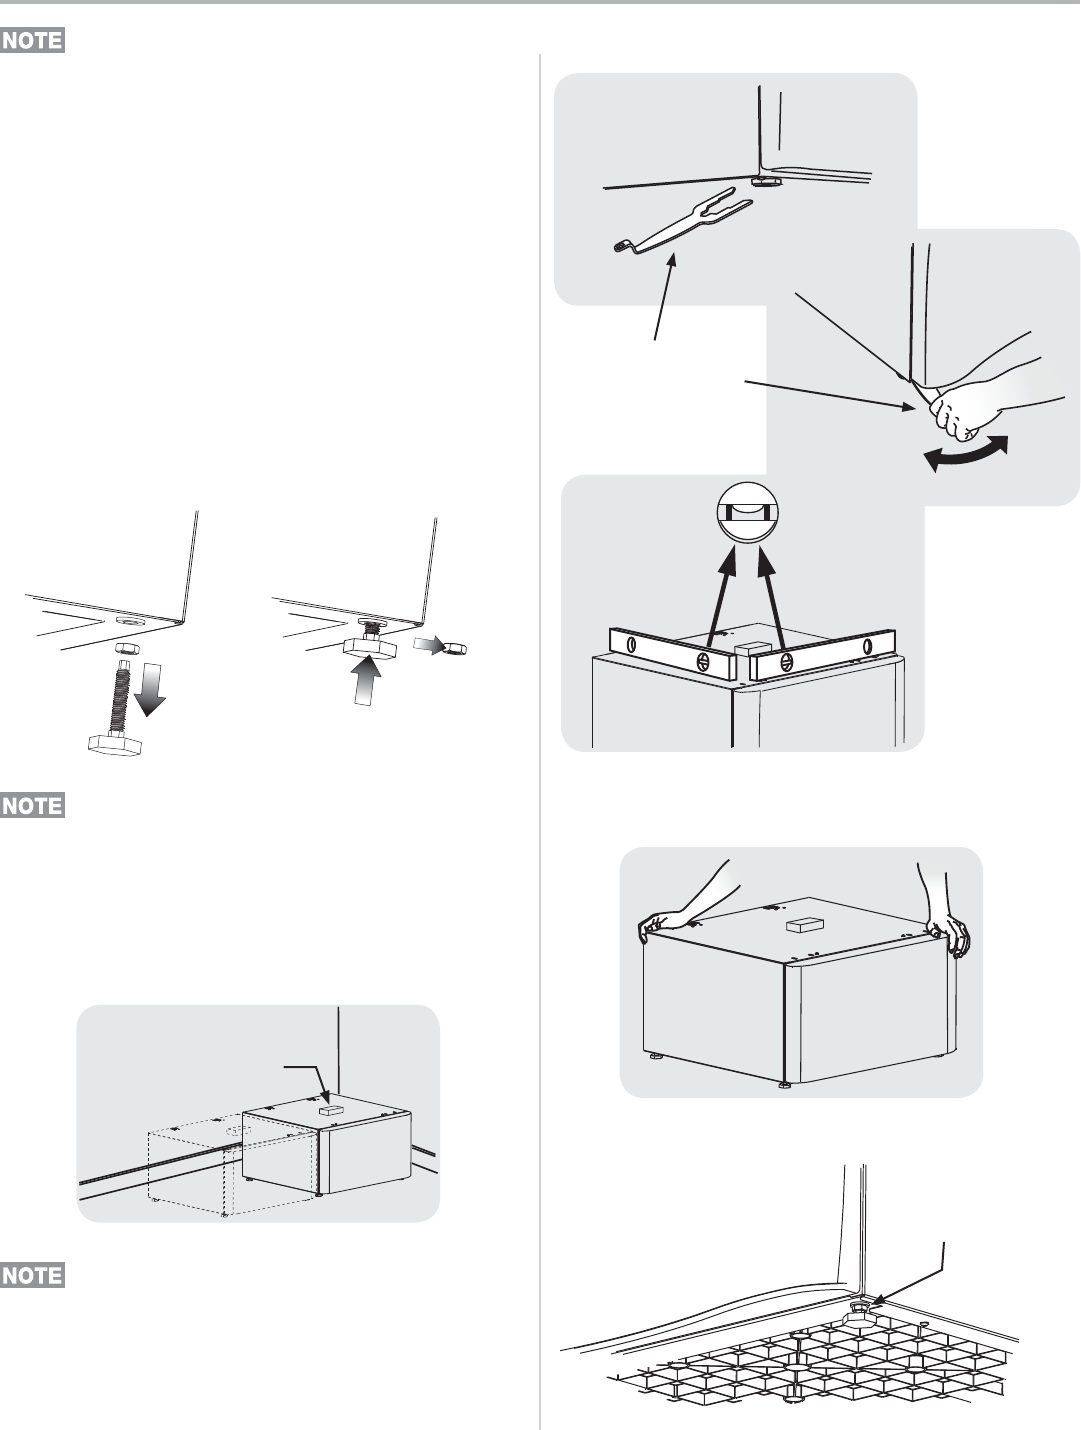
Locate pedestal to within a few inches of its fi nal location.1.
Level the pedestal front-to-back and side-to-side by adjusting 2.
each leveling leg. Keep leg extension to a minimum.
Rock the pedestal from corner-to-corner to check for stability. 3.
Repeat leveling and rocking until all four (4) feet are sturdy on the
fl oor and pedestal is level.
Without turning the rubber foot, lock each pedestal leg in place 4.
by tightening its lock nut tight against the pedestal base.
DO NOT remove foam!
lock nut
raise
lower
Optional universal
wrench (or adjustable
pliers).