8
See also CLEARANCE REQUIREMENTS on the next page.
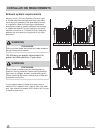
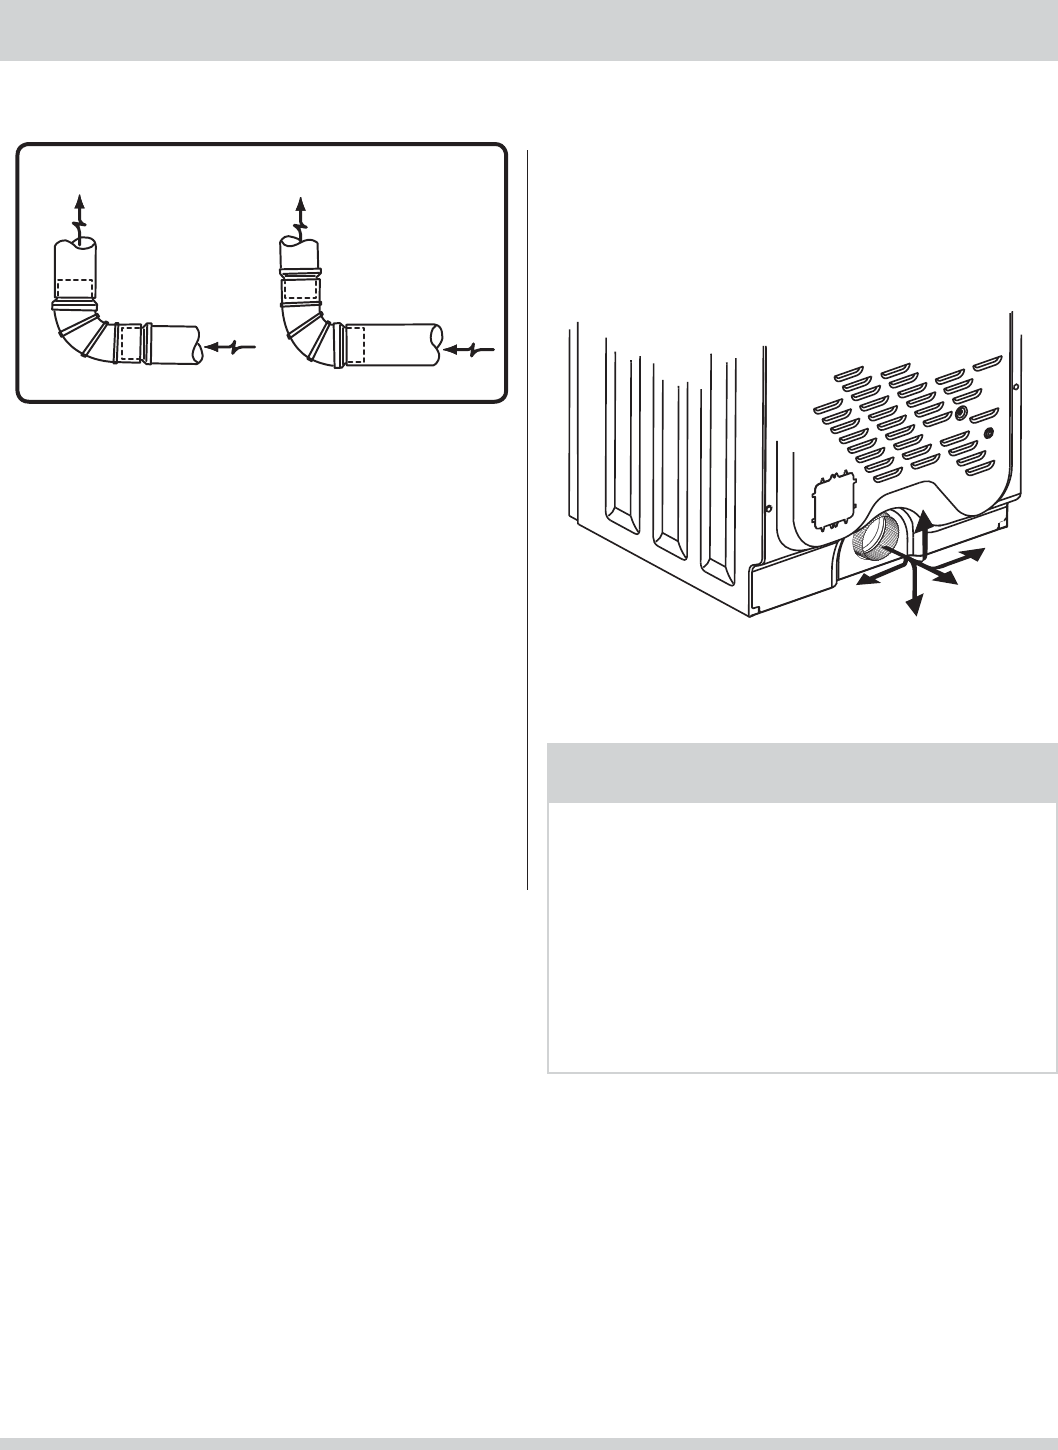
Exhaust direction
Directional exhausting can be accomplished by installing
a quick-turn 90° dryer vent elbow directly to exhaust
outlet of dryer. Dryer vent elbows are available through
your local parts distributor or hardware store.
Exhaust system requirements, continued
INSTALLATION REQUIREMENTS
In installations where the exhaust system is not described
in the charts, the following method must be used to
determine if the exhaust system is acceptable:
1 Connect an inclined or digital manometer between
the dryer and the point the exhaust connects to the
dryer.
2 Set the dryer timer and temperature to air fl uff
(cool down) and start the dryer.
3 Read the measurement on the manometer.
4 The system back pressure MUST NOT be higher
than 0.75 inches of water column. If the
system back pressure is less than 0.75 inches of
water column, the system is acceptable. If the
manometer reading is higher than .075 inches of
water column, the system is too restrictive and the
installation is unacceptable.
Although vertical orientation of the exhaust system is
acceptable, certain extenuating circumstances could
affect the performance of the dryer:
Only the rigid metal duct work should be used.•
Venting vertically through a roof may expose the •
exhaust system to down drafts causing an increase
in vent restriction.
Running the exhaust system through an •
uninsulated area may cause condensation and
faster accumulation of lint.
Compression or crimping of the exhaust system will •
cause an increase in vent restriction.
The exhaust system should be inspected and •
cleaned a minimum of every 18 months with
normal usage. The more the dryer is used, the
more often you should check the exhaust system
and vent hood for proper operation.
Í
NOTE
Use of 90° quick-turn elbow required to meet minimum
installation depth of free-standing dryer:
Straight back venting allows for 0” (0 cm) installation.•
Venting right with 90° elbow allows for 0.75” (2 cm) •
installation.
Venting downward with 90° elbow allows for 0.75” (2 •
cm) installation.
Venting left with short, straight adapter and 90° •
elbow allows for 3.75” (9.5 cm) installation.
Venting upward with short, straight adapter and 90° •
elbow allows for 4” (10.5 cm) installation.
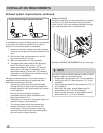
Install male fi ttings in correct direction:
CORRECT
INCORRECT


