Remember that the steam function can only be used when
the thermostat is in the position.
Dry ironing
• Plug in the iron and select the temperature, if there is water in
the tank, position the steam regulator on the dry position (fig.
1).
•Wait until the indicator light goes off showing that the required
temperature has been reached.
• If the fabric to be ironed is slightly damp or you iron fast,you can
use a higher temperature. If, on the other hand, the garments
are dry or you iron slowly,use a lower temperature.
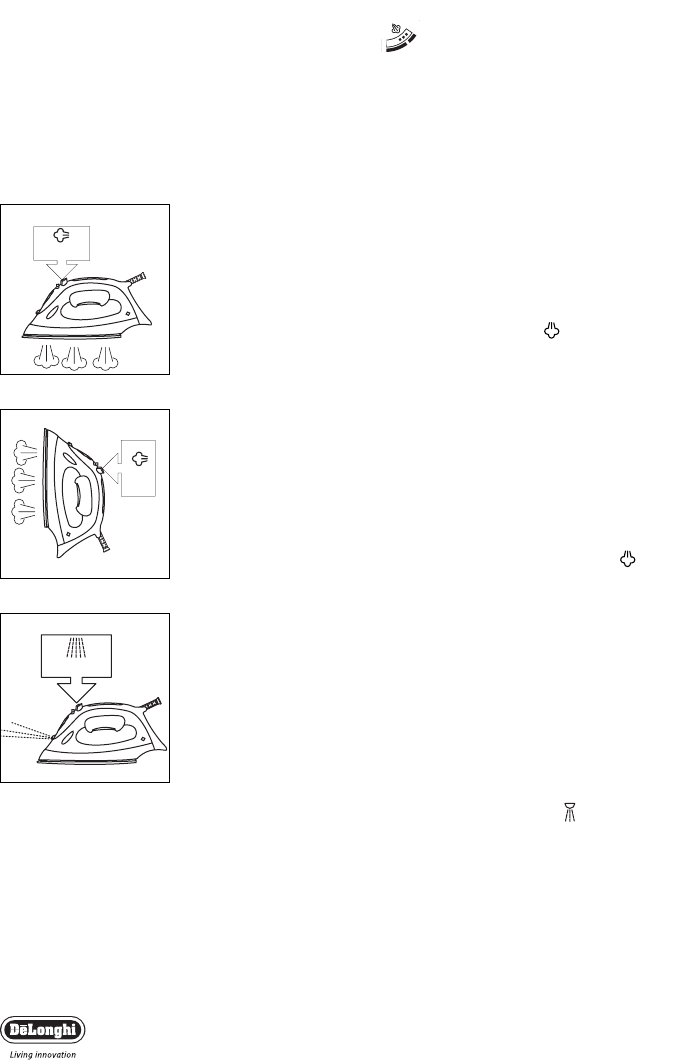
Super steam (fig. 4)
•Position the steam regulator on the dry position (fig. 1).
• Place the thermostat dial on maximum.When the indicator light
goes off, press the super steam button .
For correct operation of the super steam function, you must
wait a few seconds between one burst of steam and the next.
Vertical ironing (fig. 5)
Enables delicate garments to be steamed without resting them on the
ironing board: pay attention to the temperature used to steam
hanging fabrics.
Position the steam regulator on the dry position. Rotate the thermo-
stat dial clockwise as far as it will go (maximum steam position).When
the indicator light goes off, place the iron in a vertical position and
move it near the garment. Press the super steam button until the
indicator light comes on again.Wait until the light goes off before con-
tinuing vertical ironing.
Never direct the "vertical" steam jet at a garment hanging in
a wardrobe or worn by a person. Vertical ironing should
always be carried out with the garment hanging on a clothes
stand and always away from other garments, elements, peo-
ple and animals.
Spray (fig. 6)
If during ironing, you note particularly resistant creases or if your gar-
ment requires a higher level of dampness, you can use the spray. Make
sure the tank contains water.Press the spray button repeatedly (fig.
6),directing the spray jet towards the parts of the garment to be dam-
pened.
Never use the spray when ironing silk as the drops of water
could mark the fabric.
F
F
fig. 4
fig. 5
Steam iron
4
G
fig. 6


