


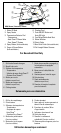

3. Plug in the iron. For models with Automatic Shut-Off, push the ON button
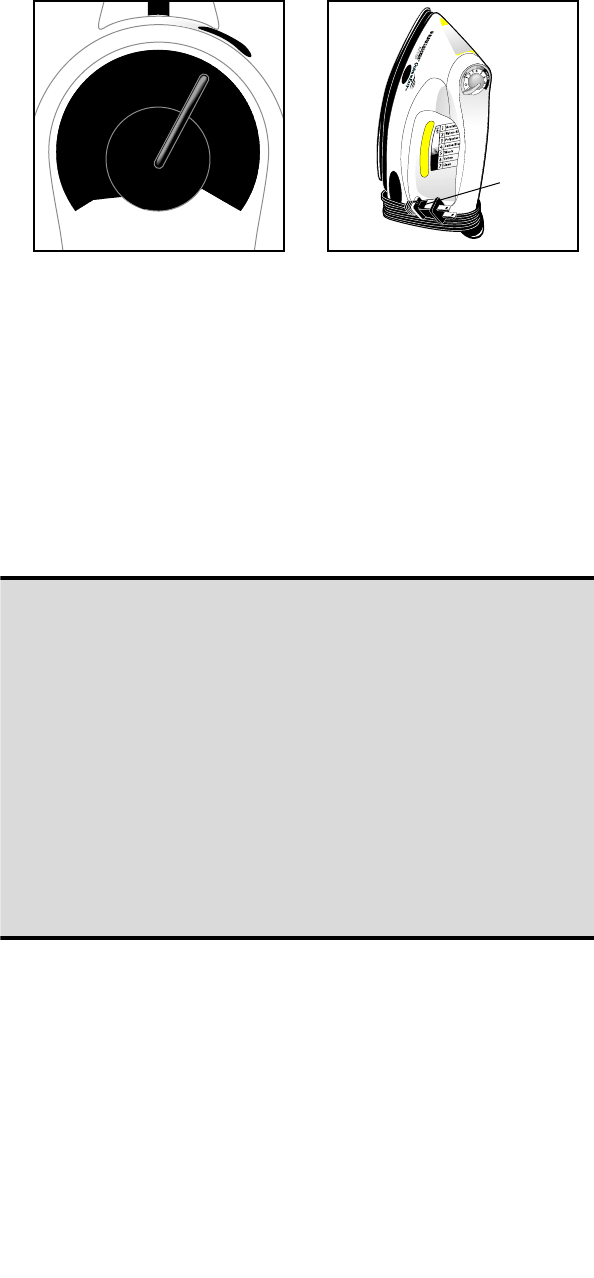
and a light will come on (B). For all models, move the Temperature
Selector Dial to the appropriate setting for your fabric (C). Always stand
the iron on its heel rest when powered on but not in use.
4. Use the Fabric Guide on the iron (see A) to select the proper temperature
setting for the fabric to be ironed (check the garment label for fabric type
and manufacturer’s recommended setting to prevent fabric damage). If there
is a brown buildup on the soleplate, lower the setting and/or reduce starch.
5. Allow to preheat for approximately 2 – 3 minutes before ironing.
6. TO TURN OFF/STORE: For Models with Automatic Shut-Off: You may push
the ON/OFF button to manually turn off the iron and the light will go out.
The iron will automatically shut off after 1 hour. Push ON to restart. For all
models: Turn the Temperature Selector Dial to “O,” unplug, allow to cool,
and store on heel rest. Wrap the cord, and clip in place. (D)
toutefois utiliser de l’eau du robinet à la première utilisation et une fois par
mois par la suite afin de conserver l’efficacité du système de vaporisation.
3. Brancher le fer. Dans le cas des modèles pourvus du système d’arrêt
automatique, enfoncer le bouton de mise en marche (ON) et un témoin
s’allume (B). Pour tous les modèles, déplacer le sélecteur de température
au réglage convenant au tissu (C). Toujours faire reposer le fer sur son
talon d’appui lorsqu’il est branché et qu’il ne sert pas.
4. Utiliser le guide des tissus (A) afin de choisir le réglage approprié au tissu
à repasser (vérifier l’étiquette du vêtement afin de connaître le type de
tissu et le réglage recommandé par le fabricant). Lorsque la semelle
brunit, baisser la température ou utiliser moins d’amidon.
5. Laisser réchauffer le fer pendant environ 2 – 3 minutes.
3. Conecte la plancha. Para los modelos con apagado automático, oprima el botón
de encendido y se iluminará la luz indicadora (B). Para todos los modelos, gire
el selector de temperatura a la posición adecuada para su tela (C). Siempre
coloque la plancha sobre su talón cuando esté encendida pero no en uso.
4. Utilice la guía para telas que se encuentra en la plancha para seleccionar la
temperatura apropiada para la tela que se va a planchar (revise la etiqueta de
la prenda para averiguar el tipo de tela y la temperatura recomendada por el
fabricante, para no dañar la tela). Si se acumulan residuos cafés en la suela,
baje la temperatura y/o use menos almidón.
5. Permita que la plancha se caliente por lo menos 2 – 3 minutos antes de planchar.
6. PARA APAGAR LA PLANCHA/ALMACENARLA: En modelos con apagado
automático, oprima el botón de encendido y apagado para apagar la plancha
manualmente, la luz indicadora también se apagará. Oprima el botón “ON”
para encenderla nuevamente. La plancha se apagará automáticamente
después de una hora. Con todos los modelos, gire el selector de temperatura
C
S
u
r
e
S
te
am
S
y
s
t
e
m
•
S
I
L
V
E
R
S
T
O
N
E
•
S
P
R
A
Y
3
4
0
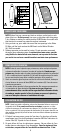
Clip
Grapa
Pince
D
9