STEAM SELECTION
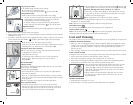
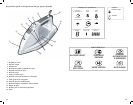
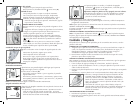
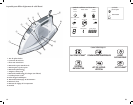
1. The steam symbol can be displayed by pressing the Steam ON/
OFF button, which is located just behind the LED display and in
front of the steam and spray buttons (F).
2. ALL-TEMP STEAM™ enables you to use steam on all settings.
There will be one burst of steam displayed on the LCD when
using fabric settings 1 through 3 (G). There will be two bursts of
steam displayed when using fabric settings 4 through 7 (H).
3. The steam symbol on the LCD display will blink until the iron
reaches the appropriate temperature. It then remains constant.
4. If changing the setting from 1 through 3, the
symbol will
flash until the iron is fully heated to the next selection, and
then remain constant. If changing to a setting higher than 3, a
symbol appears and flashes until the selected temperature is
reached, then remains constant.
5. If the Steam ON/OFF button is pressed at any time during use,
the iron stops producing steam and the steam symbol disappears
from the LCD display.
IRONING WITH STEAM
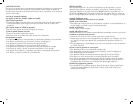
When using steam, be sure the iron is filled with water before you
begin to iron.
ALL-TEMP STEAM™
ALL-TEMP STEAM™ utilizes Smart Steam™ technology and enables you to utilize steam on
all fabrics and temperature settings — even LOW.
Smart Steam™ Technology
The Smart Steam™ system automatically generates the right amount of steam for the fabric
type selected. Once you select the temperature, the Smart Steam™ technology detects the
set temperature and adjusts the steam power accordingly.
Suggestions for each setting:
Acrylic: scarves, blouses, knits – iron on the wrong side•
Nylon: lingerie, robes, sleepwear, raincoats – iron on the wrong side•
Polyester: knits, dresses, blouses, skirts, travel wear - iron on the wrong side•
Blends: shirts, blouses, knits, uniforms, bed and table linens•
Wool: trousers, slacks, jackets, silk scarves and blouses•
Cotton: 100% cotton blouses and shirts, table linens•
Linen: slacks, summer wear, jackets, blouses•
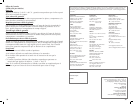
Press the Steam ON/OFF button to turn on the steam function. The
Steam symbol on the LCD display flashes during heat-up, and then
appears constant when the steam function is ready (I).
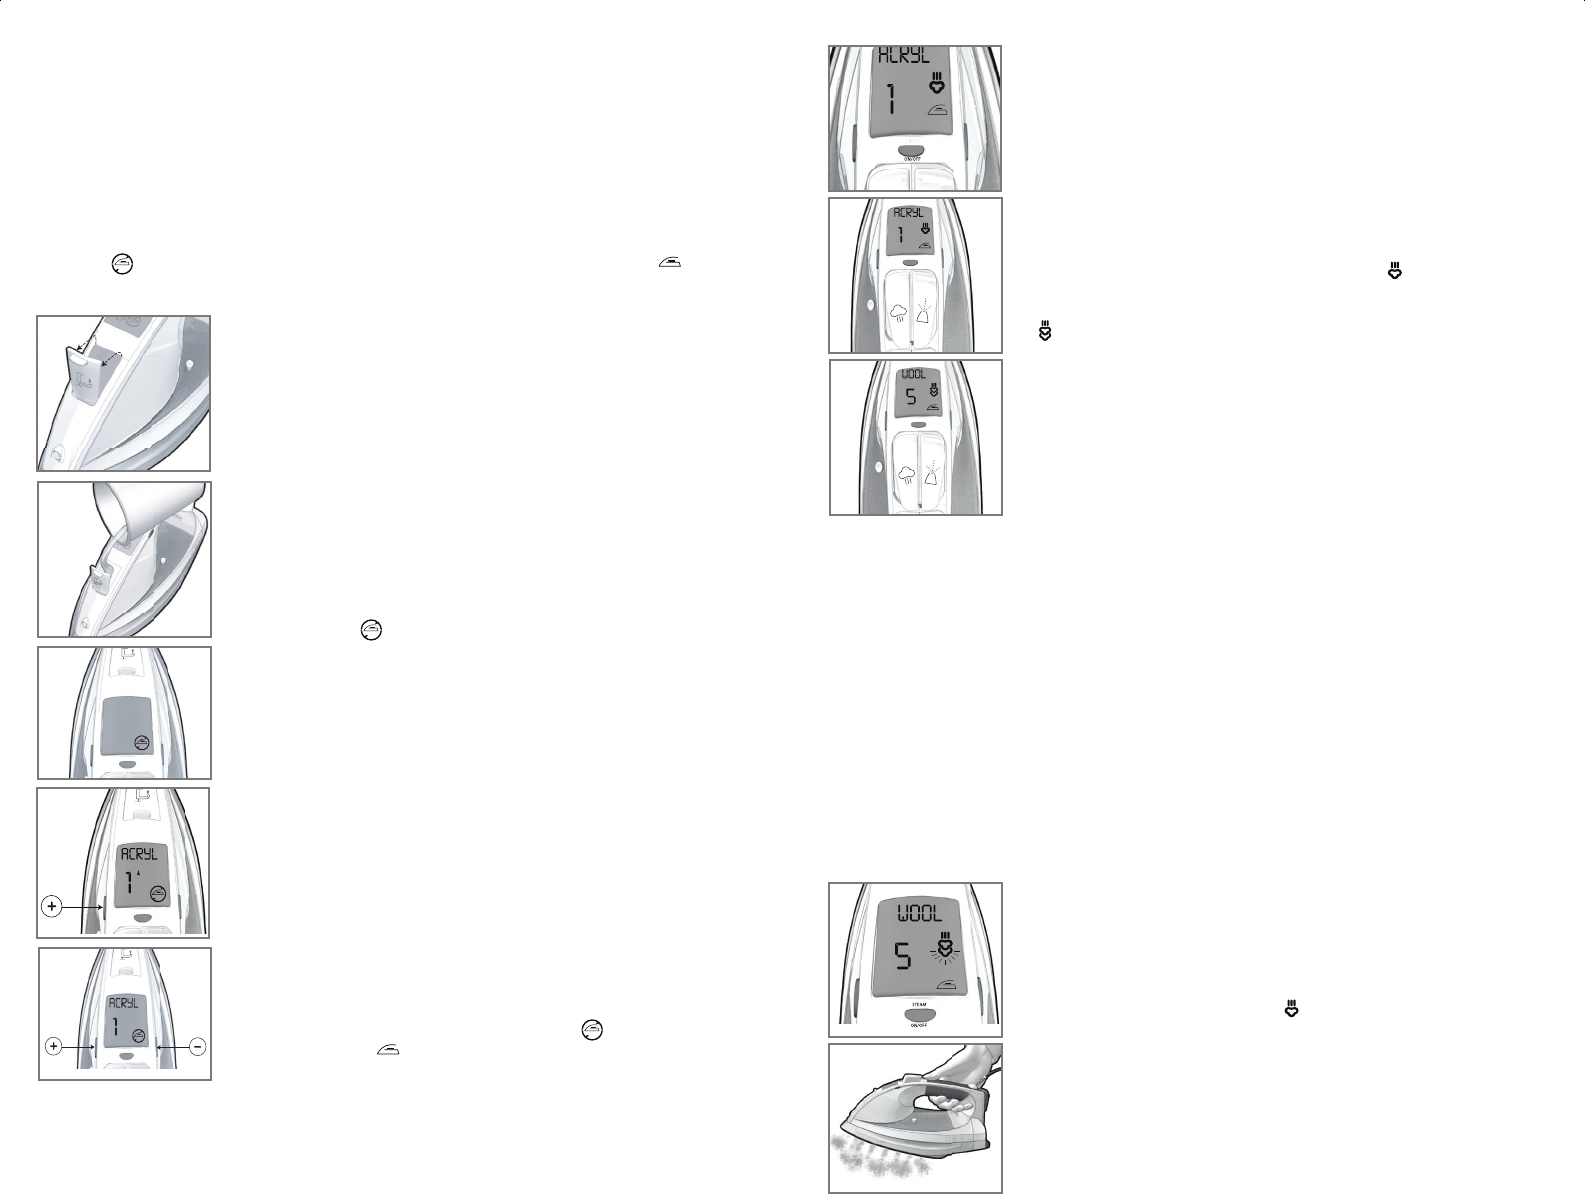
Surge-of-Steam
1. Use to remove stubborn creases.
2. Press the surge-of-steam button
to generate a burst of steam
(J). For best results, allow at least 5 seconds between bursts.
How to Use
This appliance is intended for household use only.
GETTING STARTED
1. Remove all labels, tags and stickers attached to the body, cord or soleplate of the iron.
2. Remove and save literature.
3. If ironing dry, place appliance on its heel rest on a stable ironing board.
4. Uncoil cord and plug into standard electrical outlet.
Important: For optimum performance, allow the iron to stand for 90 seconds until the
Standby
symbol in the bottom right of the LCD display changes to Ready .
FILLING WATER TANK
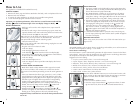
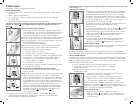
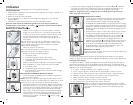
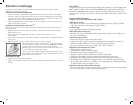
1. With iron on flat surface with soleplate down, open water-fill
cover (A).
2. Tilt the iron and using a clean measuring cup, pour water into
opened chamber until water reaches the MAX level mark on the
side of the water tank (B). Do not overfill.
Note: This iron can be filled with ordinary tap water; if your water
is hard or soft, you may want to use distilled water. Do not use
water processed through a home softening system.
3. Close the water-fill cover.
Note: If you need to add water while ironing, unplug the iron and
follow the above steps.
4. Plug the iron into an electrical outlet
•Theironbeeps.
•Thebacklightilluminatesandturnsoff.
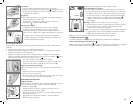
•TheStandby
symbol remains on the LCD display (C).
5. Turn on the iron by pressing the (+) temperature control button,
located to the left of the LCD display (D).
•Theironbeeps.
•TheLCDbacklightturnson.
•TheironbeginstoheatupandtheLCDdisplaysthelowest
heat setting.
SELECTING FABRIC TEMPERATURE
1. Read fabric labels to help determine fabric type to be ironed.
Tip: If unsure of fabric’s fiber content, test a small area (on the
inside seam or hem) before proceeding to iron the entire garment or
cloth.
2. Once you determine the fabric type, press the (+) and (-) fabric
selector buttons on either side of the LCD display to select the
appropriate fabric setting (E). The LCD display will light up and
the fabric type will appear at the top with the corresponding
number for the setting below it to the left. There will be a
flashing arrow
▲
to show the iron is heating. When the iron is
heated, the iron will beep and the Standby
symbol will
change to Ready
and the arrow will disappear.
3. Whenever the temperature setting is changed, the
▲
or
▼
symbols will appear on the LCD to show that the iron is either
heating up or cooling down to the newly selected setting.
Important: Always stand the iron on its heel when powered on but
not in use.
5
6
C
E
D
A
B
I
J
G
H
F


