


© Copyright, Alliance Laundry Systems LLC – DO NOT COPY or TRANSMIT
Installation
38910
12
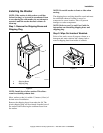
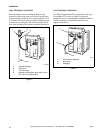
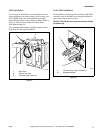
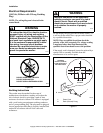
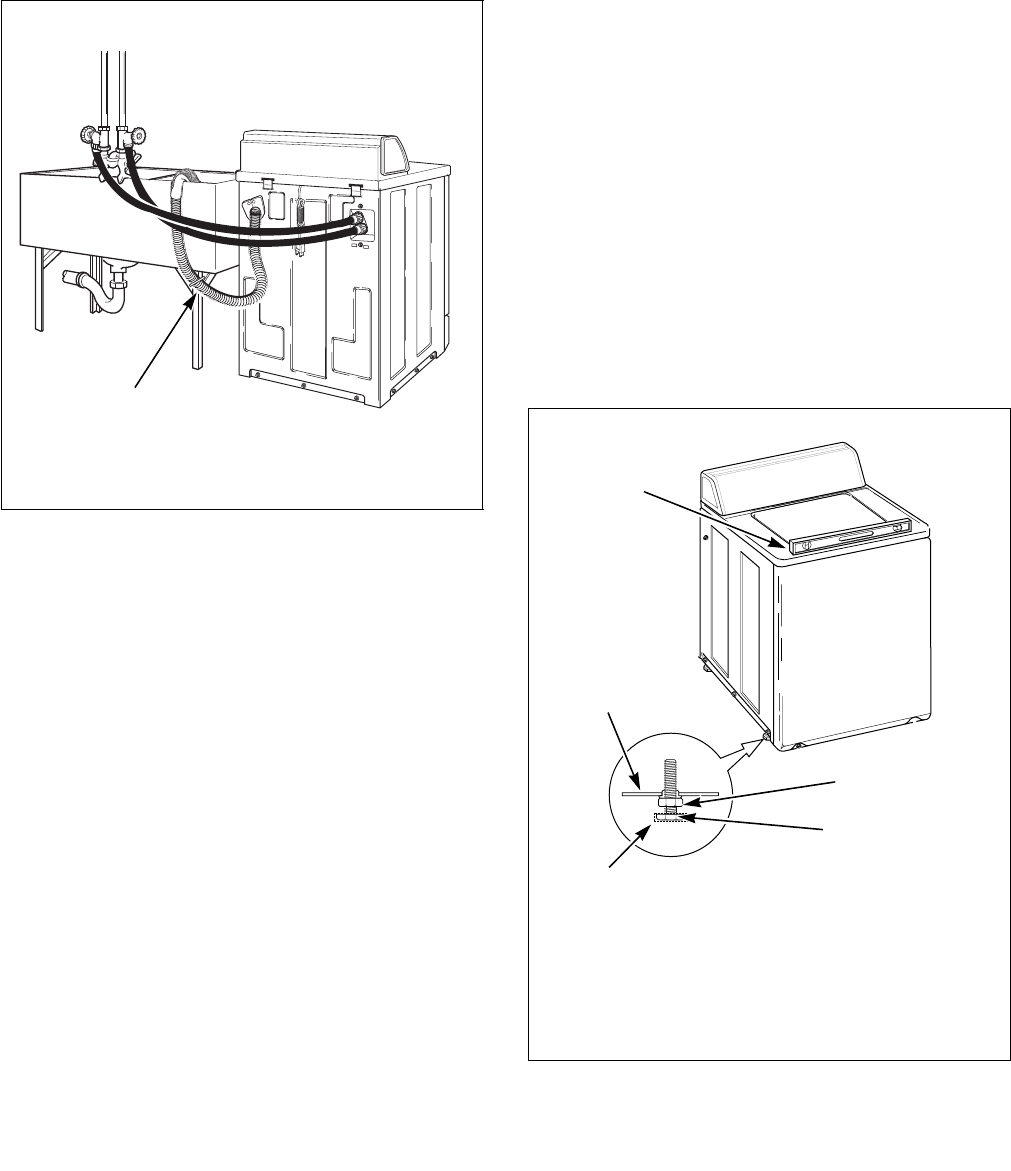
Laundry Tub Installation
For this type of installation, the drain hose MUST be
secured to the stationary tub to prevent hose from
dislodging during use. Use the beaded tie-down strap
(supplied in accessories bag) to secure hose.
We recommend leaving the standpipe adapter on the
drain hose for this type installation.
Figure 11
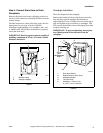
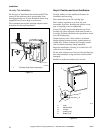
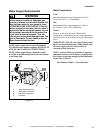
Step 5: Position and Level the Washer
Position washer so it has sufficient clearance for
installation and servicing.
Place rubber feet on all four leveling legs.
Place washer in position on a clean, dry, and
reasonably firm floor. Installing the washer on any
type of carpeting is not recommended.
Loosen 7/8 inch locknuts and adjust the two front
leveling legs. Once adjusted, tilt the unit forward on
front legs and lower back down into position to set the
rear self-leveling legs.
Washer must not rock. After washer is at desired
height, tighten locknuts securely against bottom of
washer base. If these locknuts are not tight, washer
will not remain stationary during operation.
Improper installation or flexing of a weak floor will
cause excessive vibration.
Do not slide washer across floor once the leveling legs
have been extended, as legs and base could become
damaged.
Recheck to make sure washer does not rock.
Figure 12
TLW1964N
1 Tie-Down Strap (Tape if necessary)
TLW1964N
1
W179I
1 Level
2 Washer Base
3 Locknut
4 Leveling Leg
5 Rubber Cup
W179I
1
2
3
4
5