


9
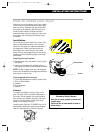
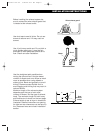
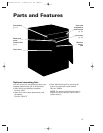
Before installing the exhaust system, be
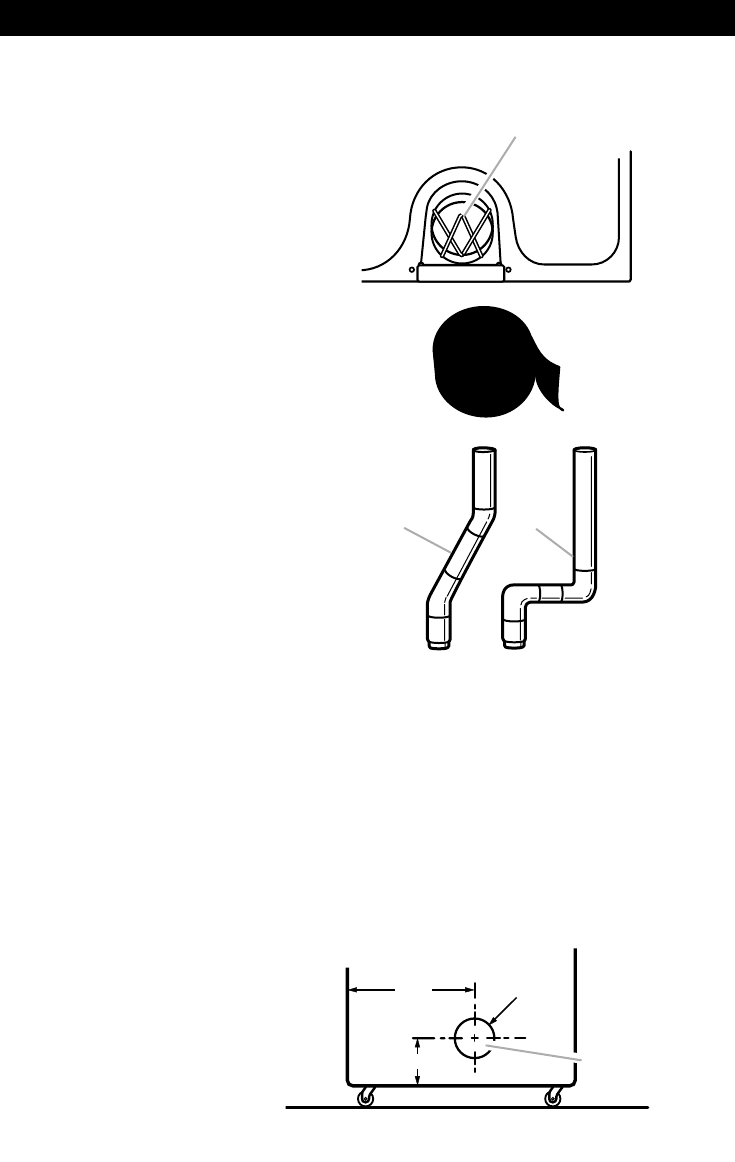
sure to remove the wire exhaust guard that
is located at the exhaust outlet.
Wire exhaust guard
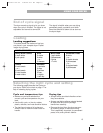
INSTALLATION INSTRUCTIONS
Use duct tape to seal all joints. Do not use
screws to secure vent. Lint may catch on
screws.
Use 4 inch heavy metal vent. Do not kink or
crush flexible metal vent. It must be fully
extended to allow adequate exhaust air to
flow. Check vent after installation.
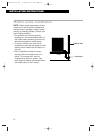
Use the straightest path possible when
routing the exhaust vent. Use the fewest
number of elbows and turns. Allow as much
room as possible when using elbows or
making turns. Bend vent gradually to avoid
kinking. Remove excess flexible vent to
avoid sagging and kinking that may result in
reduced airflow.
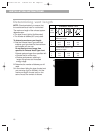
Maximum length of the exhaust system
depends upon the type of vent used,
number of elbows, and the type of exhaust
hood. The maximum length for both heavy
and flexible vent is shown on the next page.
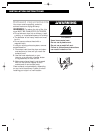
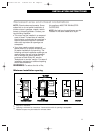
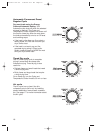
Exhaust outlet at rear of dryer is located as
illustrated. Detailed instructions on spacing
for side and rear clearances can be found in
the “Recessed area and closet installation”
section.
Better
Good
Exhaust airflow
12" 4" DIAM
3
1
/4"
Rear
exhaust
outlet
3977631 v12 c51 3/22/99 5:11 PM Page 9